
Meshcore, Heltec V4: Build a Solar-Powered Mesh Repeater
Published by Vivian van Zyl in Meshcore the 12/19/2025 at 04:17 pm

Meshcore, Heltec V4 makes a compact, field-ready solar repeater when you combine the Heltec V4 board, a small solar panel, and a battery pack. This guide walks through a practical, no-frills assembly and configuration approach so your node runs reliably outdoors while remaining easy to service.
Table of Contents
- What you need
- Quick build overview
- Mounting components
- Flashing and configuring MeshCore
- Sealing, mounting, and first run
- Troubleshooting and tips
- Why this setup works
- Frequently asked questions
- Final notes
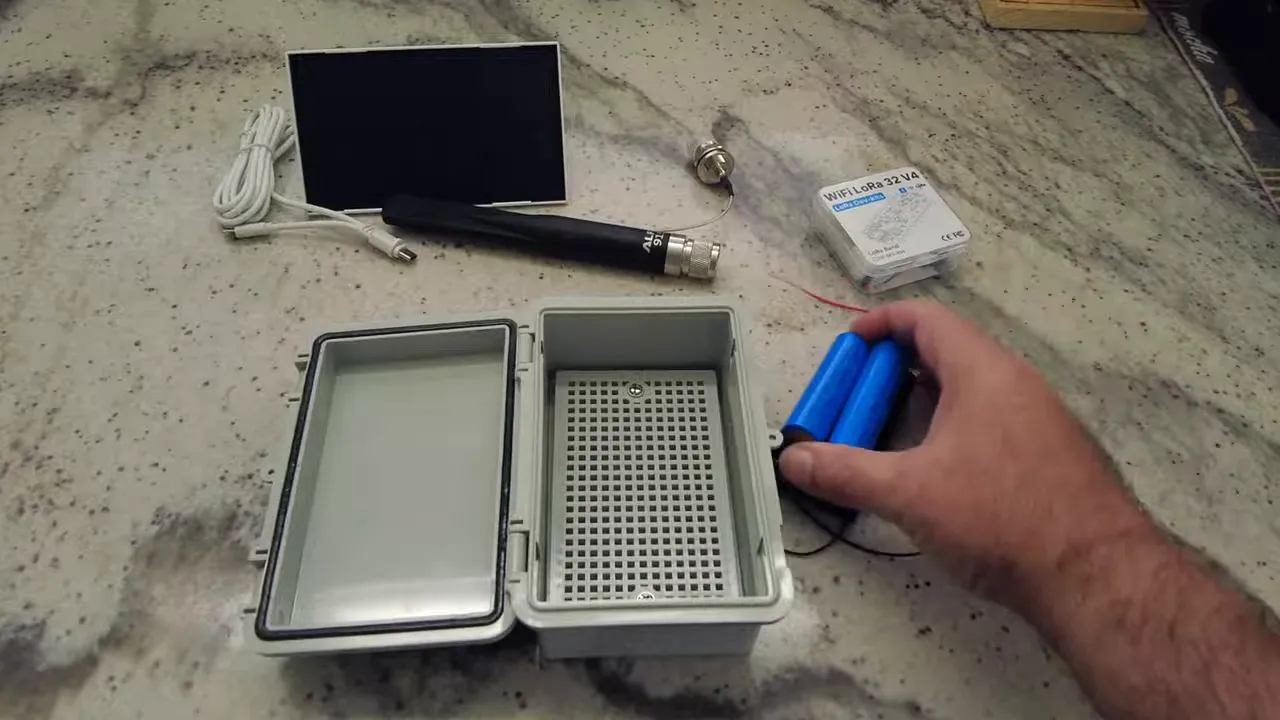
What you need
- Heltec V4 development board (descreened or with screen removed)
- Two 18650 batteries (3,500 mAh each) wired in parallel
- Solar panel (2–3 watt range) with short cable
- Type N bulkhead connector and 915 MHz antenna
- Waterproof enclosure and silicone sealant
- Double-sided tape or screws and 3D printed mounts for a permanent build
- USB cable and a PC for flashing MeshCore
Quick build overview
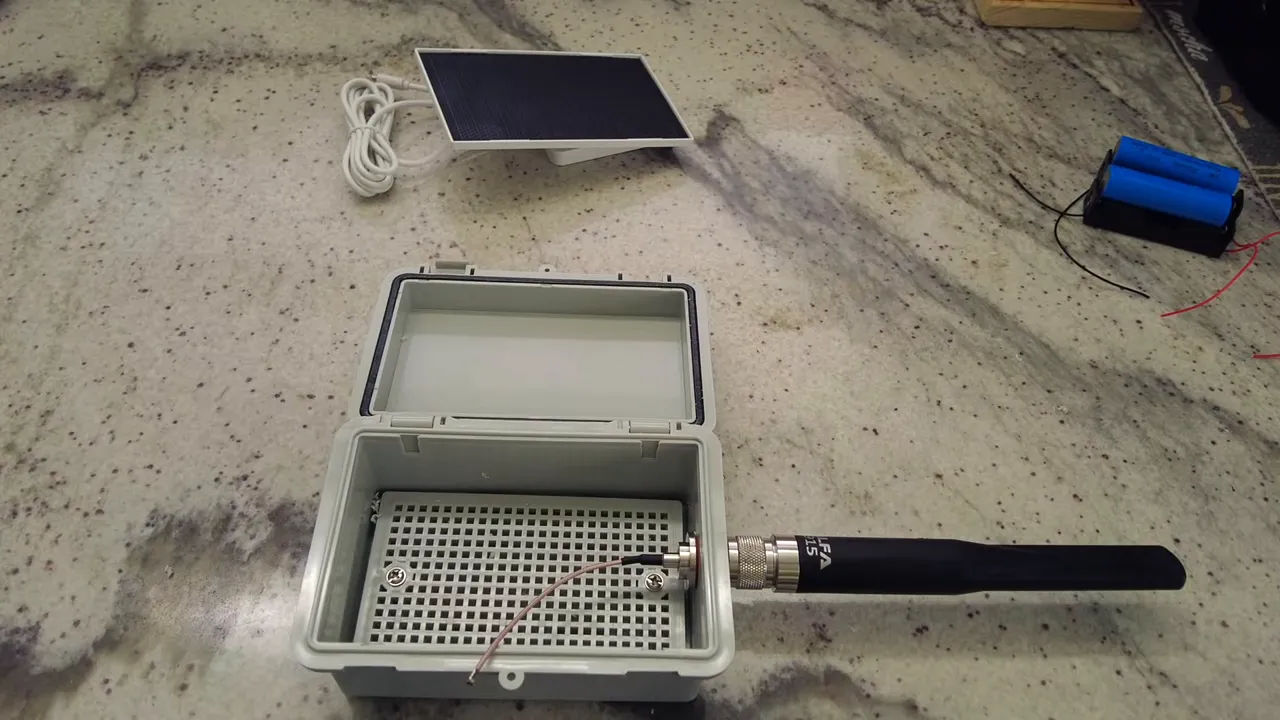
Start by preparing the enclosure: drill a hole for the Type N connector at the top and clean up any plastic burrs. The Type N connector with its rubber gasket helps keep water out when tightened properly.
Feed the antenna pigtail through the bulkhead and attach the antenna. Next, shorten the solar cable to avoid extra slack inside the case, strip the positive/negative wires, and solder them to the supplied Heltec connectors. Join the two batteries in parallel so the pack remains at ~3.7 V while doubling the capacity to about 7,000 mAh.
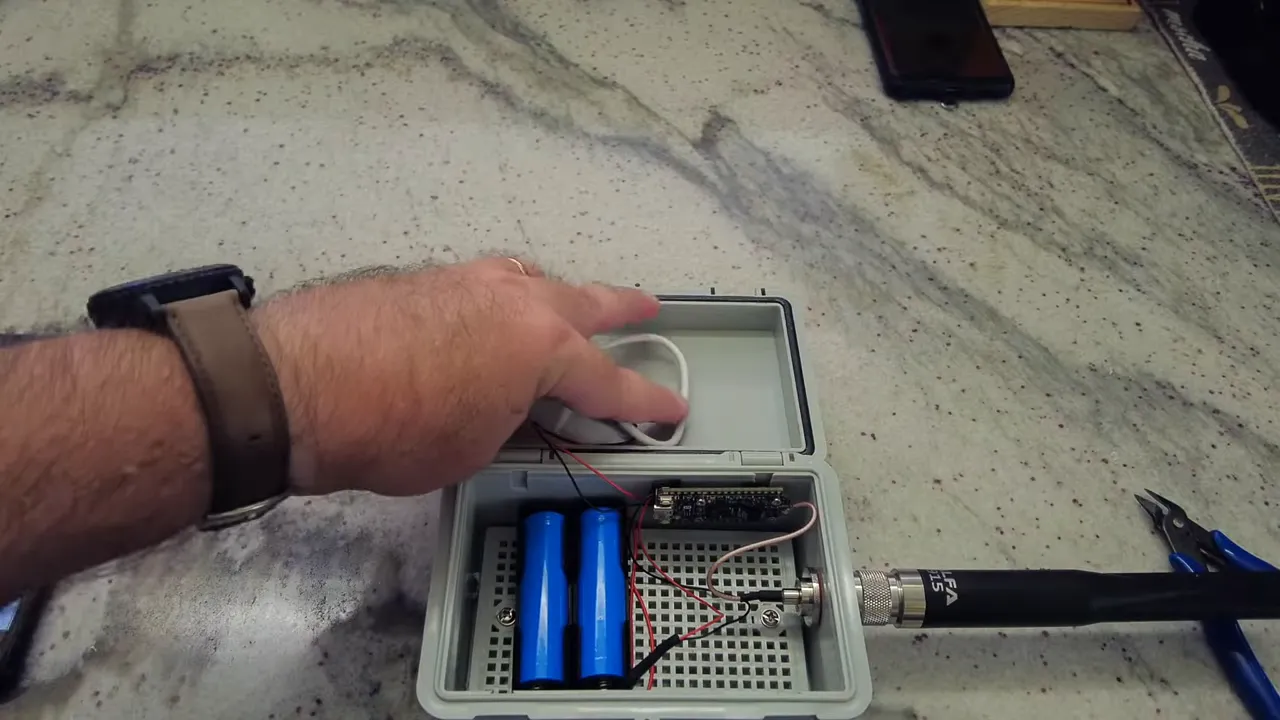
Mounting components
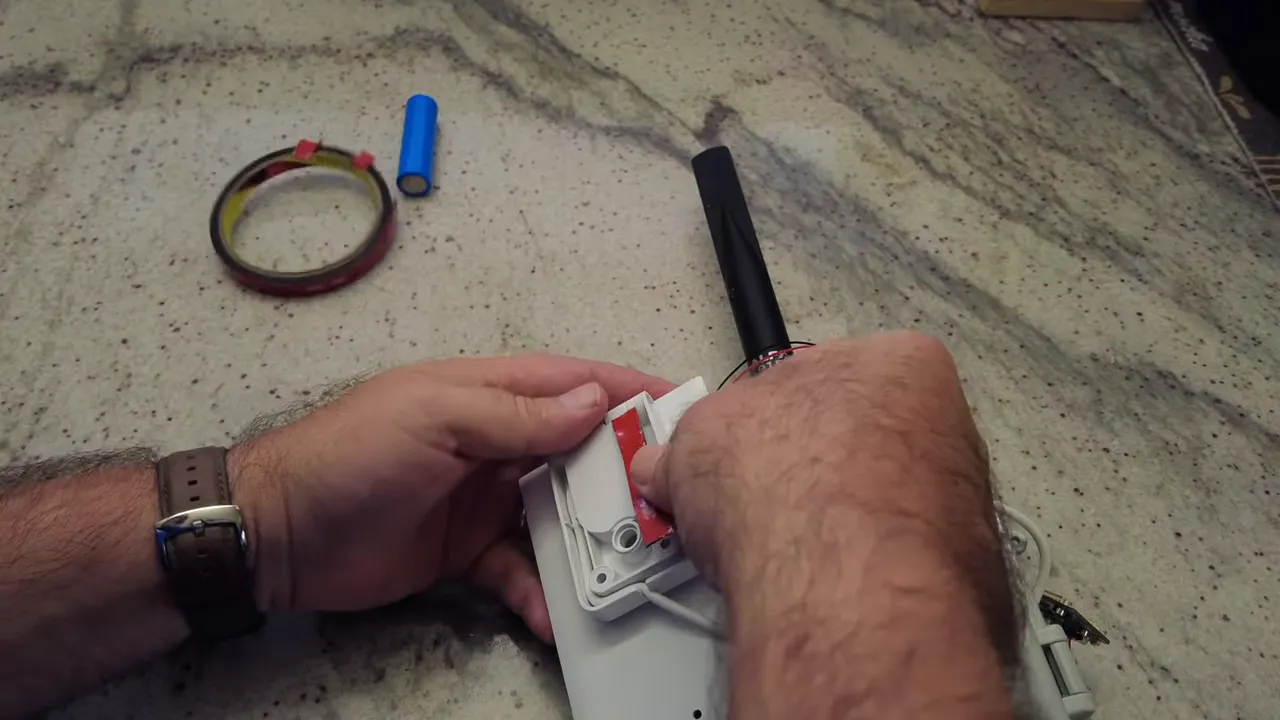
For a temporary test build, 3M double-sided tape works well to secure the batteries and board to the backplate. If you want a cleaner permanent setup, use screws or 3D printed holders. Route the solar cable through a drilled hole so the panel mounts to the outside face of the enclosure and can be angled toward the sun.
Flashing and configuring MeshCore
Connect the Heltec V4 to your PC and use the MeshCore WebFlasher at meshcore.co.uk. Select the Heltec V4 board, erase the device, and flash the latest firmware. Configuration for a repeater role is done over USB. Enter a name, location, and wireless parameters.
Because the V4 uses an ESP32 subclass of hardware, you may need to choose a higher transmit limit than older boards. Save the settings and reboot. Confirm the node advertises on your MeshCore app and respond to pings to verify radio activity.

Sealing, mounting, and first run
Seal the cable entry with silicone, tighten the antenna nut, and add a cable tie to relieve strain on the antenna lead. Leave the USB port accessible for future updates. Place the solar panel where it gets good sun and monitor charging via the MeshCore app telemetry.
Troubleshooting and tips
- If the WebFlasher times out, unplug and replug the device and try again.
- Use the app to sync the node clock after initial setup so telemetry timestamps are correct.
- For long-term installations, replace tape with screws and use proper 3D mounts for vibration resistance.
- If using an ESP32 board, budget extra battery capacity compared to NRF-based nodes.
Why this setup works
Combining the Meshcore, Heltec V4 board with a modest solar panel and a higher-capacity battery pack gives a balance between runtime and weight. The Type N connector provides a robust sealed antenna attachment and the Heltec V4’s solar and battery inputs simplify power management.
Frequently asked questions
How should I wire the batteries for capacity and voltage?
Wire the two 18650 batteries in parallel so the pack voltage stays at about 3.7 V while capacity doubles. Join positives together and negatives together, then connect the pack to the BAT input on the Heltec V4.
What solar panel wattage is sufficient?
A 2 to 3 watt panel is a good match for a single Heltec V4 repeater with two 18650 cells. This keeps the node topped up under normal daylight conditions but consider a larger panel in low-sun locations.
Can I use the onboard 2.4 GHz antenna?
The Heltec V4 includes a 2.4 GHz antenna option, but for LoRa mesh operation you need the external 915 MHz antenna mounted on the Type N connector. The 2.4 GHz antenna is optional and not required for MeshCore repeater operation.
How do I configure MeshCore parameters?
Use the MeshCore WebFlasher to set role, name, location, frequency, bandwidth, spreading factor, coding rate, and power. Save and reboot the node. Then use the MeshCore app to monitor telemetry and neighbors.
Final notes
With a straightforward build and a few simple precautions for sealing and cable strain relief, a Meshcore, Heltec V4 solar repeater becomes a reliable outdoor node. Start with a temporary mount to test placement and charging before committing to a permanent roof installation.