Meshcore Seeed Solar: Upgrade, Teardown, and Flash Guide
Published by Vivian van Zyl in Meshcore the 02/24/2026 at 04:05 pm

Meshcore Seeed Solar is a powerful off-grid repeater solution when you need reliable LoRa mesh coverage. This guide walks through improving antenna performance, what’s inside a Seeed SenseCAP Solar node, and step-by-step flashing and configuration of Meshcore on both a solar repeater and a companion L1 Pro. The tone is hands-on and practical—real tips for real installs.
Table of Contents
- Why upgrade a Seeed Solar node for Meshcore?
- What to buy before you start
- Hardware upgrade: SMA to Type N and antenna selection
- Seeed SenseCAP Solar teardown: what’s inside
- Flashing Meshcore on the SenseCAP Solar (repeater)
- Flashing the companion: Seeed L1 Pro
- Pairing and admin with the Meshcore mobile app
- Command line and quick CLI examples
- Recommended advert intervals and radio tips
- Testing messages and repeating behavior
- Practical tips and install notes
- FAQ
- Closing notes
Why upgrade a Seeed Solar node for Meshcore?
Out of the box a Seeed Solar node works fine for short-range meshing, but a few small upgrades dramatically improve range and durability. Upgrading the antenna connector to Type N for a high-gain Yagi and protecting exposed cable from UV extends service life and boosts link reliability when using Meshcore Seeed Solar as a repeater.
What to buy before you start
- Wire loom cover or UV sleeve to protect external SMA cables.
- SMA to Type N adapter to fit higher-performance antennas.
- Yagi or other 915 MHz directional antenna (choose based on shop frequency and region).
- Basic hand tools (proper pliers or a small wrench—don’t overtighten).
Hardware upgrade: SMA to Type N and antenna selection
The stock SMA whip is convenient, but a Yagi with a Type N connector gives a much stronger and more directional link. The adapter converts the SenseCAP’s SMA output to Type N so you can mount a Yagi on a pole and aim toward the next repeater.
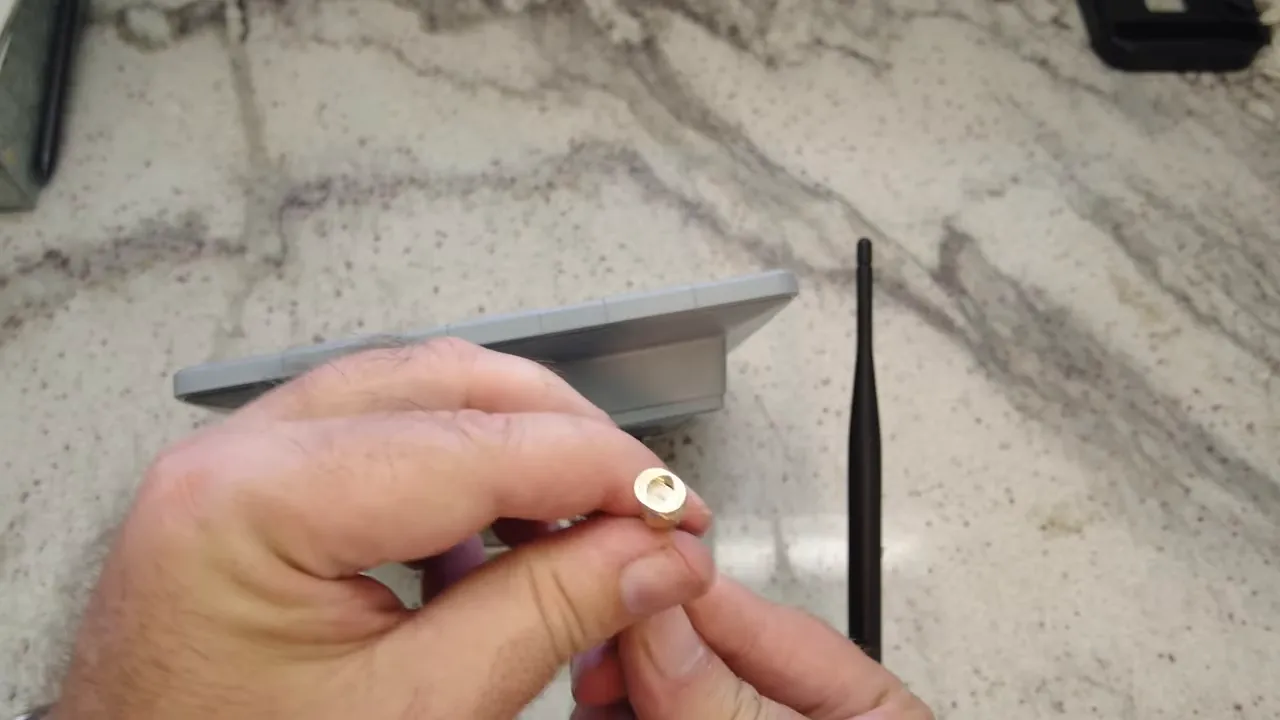
When removing or handling the SMA, power the node off first. The SenseCAP uses a small female/male pin arrangement, so verify connector orientation before you apply force. Use a snug fit when tightening the adapter—loose RF connectors will degrade performance.
Once converted to Type N, the antenna connection is mechanically stronger and less prone to water ingress if mounted correctly. Aim the Yagi at the repeater you want to link to for best results.
Seeed SenseCAP Solar teardown: what’s inside
The SenseCAP Solar node is compact and weather-sealed. Inside you’ll find:
- Four 18650 cells wired in parallel for redundancy and runtime.
- SX1262 LoRa radio (the LoRa modem used by Meshcore).
- nRF-class microcontroller handling the device firmware.
- GPS module and antenna for location and timing.
- Header pins (D0, D1, 5V, GND, reset, clock) for add-ons or debugging.
The battery pack is built to allow the device to run on any number of installed cells. The internal board contains the buttons, status LEDs, antenna feed, and external ports for USB and debugging.
Flashing Meshcore on the SenseCAP Solar (repeater)
Meshcore Seeed Solar flashing is straightforward using the Meshcore flasher interface. The process below follows best practice for turning a SenseCAP solar node into a Meshcore repeater.
- Connect the SenseCAP to a PC using the USB-C port.
- Open the Meshcore flasher site and select the SenseCAP Solar SenseCAP device entry.
- Enter DFU mode to mount the device as a removable drive.
- Choose the Meshcore firmware release (for example, 1.13) and flash.
- After flashing, connect to the device via USB to configure location, radio region, admin/guest passwords, and power settings.
Important: flashing the repeater will disable Bluetooth on the node. Meshcore repeaters are configured over the USB or via remote admin tools once they are running. Pick the correct radio region (for example USA/Canada 915 MHz) and set transmit power and coding rate to match local regulations.
Flashing the companion: Seeed L1 Pro
The companion device (a mobile, handheld node you carry) runs Meshcore companion firmware and talks to the repeater via RF and to your phone via Bluetooth.
- Plug the L1 Pro into the PC, select the device in the flasher, and enter DFU.
- Flash the companion firmware (same version family as the repeater is recommended).
- If you want Bluetooth pairing, use the Meshcore mobile app and bind the device with the displayed PIN.
Pairing and admin with the Meshcore mobile app
Once the repeater is flashed and configured and the companion has Bluetooth enabled, the companion discovers the repeater via a short-range advert. The advert is broadcast when the node powers on or when you press the user button.
From the app you can login as guest or admin (if you set an admin password during USB configuration). Guest access gives telemetry and basic tools. Admin access unlocks the command line and full settings.
Command line and quick CLI examples
The Meshcore companion can issue commands to the repeater. A common check is to read transmit power. Example:
get tx
# returns current TX power (for example "22")
Other useful admin actions:
- Fetch radio settings to confirm frequencies and coding rate.
- Set advert intervals (zero-hop local advert and full network flood).
- Reboot or request telemetry remotely.
Recommended advert intervals and radio tips
For many installs a balanced advert schedule is:
- Zero-hop (local) advert: every 60 minutes
- Network flood advert: every 3 hours
These intervals keep the repeater known to nearby companions without flooding the mesh constantly. Adjust depending on node density and battery life.
Testing messages and repeating behavior
After pairing, send a simple text from the companion. The repeater should show one or more repeats received and forward the message across the mesh. A directional Yagi aimed at a remote repeater will increase repeat counts and path reliability.
Practical tips and install notes
- Always power off before swapping antennas or unplugging RF feeders.
- Use UV-protective sleeving on any exposed cable run.
- Tighten adapters to a snug torque—avoid over-torquing tiny RF nuts.
- Record GPS coordinates and admin passwords offline for disaster recovery.
- Confirm regional radio settings and transmit power to remain compliant.
FAQ
How do I convert an SMA connection to a Type N for a Yagi?
Use a dedicated SMA-to-Type N adapter. Power the node off, remove the stock SMA (note male versus female pins), attach the adapter and hand-tighten. Finish with appropriate pliers or wrench for a secure fit. Then mount the Type N antenna cable or Yagi directly.
Will flashing Meshcore on the SenseCAP disable Bluetooth?
Yes. When configured as a repeater, Bluetooth on the SenseCAP Solar is turned off. Repeater configuration is done over USB or remotely through the Meshcore companion once configured.
Can a repeater send messages directly to users?
No. Repeaters forward and repeat messages but are not end-user communication devices. Use a companion node (L1 Pro or equivalent) for direct messaging and admin interaction.
What internal components should I expect inside a Seeed Solar node?
Expect a pack of four 18650 cells in parallel, an SX1262 LoRa radio, an nRF-class processor, a GPS module and antenna, LEDs, buttons, and accessory headers for additional sensors or debugging.
What are safe advert interval settings?
A common configuration is zero-hop local adverts every 60 minutes and full network flood adverts every 3 hours. Adjust these values to balance visibility and battery usage.
Closing notes
Meshcore Seeed Solar makes a strong, maintainable repeater when combined with a companion L1 Pro. Upgrading to a Type N/Yagi antenna and protecting cabling are small investments that yield much better links. Flashing and configuring Meshcore is straightforward with the flasher interface and the companion app, and remote administration keeps field maintenance low.
If you want to replicate this setup, start by protecting your wiring, convert the connector if you need directional range, and follow the DFU flashing steps carefully. Once the repeater and companion are paired, you’ll have a resilient off-grid mesh layer ready for messaging and telemetry.
Links: (Note: As an affiliate, I earn from qualifying purchases)
- Wire Loom Cover - https://amzn.to/4sbg1nm
- SMA to Type-N - https://amzn.to/46mA35O
- Seeed L1 Pro - https://www.seeedstudio.com/Wio-Tracker-L1-Pro-p-6454.html?sensecap_affiliate=agiE1S0&referring_service=link
- Seeed Solar Node - https://www.seeedstudio.com/SenseCAP-Solar-Node-P1-for-Meshtastic-LoRa-p-6425.html?sensecap_affiliate=agiE1S0&referring_service=link
- Waterproof Case - https://amzn.to/4koPUqq
- 18650 Battery - https://amzn.to/4koPUqq
- Battery Holder - https://amzn.to/4jZW9Pz
- Type N Connector - https://amzn.to/4r1aKP9
- 915Mhz Alfa Antenna - https://amzn.to/3TsSOxt