
MeshCore Sensors Tutorial: Setting Up the T1000E Node
Published by Vivian van Zyl in Meshcore the 03/12/2026 at 07:37 pm

MeshCore treats sensor nodes differently from typical mesh devices. Instead of constantly broadcasting telemetry, a MeshCore sensor sits quietly and responds when a companion node asks for data. That pull-based approach helps extend battery life and keeps sensor nodes focused on sensing rather than relaying network traffic.
What is a MeshCore sensor?
A MeshCore sensor is a node whose primary job is to collect telemetry—temperature, luminosity, GPS, battery level—and deliver that information only when polled by a companion node. The device itself does not relay messages or act as a full network participant. That makes it ideal for long-term monitoring where power efficiency matters.
Hardware used in this example
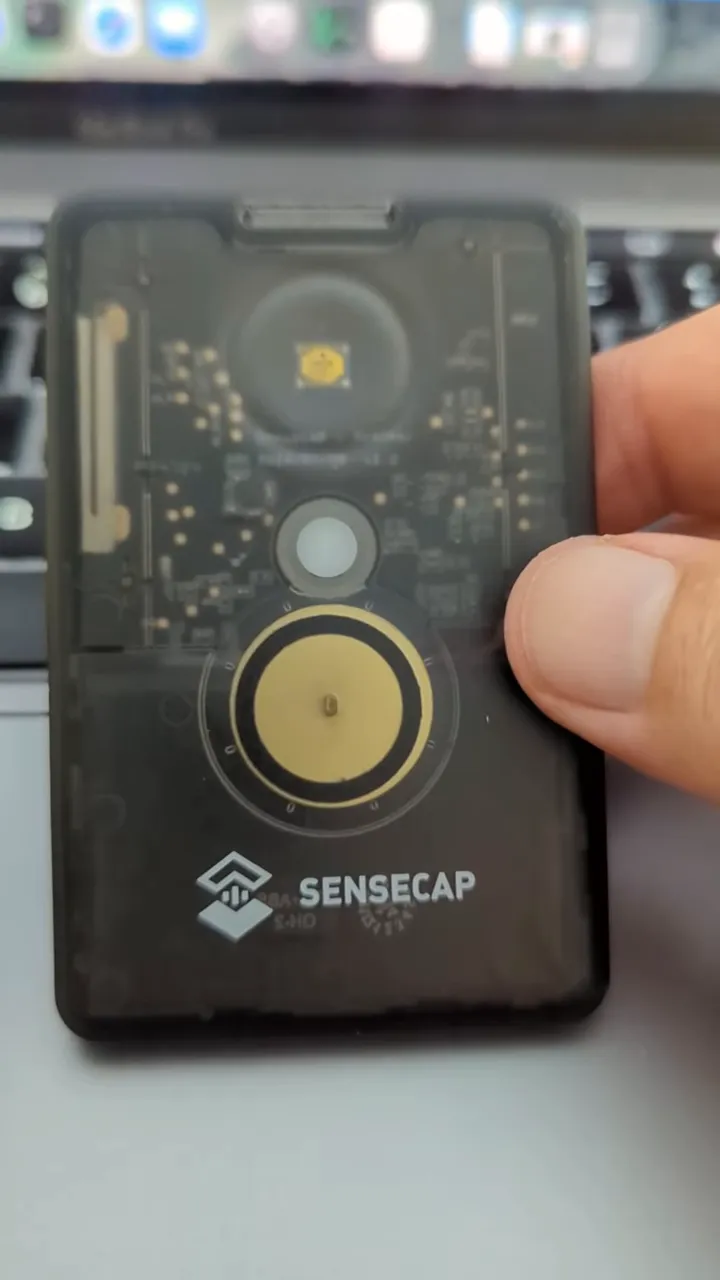
The example setup uses a Seeed SenseCAP T1000-E as the sensor. It’s a compact tracker with built-in GPS, temperature sensor, lux sensor, and a battery. A separate companion radio (a Heltec V3 in this case) acts as the active device that polls the T1000-E for telemetry.
Pull vs push: why MeshCore pulls telemetry
Traditional Meshtastic-style setups often push telemetry periodically. MeshCore opts for a pull model: the companion node sends a request and the sensor replies. Benefits include:
- Lower power consumption on the sensor since it does not transmit constantly.
- Simpler sensor firmware—no need to participate in routing or message relaying.
- On-demand readings so the companion only requests data when needed.
Custom firmware and setup notes
Right now, turning a T1000-E into a MeshCore sensor requires a firmware change. That means compiling a small sensor section from the MeshCore source and flashing it onto the T1000-E as custom firmware. Once flashed, the T1000-E functions strictly as a sensor node.
The firmware change is lightweight: it disables routing/relay roles and exposes a telemetry endpoint that responds to authenticated requests from a companion.
Discovering and adding sensors in the MeshCore app
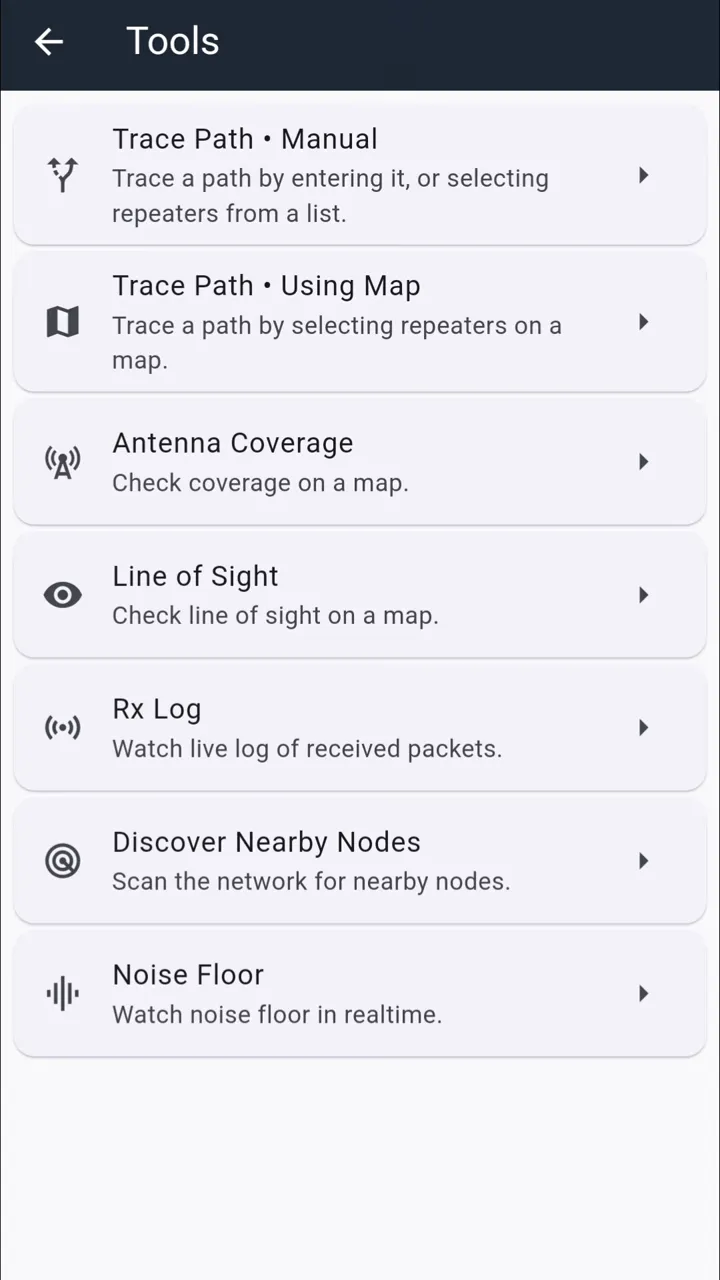
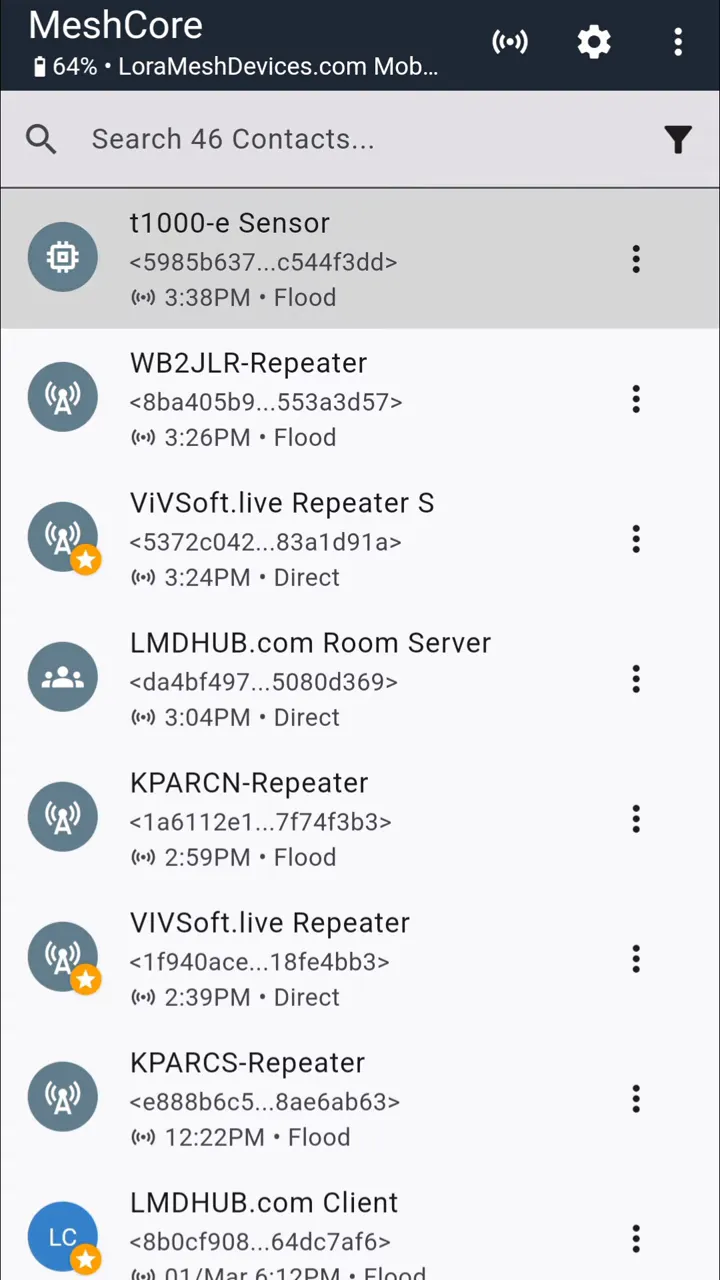
Use the app’s tools menu and choose "Discover nearby nodes." The app can find repeaters, room servers, companion nodes, and now sensors. When the companion radio is in range it will list detected sensors separately.
When the T1000-E appears in the sensor list you can add it. After adding, opening the node and hitting the telemetry button prompts the companion to authenticate and pull the latest readings.
Telemetry, commands, and map view
A telemetry request returns a concise payload: battery level, temperature, luminosity, and GPS coordinates if GPS is enabled. Because each telemetry call is a pull, the sensor only wakes to reply, keeping average power use low.

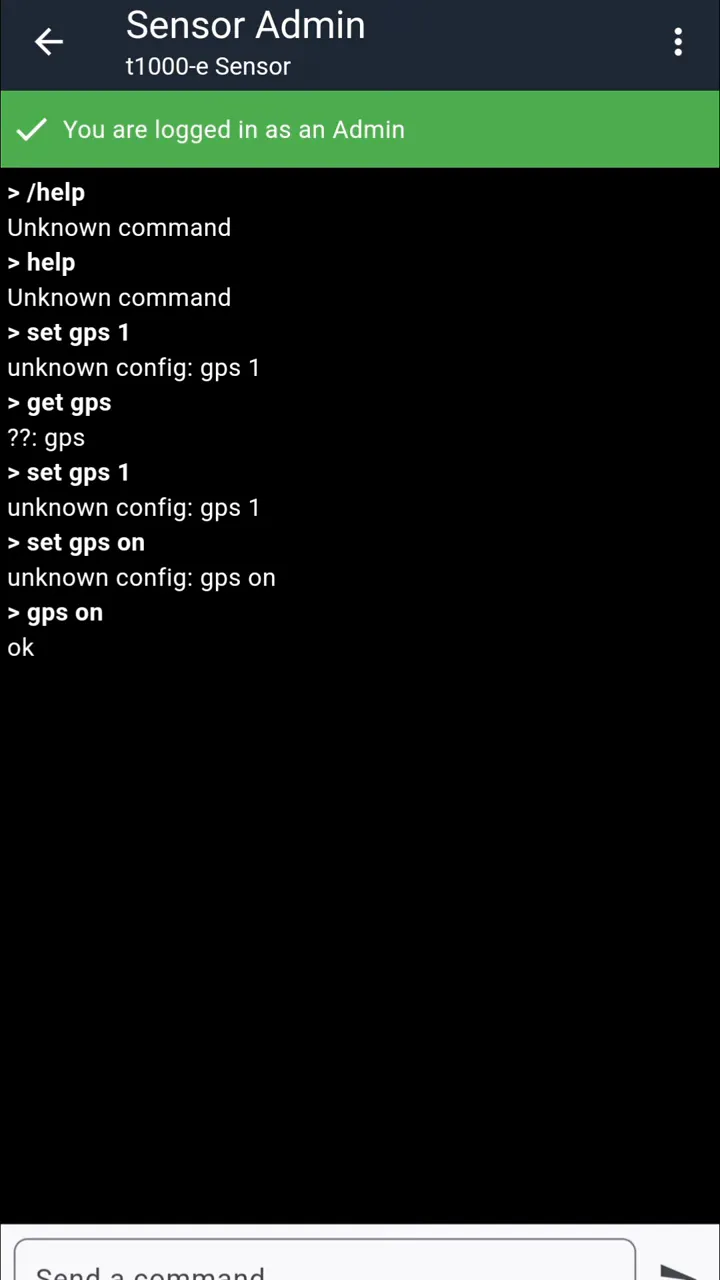
You can manage the sensor from the app once authenticated: set radio region, change basic settings, or issue commands. For example, sending a "GPS on" command will enable the GPS module and subsequent telemetry requests will include location.
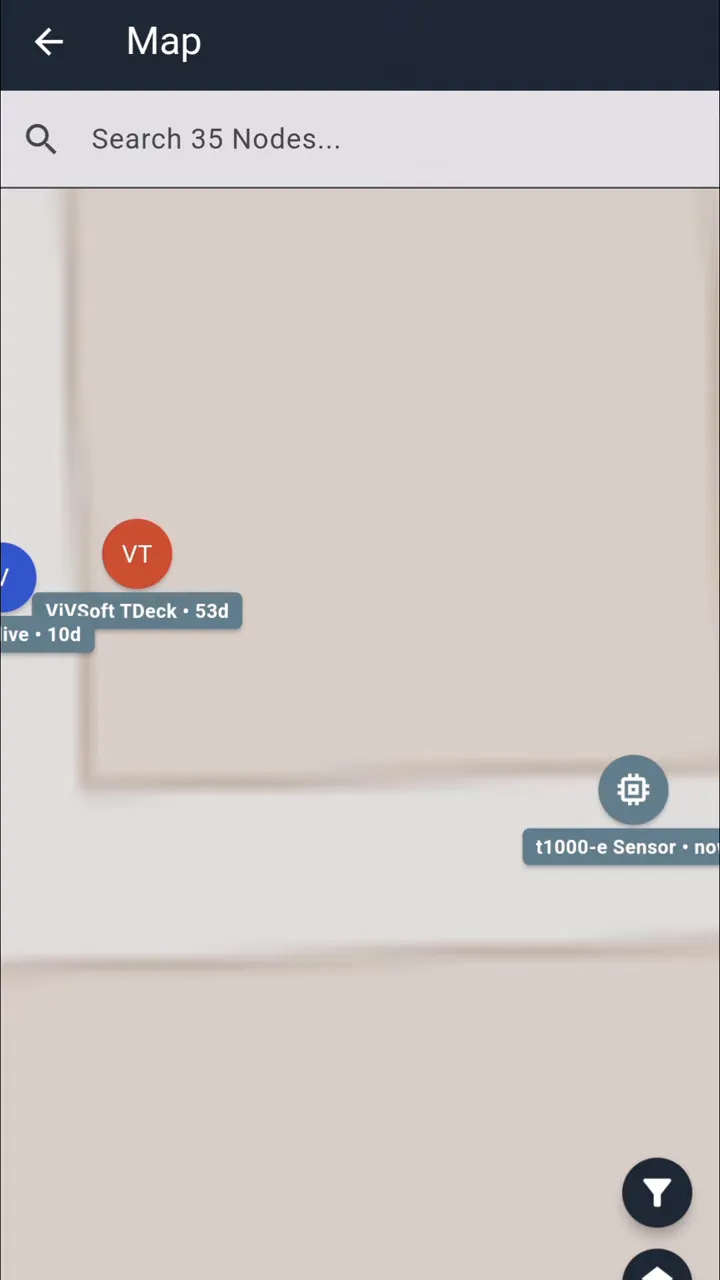
The app map shows sensors with a distinct icon so they stand out from repeaters and room servers. Clicking the sensor on the map brings up its last-known telemetry and location.
Practical tips and best practices
- Use a dedicated companion radio to poll sensors. A small Heltec V3 or similar works well.
- Enable GPS only when needed—GPS uses more power, so toggle it from the companion when you need location fixes.
- Keep authentication secure—default passwords are fine for testing, but change them for production deployments.
- Place sensors thoughtfully so the companion can reliably reach them when it polls telemetry.
Where MeshCore sensor nodes shine
MeshCore sensor nodes are good for environmental monitoring, asset tracking, or use cases where periodic data is fine and long battery life is essential. They are especially useful when you want the advantages of LoRa range without loading small sensors with relay duties.
Quick setup checklist
- Flash the T1000-E with the MeshCore sensor firmware build.
- Power on the companion radio and open the MeshCore app.
- Discover nearby nodes → select "Discover sensors".
- Add the T1000-E entry and authenticate.
- Request telemetry or send commands (for example, "GPS on").
- Use the map view to verify location and sensor iconography.
Final thoughts
MeshCore’s pull-based sensor model is a useful pattern for low-power telemetry deployments. Converting a compact tracker like the T1000-E into a dedicated sensor node keeps hardware simple, preserves battery life, and still gives you on-demand access to temperature, light, GPS, and battery data via a companion device.
Links: (Note: As an affiliate, I earn from qualifying purchases)
- Seeed T1000E (Use code 'S0G9HWFL' for a discount) - https://www.seeedstudio.com/SenseCAP-Card-Tracker-T1000-E-for-Meshtastic-p-5913.html?sensecap_affiliate=agiE1S0&referring_service=link
- Seeed T1000E at Amazon - https://amzn.to/4qy0tJI