
MeshCore Solar: Turn a Mobile Solar Node into a Repeater in Minutes
Published by Vivian van Zyl in Meshcore the 10/08/2025 at 08:37 pm

Hi — I’m Vivian from LoRaMeshDevices.com. In this post I walk you step-by-step through turning a small solar-powered node into a fully functioning repeater using MeshCore Solar firmware. I built a compact solar node, mounted it on a tripod for portability, flashed MeshCore Solar, and explored the new app tools like antenna coverage and line-of-sight. If you want a portable gateway that charges itself and extends your mesh network, this guide will get you there fast.
Table of Contents
- What I built: a compact, tripod-mountable solar node
- Flashing MeshCore Solar: preparations and DFU mode
- Loading MeshCore Solar onto a Heltec V3 companion
- Connecting with the MeshCore app and sending adverts
- Admin tools: status, console and remote management
- New mapping tools: antenna coverage and line-of-sight
- Wrap-up: MeshCore Solar is coming together
- Frequently Asked Questions (FAQ)
What I built: a compact, tripod-mountable solar node
I started with a tiny Seed NRF board inside a weatherproof box, paired with a large battery and a small solar panel. I 3D-printed little feet and added a 1/4" thread to the bottom so the unit can be mounted on a standard tripod — perfect for campsite setups or temporary deployments.
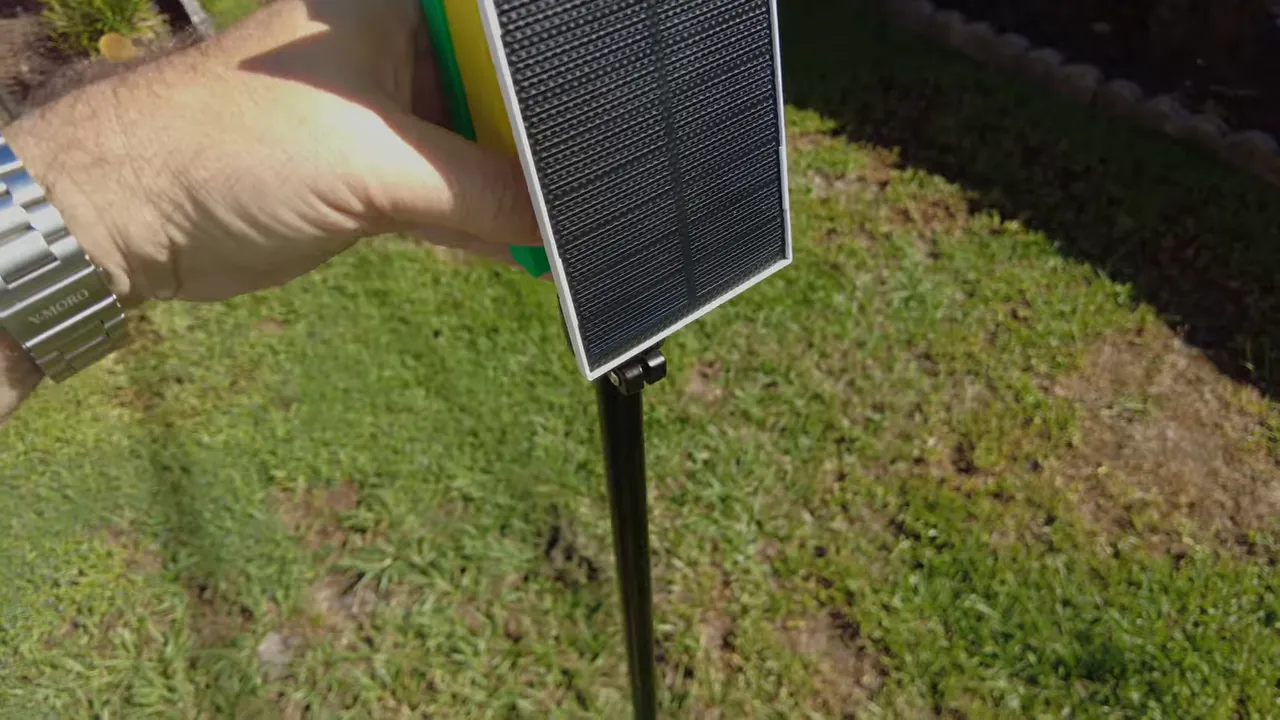
Mounted on a tripod, the node charges itself and acts as "your gateway to the rest of the world" while you’re away from base.
"You can leave this guy at the top on a tripod... it will charge itself and keep the communication going."
Flashing MeshCore Solar: preparations and DFU mode
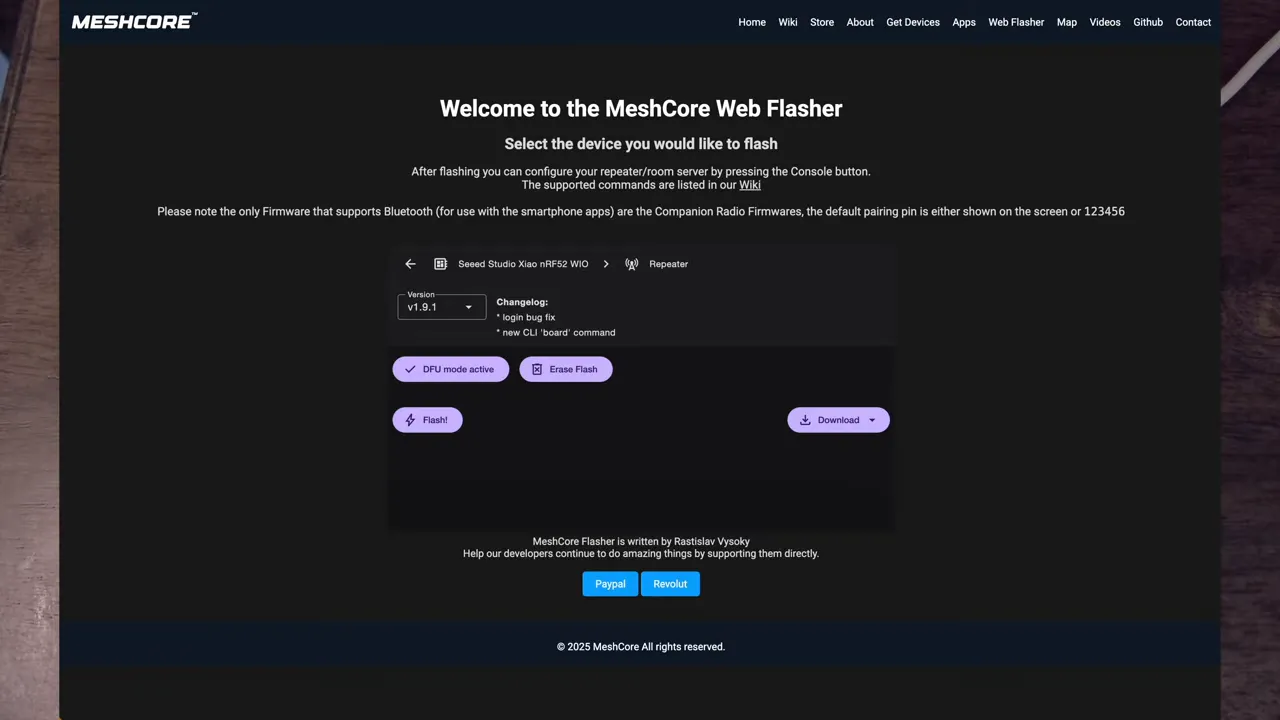
With the node powered down, I connected it to my Mac and used the MeshCore web flasher at meshcore.co.uk. For the Seed Studio nRF52840 board I selected the Seed Studio option and attempted to flash the latest MeshCore Solar build.

nRF chips require entering DFU (Device Firmware Update) mode before flashing. If flashing fails initially, press the DFU button on the board and re-run the flasher. Once in DFU, the web flasher uploads the firmware and the node becomes a repeater.
Repeater configuration: USB required
Important: repeater-role devices in MeshCore Solar cannot be configured over Bluetooth. You can configure them via USB or remotely through the MeshCore web interface. I configured the repeater over USB — setting the device role to "repeater", assigning a friendly name, and setting its location on the map (I placed mine in a park in St. Petersburg, FL).
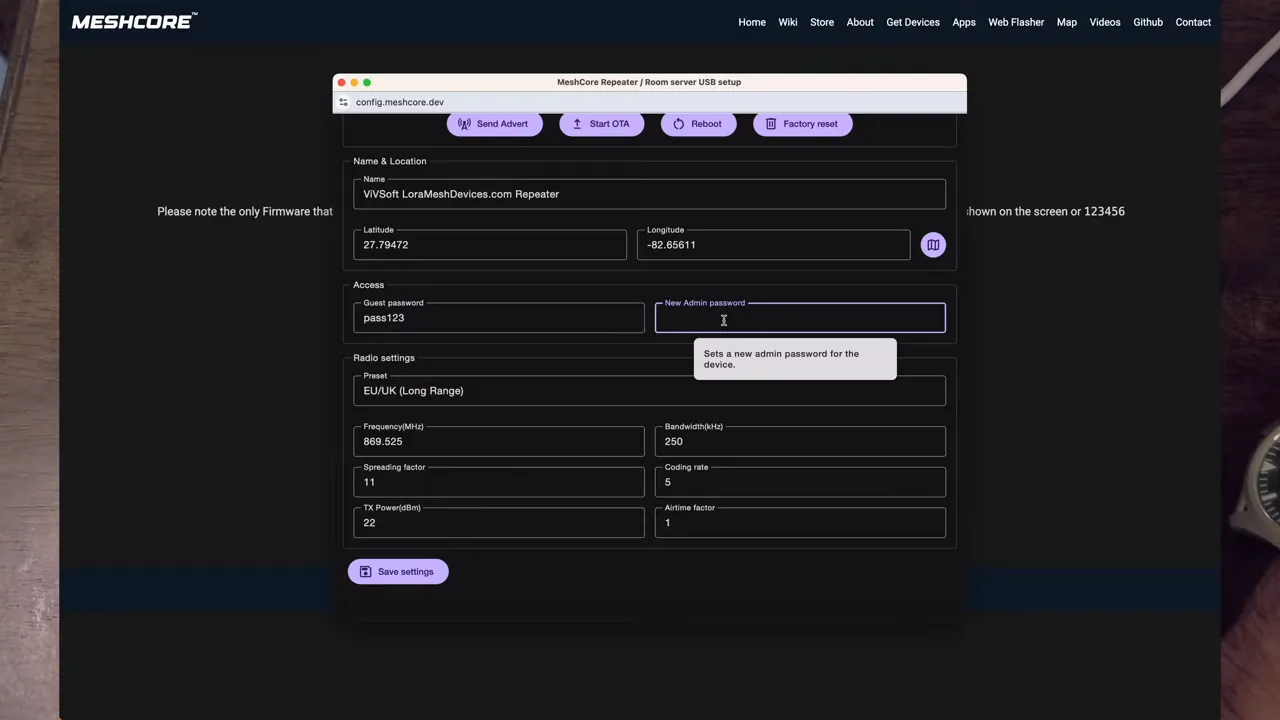
I also updated the radio settings to the recommended channel (e.g., 910.525 MHz in my region), set guest/admin passwords, and saved the configuration. Once saved, the repeater will periodically advertise itself on the mesh.
Loading MeshCore Solar onto a Heltec V3 companion
Next I flashed a Heltec V3 device as a companion node (Bluetooth-enabled) using the web flasher. For companion nodes you can use Bluetooth to configure them from the MeshCore app on your phone.
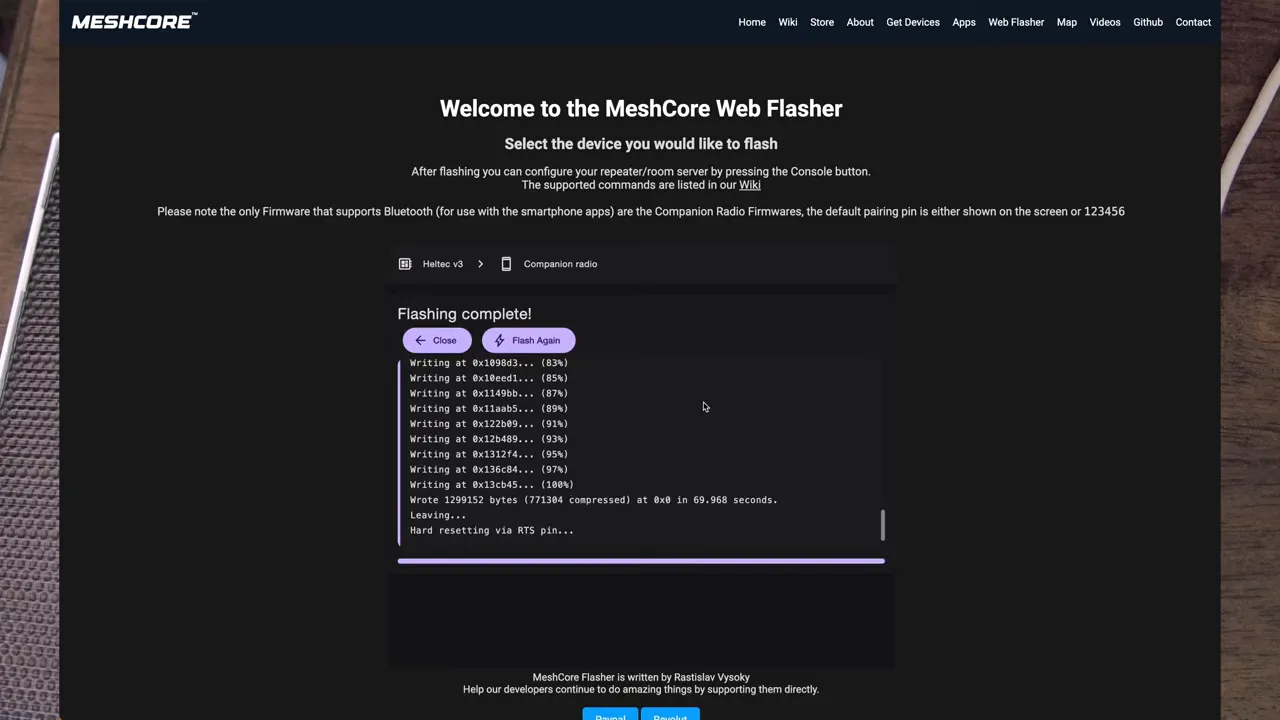
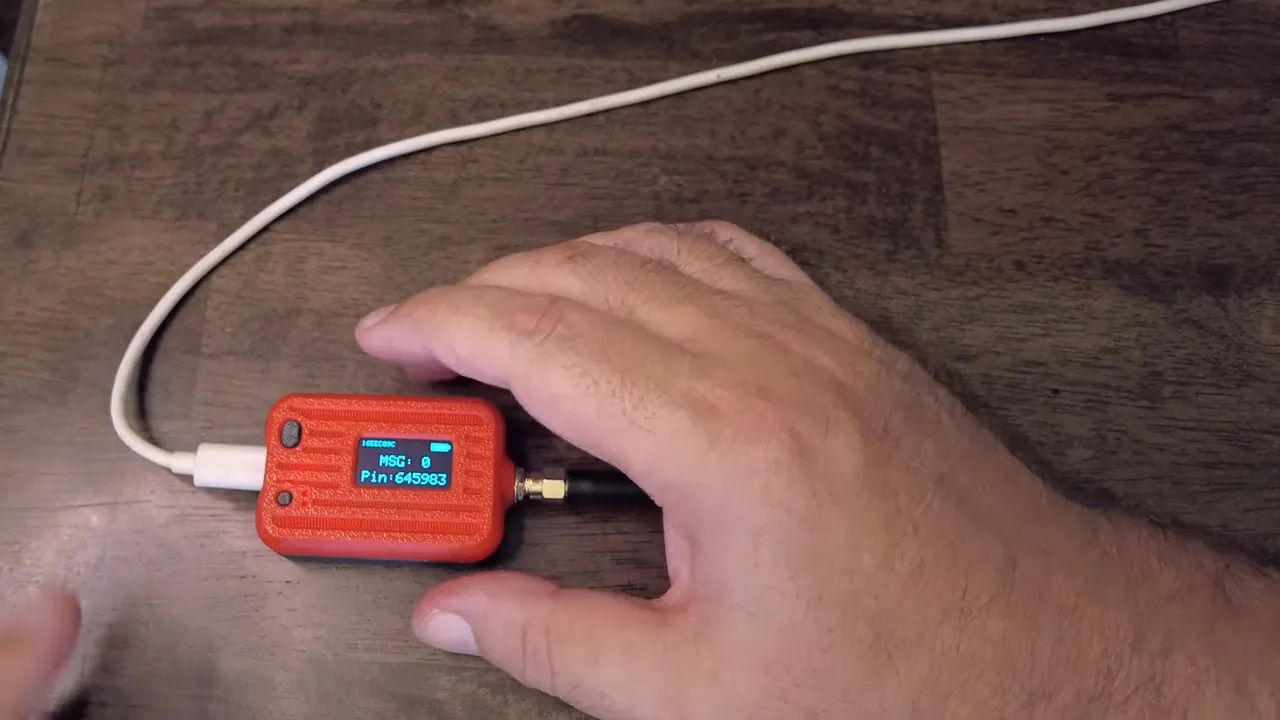
After flashing the Heltec V3, the device displays a pairing PIN. The updated MeshCore UI on the device now shows message counts, recent adverts, frequency, Bluetooth on/off, and a handy hibernation mode — you can now turn a Heltec V3 off via the UI instead of removing the battery.
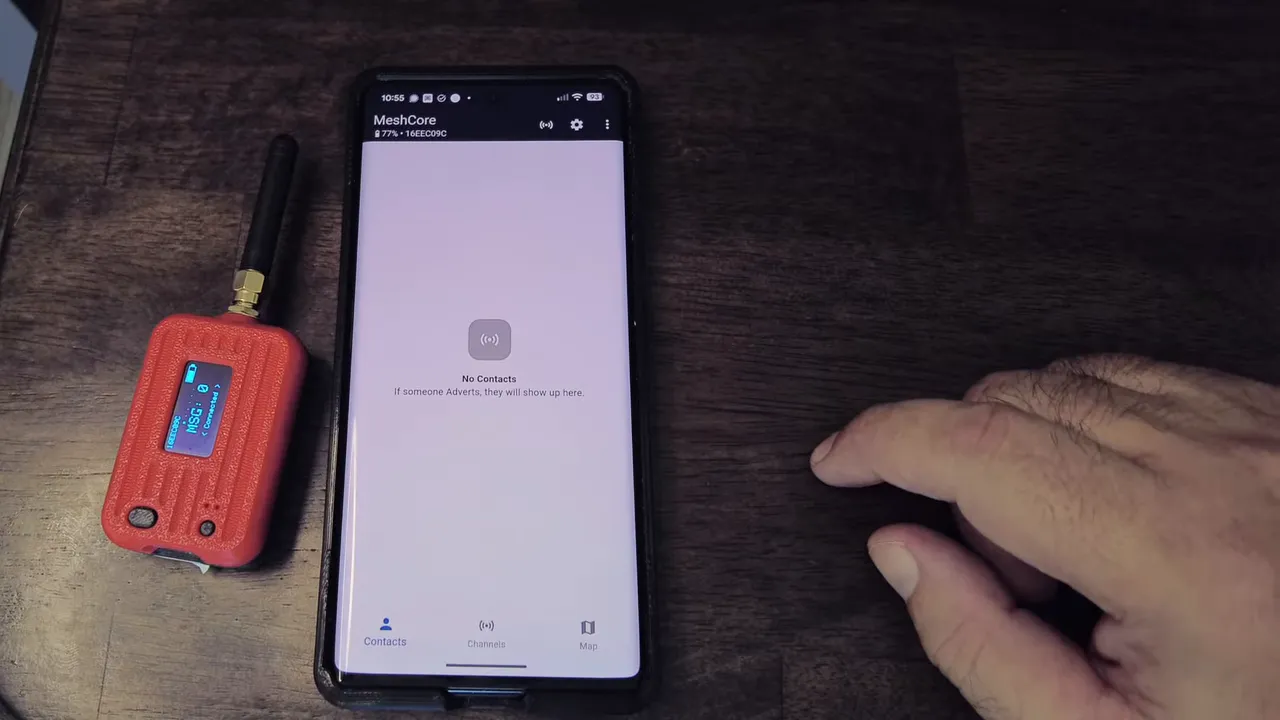
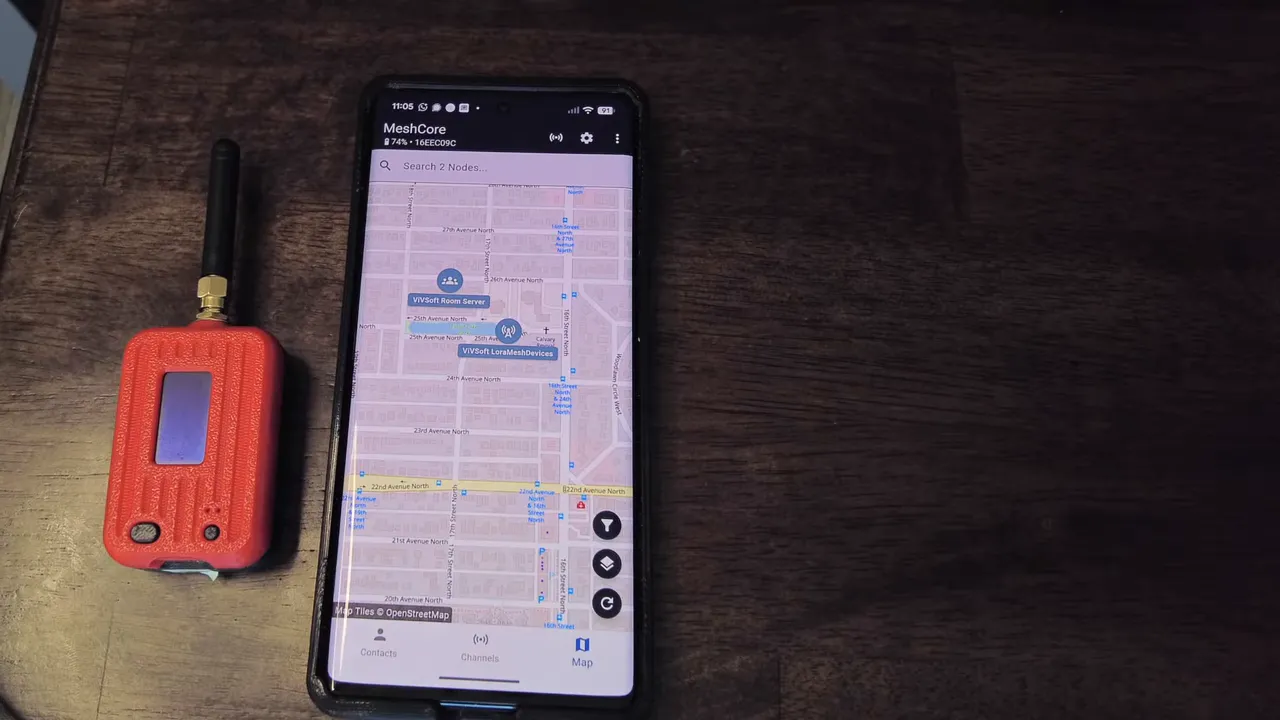
Connecting with the MeshCore app and sending adverts
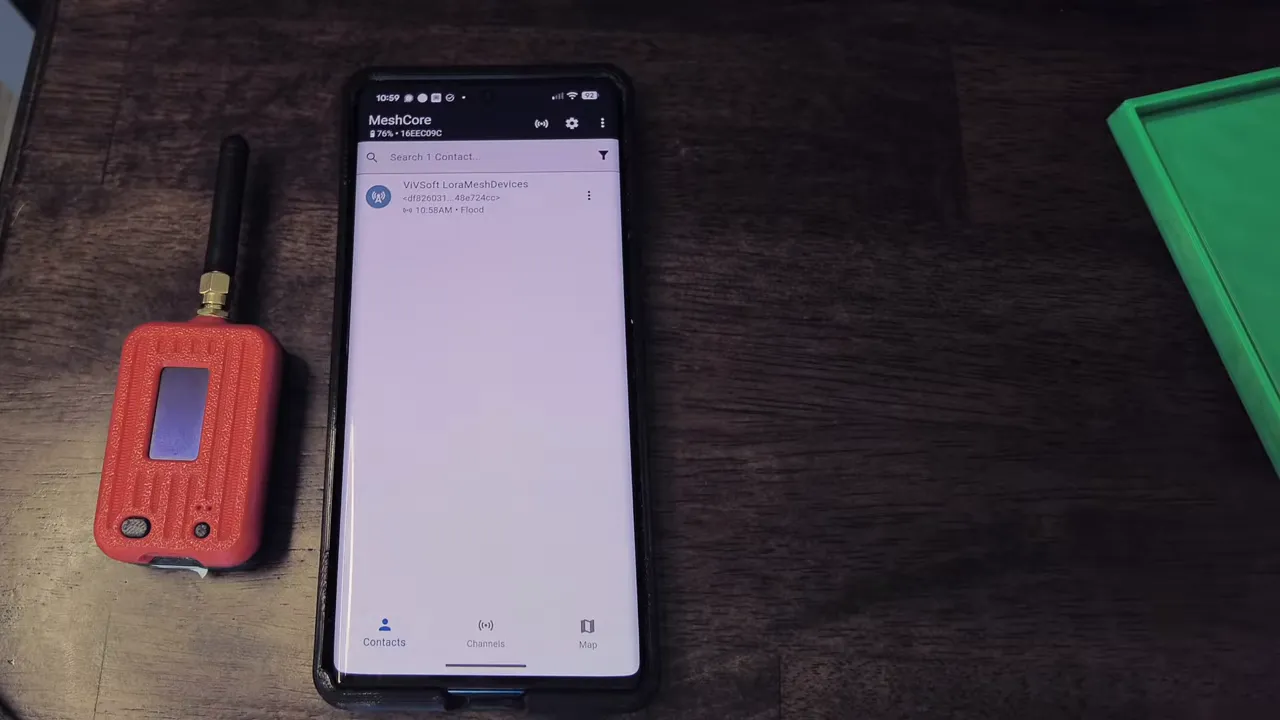
I paired the app with the Heltec V3 using the displayed PIN. From the app I sent zero-hop adverts (local area) and set the radio region to US/Canada. If your companion doesn’t have GPS, set the location manually so the app and network tools work correctly.
To demonstrate interaction between the devices, I used the web console (Climb mode) to issue an advert command from the repeater; the app and web console immediately showed the advert arriving. I then set an advert interval so the repeater automatically advertises every 60 minutes.
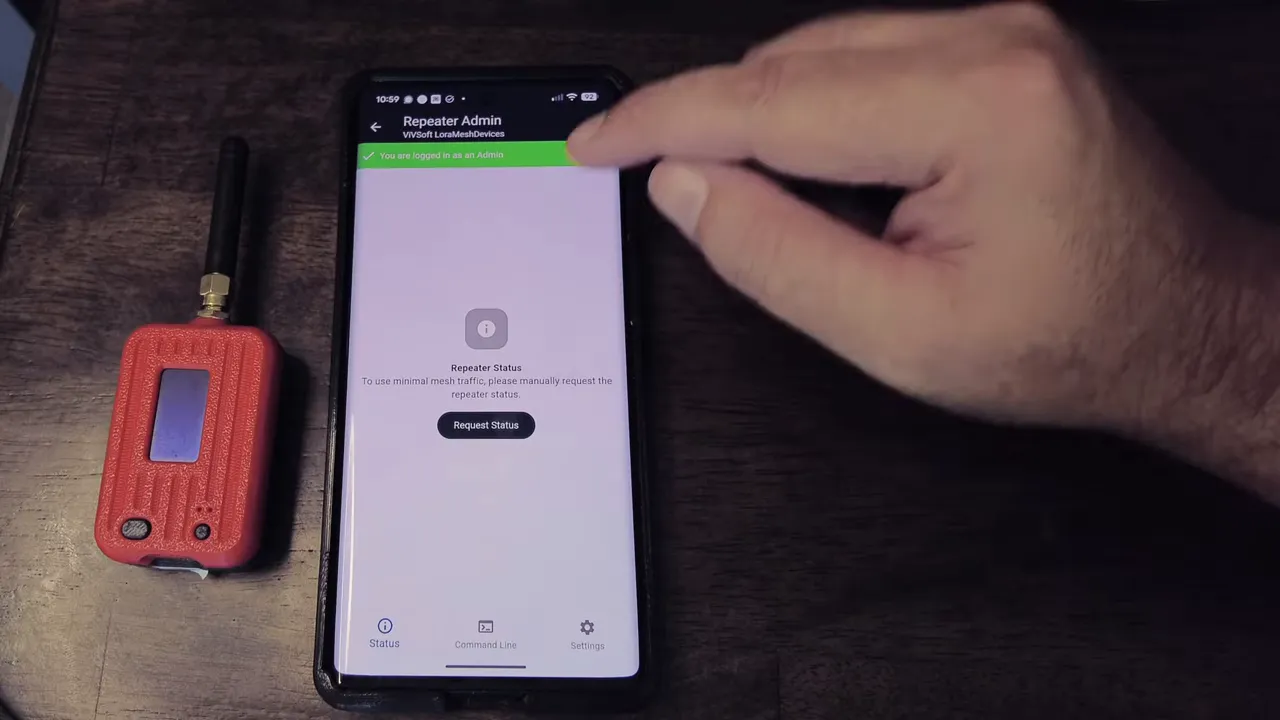
Admin tools: status, console and remote management
The MeshCore Solar admin console provides device status (battery level, uptime, noise floor), radio configuration, and command access. From the web UI I set the advert interval, pulled configs, and checked battery status (my solar node reported ~89% battery during testing).
New mapping tools: antenna coverage and line-of-sight
Two new features make planning deployments much easier:
- Antenna coverage: Long-press a point on the map to load an antenna coverage simulation from that point and antenna height. This reveals the expected coverage footprint so you can position repeaters and nodes more effectively.
- Line-of-sight measurement: Pick two points to generate a profile that shows terrain elevation along the path — great for confirming whether two sites will see each other.
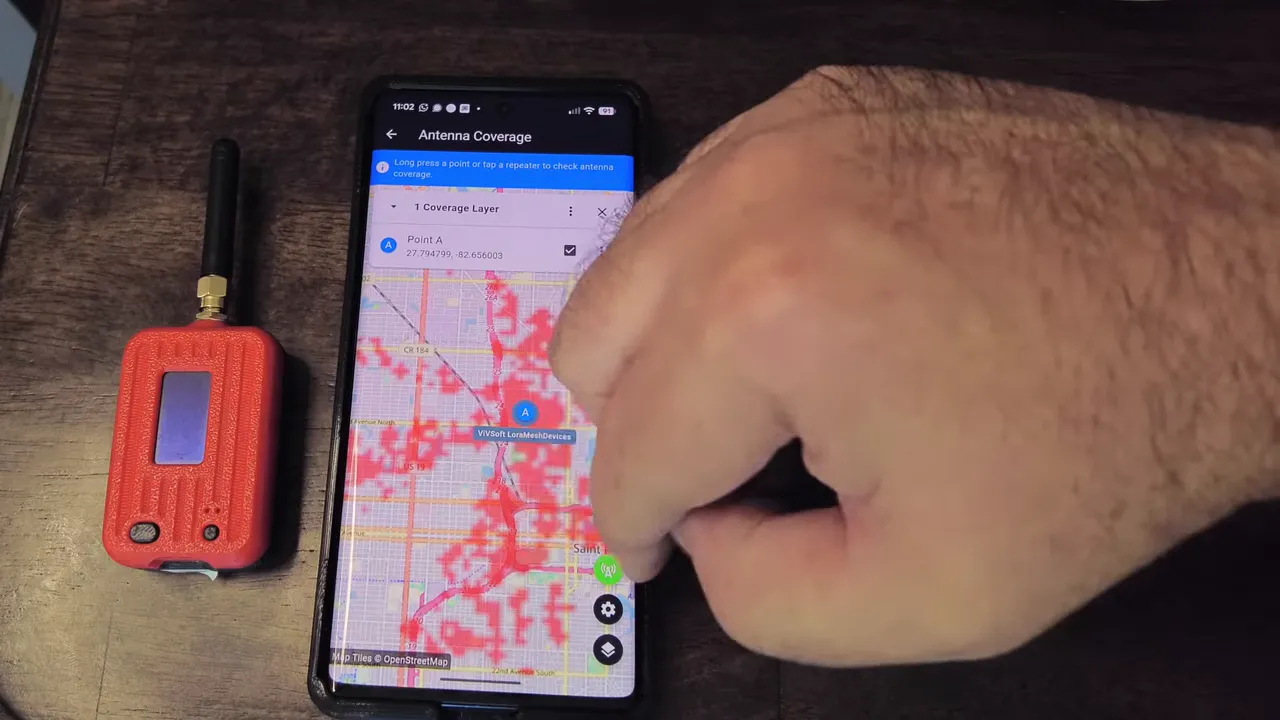
These tools helped verify that my tripod-mounted solar repeater would cover down to the waterfront and even reach parts of downtown from its chosen park location.
Wrap-up: MeshCore Solar is coming together
MeshCore Solar is maturing quickly. The ability to turn a small solar node into a repeater in minutes, manage it via USB or remote web tools, and use the new antenna/line-of-sight features makes it a powerful option for portable mesh deployments. I’ll be testing more features and refining deployments over the coming weeks — the team behind MeshCore Solar is doing stellar work.
Frequently Asked Questions (FAQ)
Q: What is MeshCore Solar?
A: MeshCore Solar is the MeshCore firmware and toolset applied to solar-powered LoRaWAN/LoRa mesh nodes. It includes repeater and companion roles, mapping tools, and remote management optimized for battery/solar deployments.
Q: Can I configure a repeater over Bluetooth?
A: No — repeaters must be configured via USB or remotely through the MeshCore web interface. Companion nodes (Bluetooth-enabled) can be configured from the MeshCore mobile app.
Q: My nRF device won’t flash. What should I check?
A: Make sure the device is in DFU mode before flashing. For nRF52840 boards you typically press the DFU/boot button to enter DFU, then retry the web flasher.
Q: How do I set periodic adverts?
A: Use the console (Climb mode) or the web admin to set the advert interval in minutes. I set mine to 60 minutes so the repeater advertises automatically.
Q: Do I need GPS on companion devices for mapping tools?
A: No — mapping tools work with manual locations. If a device lacks GPS, set its location in the web UI so antenna coverage and line-of-sight tools can use it correctly.
Q: Where can I learn more or get hardware?
A: Visit LoRaMeshDevices.com for hardware and guides. I’ll be posting more updates and deployment notes as I continue testing MeshCore Solar setups.