
Building a ESP32 Based Meshtastic Node with Telemetry
Published by Vivian van Zyl in Meshtastic the 10/21/2024 at 04:19 pm
Building a ESP32 Based Meshtastic Node with Telemetry
Creating a Meshtastic telemetry node is an exciting project that combines environmental monitoring with wireless communication. In this blog post, we will walk through the process of building a Meshtastic node using an ESP32 Heltec board and a BME280 environmental sensor. This guide covers everything from the necessary components to soldering and integration.
Table of Contents
- Getting Started with Meshtastic Telemetry
- Preparing the Components
- Soldering Connections
- Connecting the Environmental Monitor
- Verifying the Setup
- Conclusion
- FAQ Section
Getting Started with Meshtastic Telemetry
Before diving into the project, let’s discuss the key components you'll need for building your Meshtastic node:
- BME280 Environmental Sensor: This sensor measures temperature and barometric pressure.
- ESP32 Heltec Node: This microcontroller will serve as the brain of your telemetry system.
- Soldering Kit: Essential for making secure connections between components.
- Jumper Wires: Used for connecting the sensor to the ESP32 board.
Preparing the Components
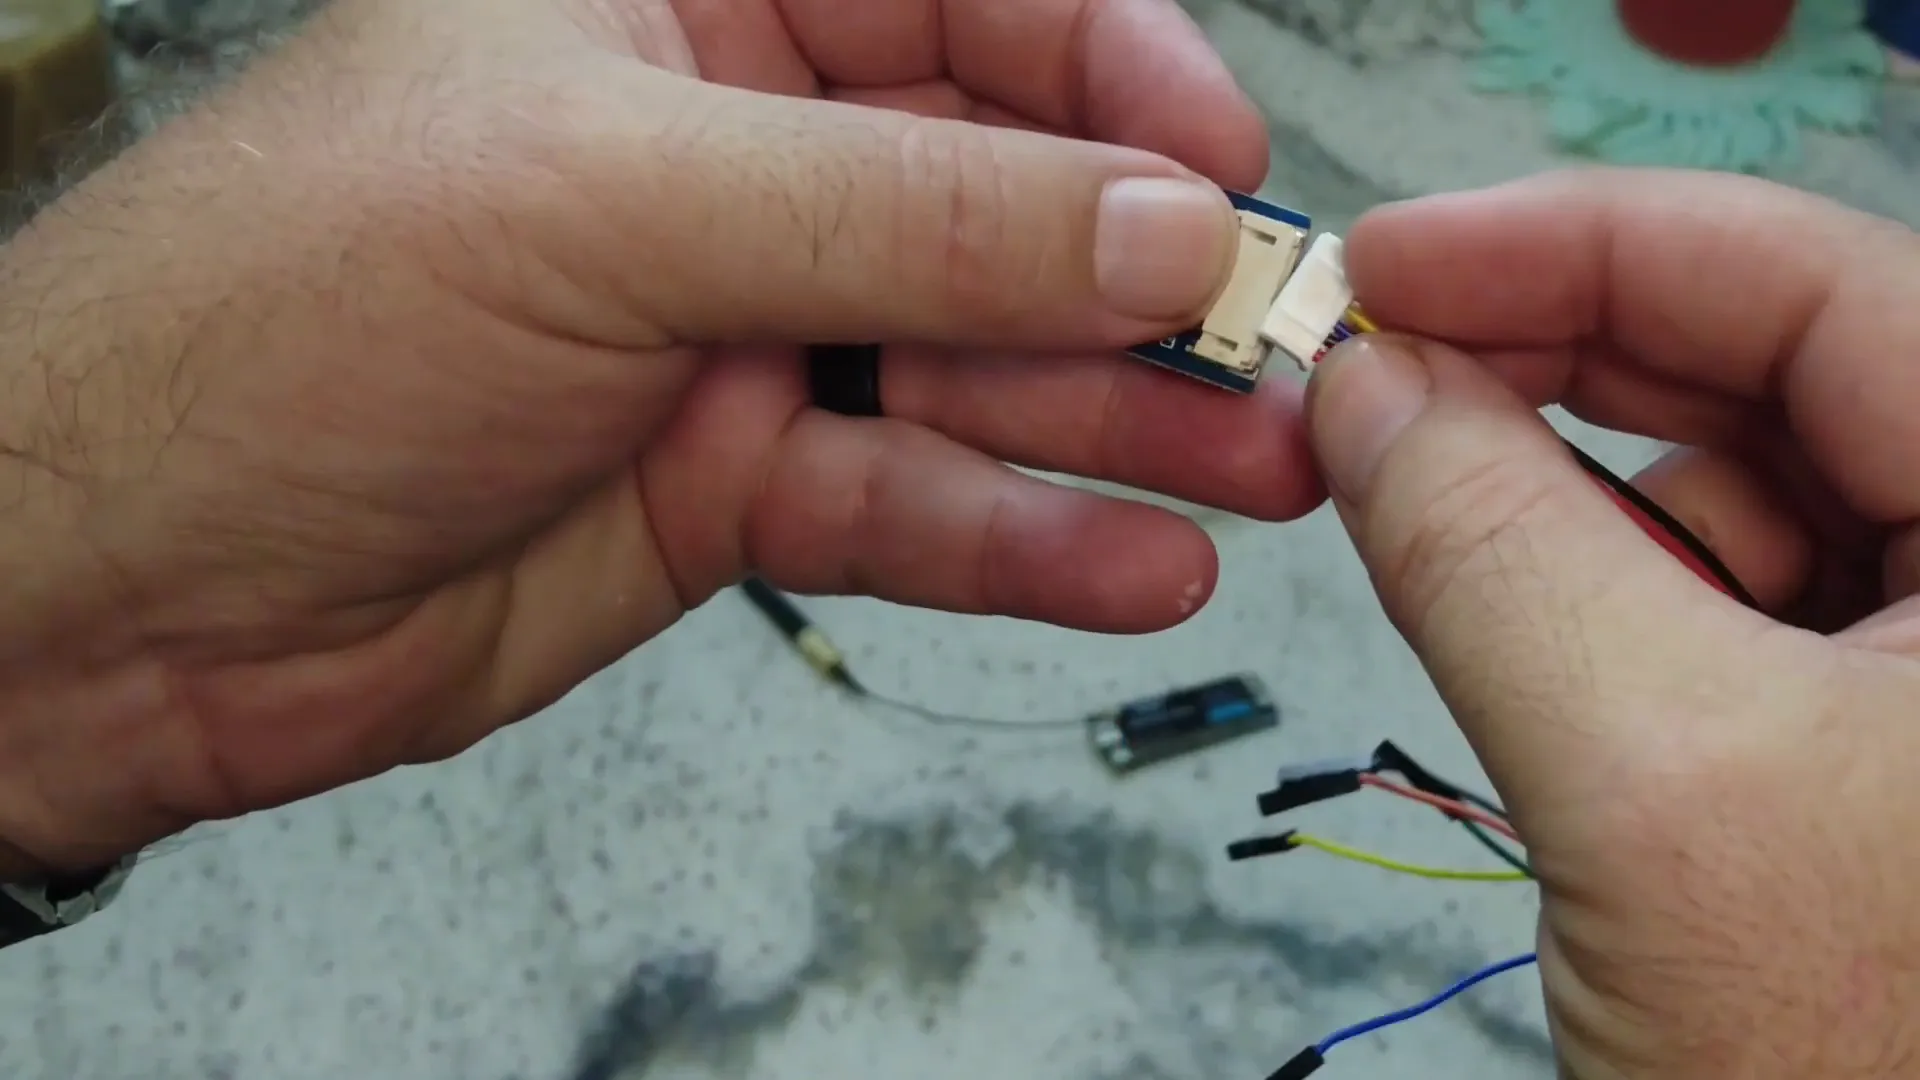
To begin, gather all your components and tools. The BME280 sensor typically comes with pre-soldered wires, which simplifies the process. However, you may need to adjust the wiring harness to fit your project needs.
Remove any unnecessary wires using a small screwdriver to lift the tabs and pull them out. You’ll only need a few wires for ground, power, and communication.
Soldering Connections
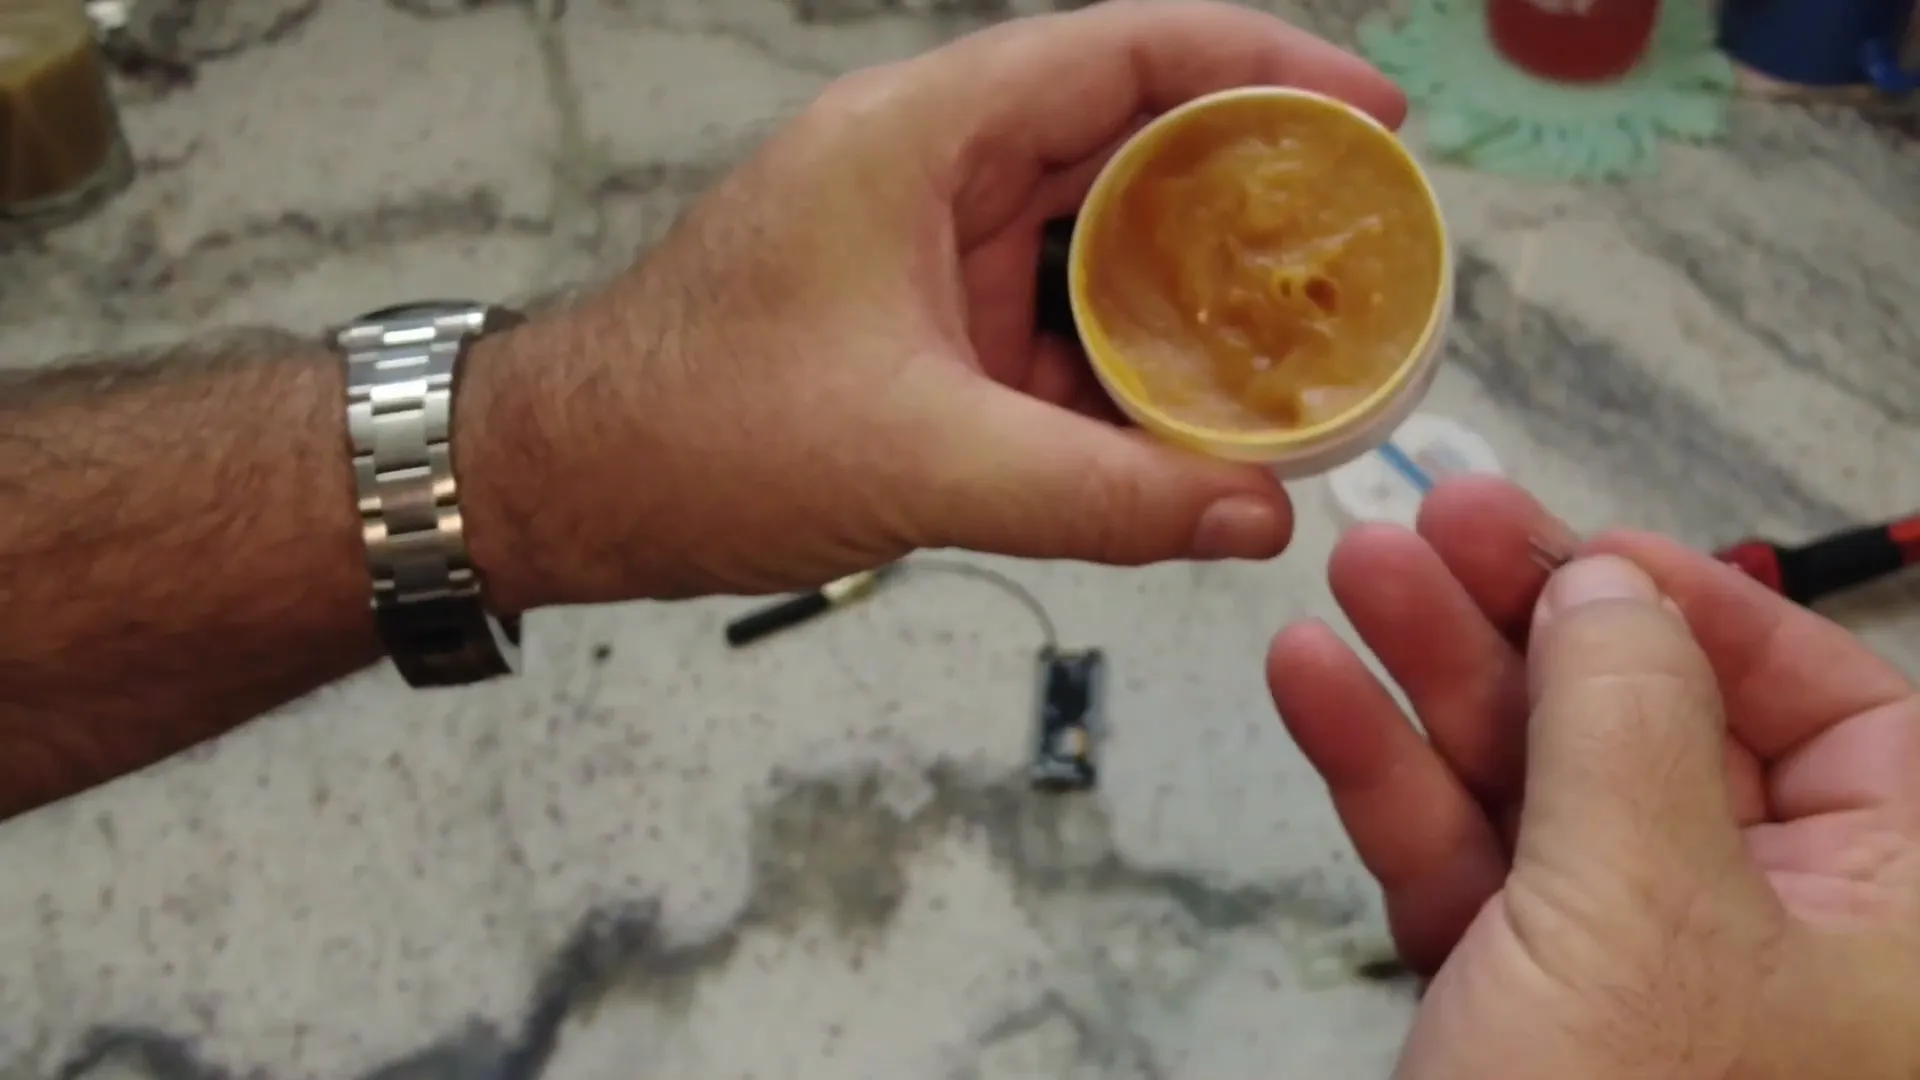
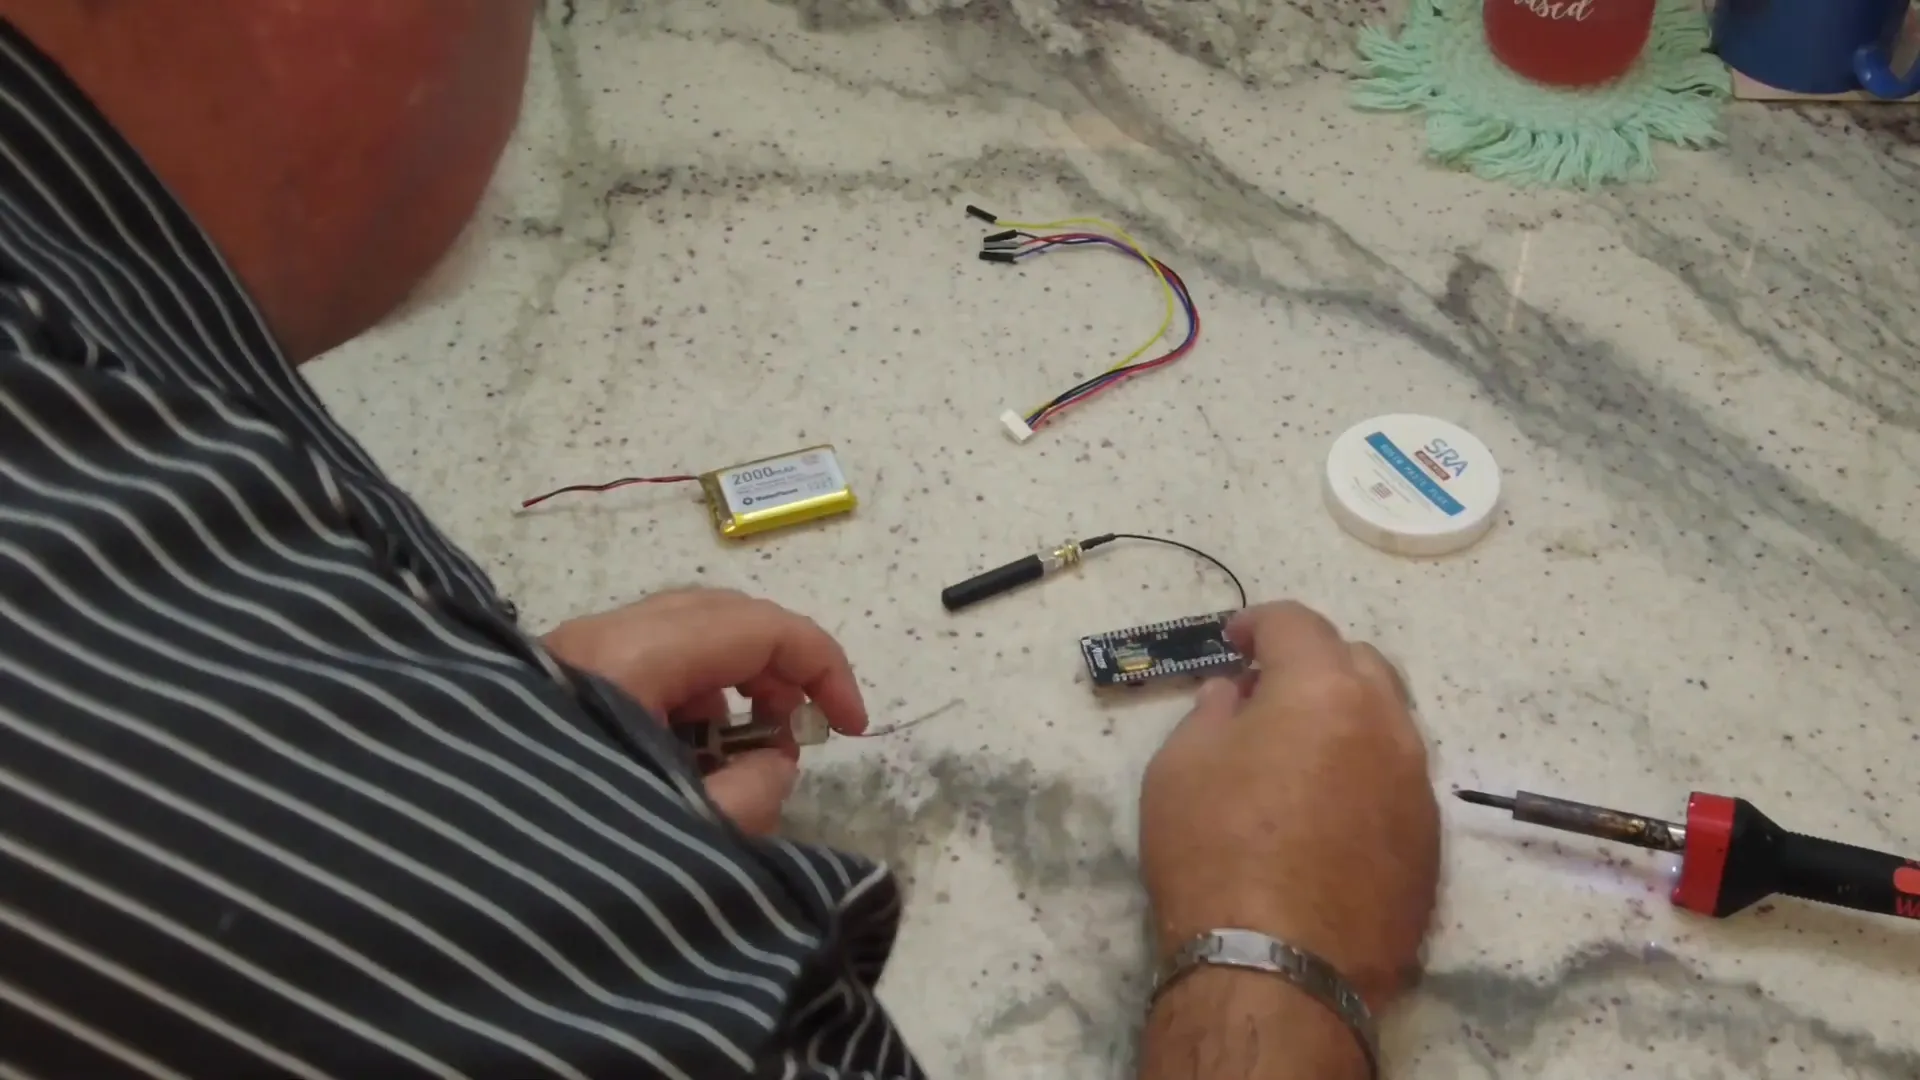
Now, it's time for the fun part: soldering! Start by applying flux to the sensor pins to ensure a good connection.
Carefully touch the soldering iron to the pins you want to connect. Make sure to refer to the wiring diagram to correctly place each wire. This diagram will guide you in connecting the BME280 sensor to the ESP32.
Completing the Soldering
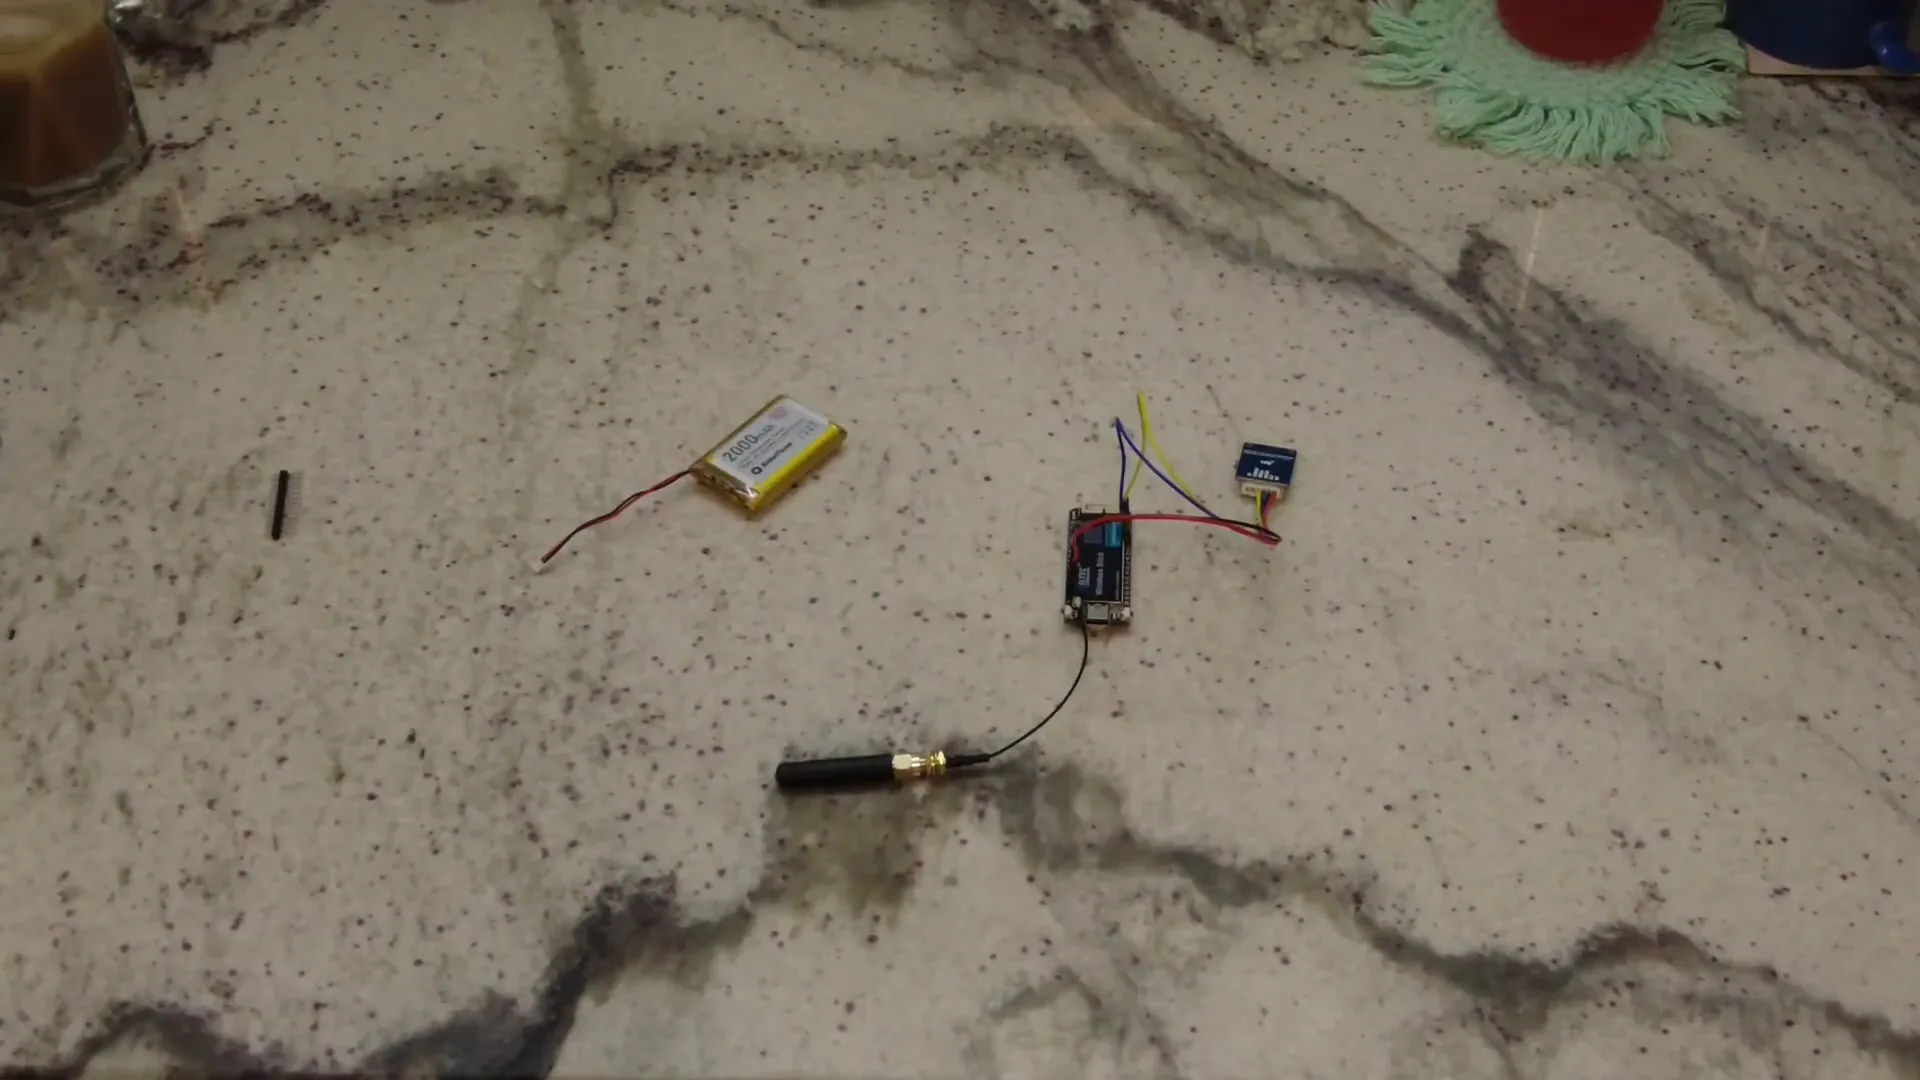
After soldering the necessary connections, you should have a solid bond between the sensor and the ESP32. Ensure that you are connecting the 3.3V power wire and the ground wire to their respective pins on the ESP32 board.
Connecting the Environmental Monitor
With the soldering done, connect the environmental monitor to the ESP32. You should see the telemetry data being sent to the Meshtastic app, confirming that everything is working correctly.
Verifying the Setup
Once everything is connected, check the Meshtastic app to verify that the telemetry data from your node is being transmitted successfully. This step is crucial as it confirms that all components are functioning as expected.
Conclusion
Congratulations! You have successfully built a Meshtastic telemetry node using an ESP32 and a BME280 environmental sensor. This project not only demonstrates the practical application of DIY electronics but also opens the door to more advanced projects in environmental monitoring and wireless communication.
FAQ Section
What is Meshtastic Telemetry?
Meshtastic telemetry refers to the real-time transmission of environmental data using Meshtastic nodes, which communicate wirelessly via LoRa technology.
Do I need previous soldering experience?
While some soldering experience is helpful, this project is designed for beginners. Just follow the steps carefully, and you’ll do fine!
What can I monitor with the BME280 sensor?
The BME280 sensor can monitor temperature, humidity, and atmospheric pressure, making it ideal for various environmental monitoring applications.
Can I use other sensors with the ESP32?
Yes, the ESP32 is versatile and can be used with many different sensors. Just ensure that you understand the wiring and communication protocols for each sensor you choose.
Where can I find more resources on Meshtastic projects?
Check out the official Meshtastic documentation and community forums for more project ideas and technical support.
Tools and Materials: (Found on https://www.lorameshdevices.com/)
- BME280 Environmental Monitor (https://social.vivsoft.live/QOUM)
- ESP32 Heltec Node (https://social.vivsoft.live/QOUP)
- Soldering Kit
- Jumper Wires
Whether you’re a seasoned maker or just starting your journey into DIY electronics, this project is both educational and practical. By the end of the video, you'll have a functional Meshtastic node capable of monitoring environmental data and sending it wirelessly.