
Creating Your Own Meshtastic Home Base: A DIY Guide
Published by Vivian van Zyl in Meshtastic the 01/02/2025 at 05:11 pm

Meshtastic is revolutionizing the way we think about communication, especially in off-grid scenarios. In this blog, we’ll explore how to create a DIY Meshtastic home base using 3D printing and a few essential components. This guide will take you through the process, from the initial design to the final assembly, ensuring you have a functional and aesthetically pleasing setup.
Table of Contents
- Why Build a Meshtastic Home Base?
- Gathering Your Materials
- Designing the Case
- Printing the Case
- Assembling the Components
- Connecting the Antenna
- Finalizing the Assembly
- Powering Up Your Home Base
- Configuring the Mobile App
- Enhancing Your Home Base
- Future Updates
- Conclusion
- FAQs
Why Build a Meshtastic Home Base?
Setting up a Meshtastic home base provides numerous benefits. First, it ensures reliable communication in areas lacking cellular service. Second, it allows for the integration of various devices, enhancing your network's functionality. Lastly, it’s a fun and educational project that encourages creativity and technical skills.
Gathering Your Materials
Before diving into the assembly, let’s gather the necessary materials for creating your Meshtastic home base:
- 3D Printer: To print your custom case.
- 3D Printing Filament: Choose a durable material like PLA or ABS.
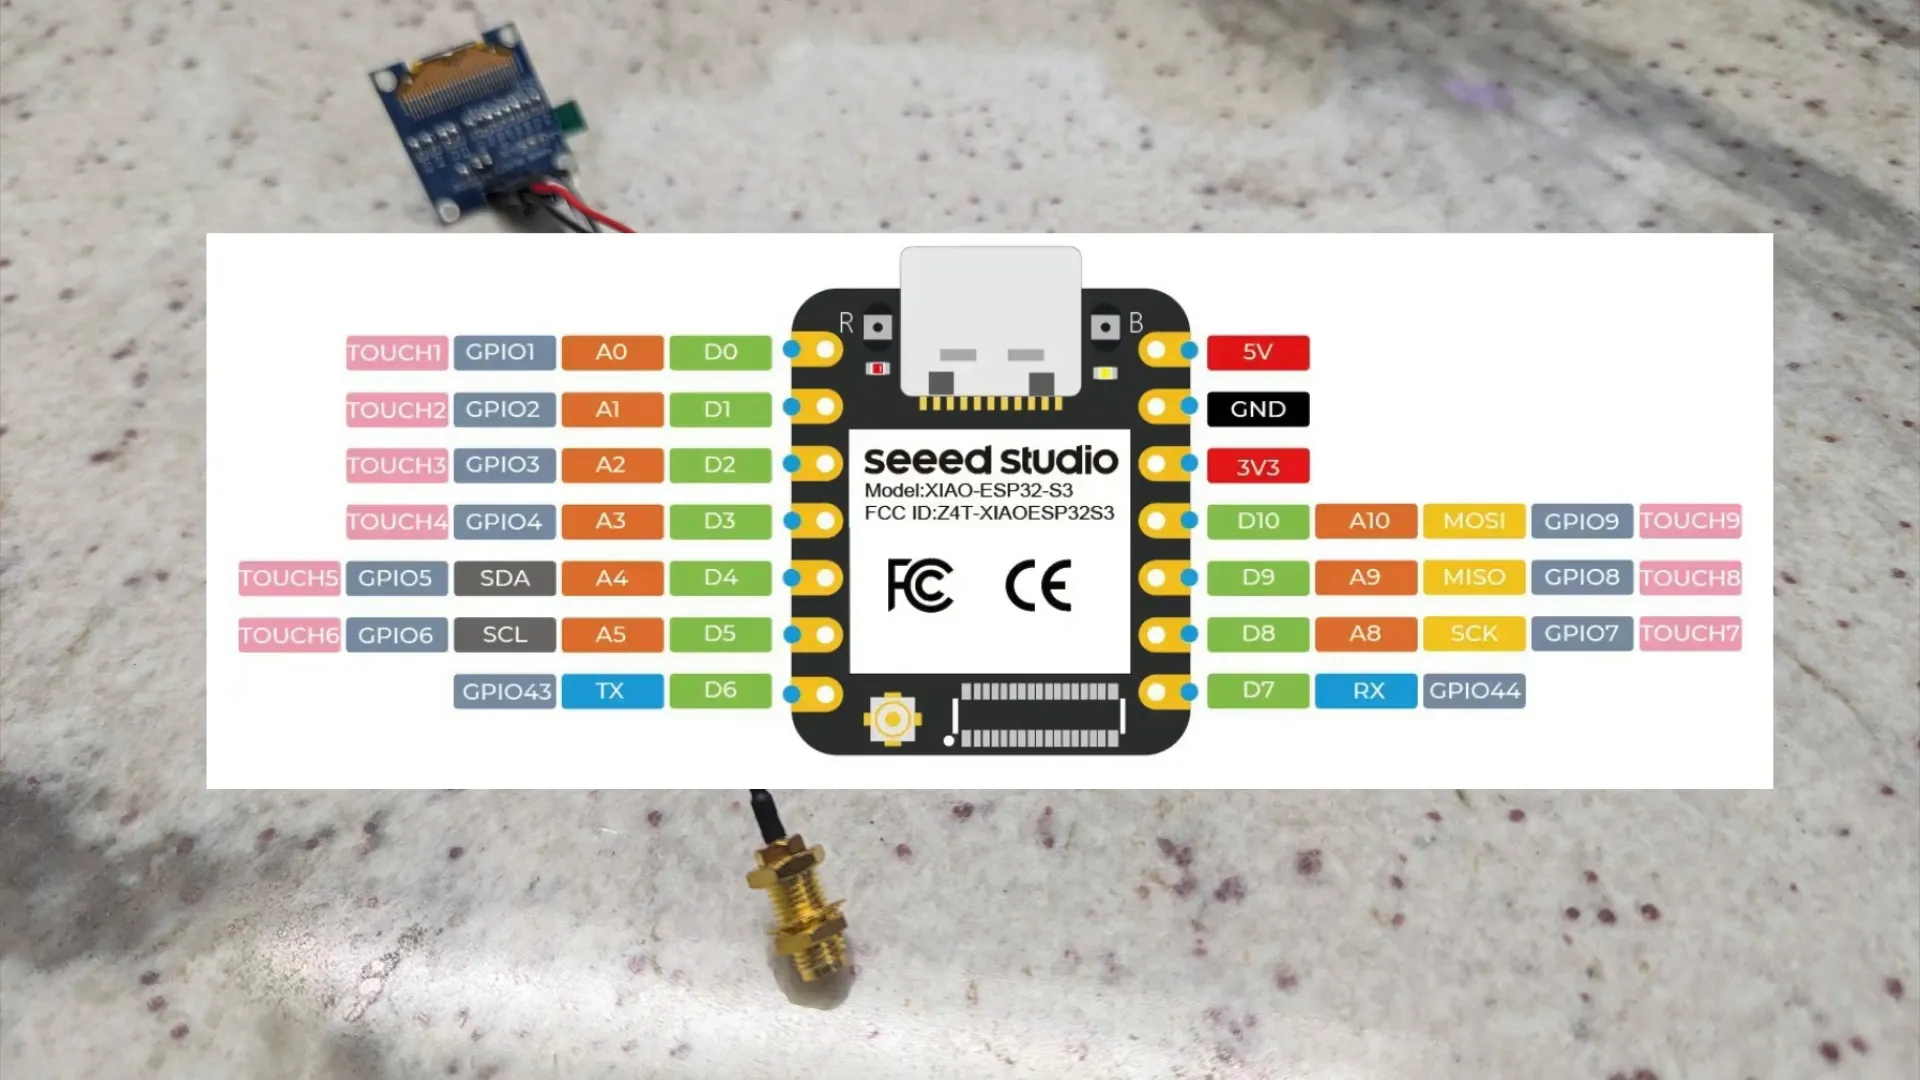
- Seeed Studio Mini Module: This will be the core of your device.
- LCD Screen: For displaying information.
- USB Cable: To power the device.
- Antenna: Essential for communication.
- Button: For user interaction.
Designing the Case
The design process is crucial for creating a functional home base. While you can find many designs online, modifying an existing one can tailor it to your needs. I found a case online and heavily modified it for my purposes. Here are some tips for designing your case:
- Ensure it has space for the antenna and USB port.
- Consider accessibility for the LCD screen and button.
- Make it sturdy enough to withstand daily use.
Once you have your design ready, it’s time to print it!
Printing the Case
Printing your case is straightforward. Ensure your 3D printer settings are optimized for the material you are using. After printing, clean up any imperfections, and make sure all parts fit together snugly. This is what my printed case looks like:

Assembling the Components
Now that you have your case ready, let’s assemble the components. Start by placing the Seeed Studio mini module inside the case. This module is the heart of your home base, and it’s important to position it correctly.
Next, connect the LCD screen to the mini module. The wiring can be a bit tricky, so take your time to ensure everything is properly connected. You can see here how I soldered the screen onto the module:
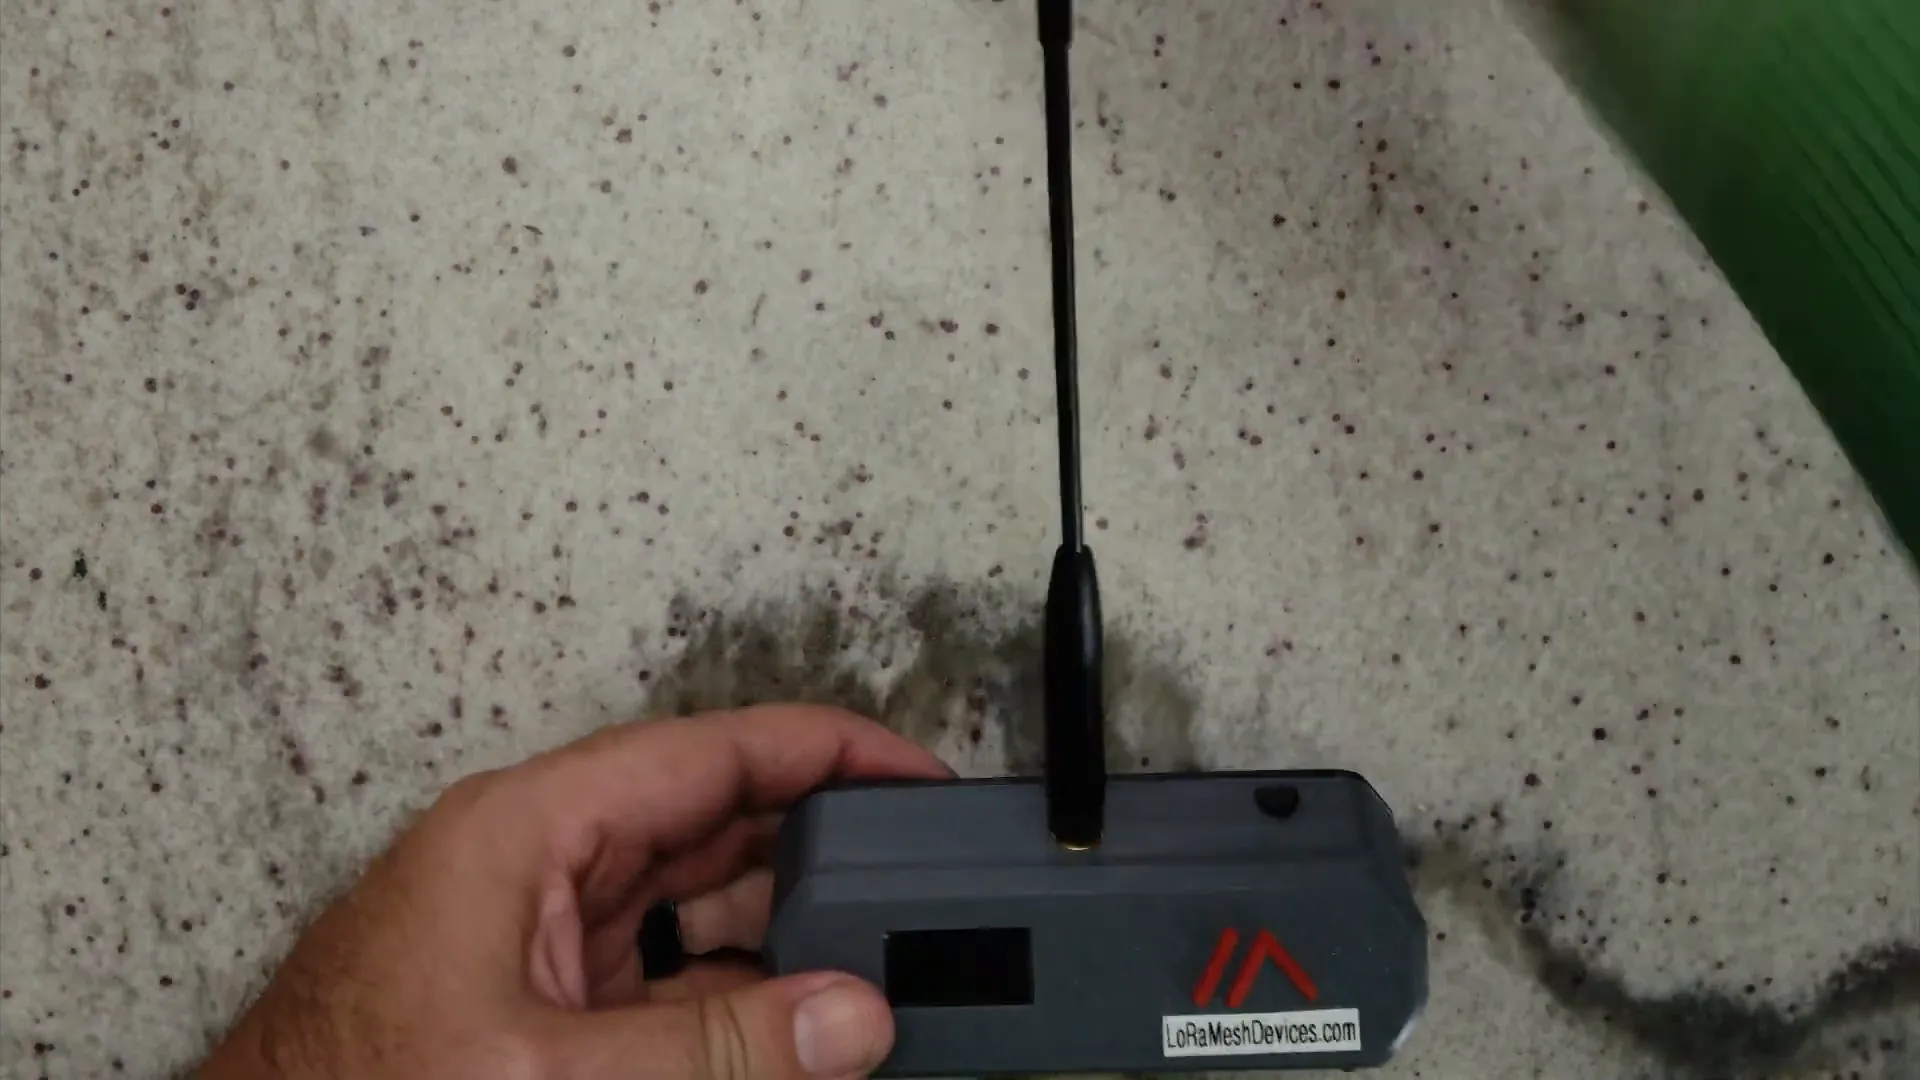
Connecting the Antenna
After securing the mini module and screen, it’s time to connect the antenna. The antenna is vital for enhancing communication range. Make sure it’s properly attached and positioned for optimal performance. Here’s a look at how everything fits together:
Finalizing the Assembly
With all components in place, snap the case together. It should fit snugly, ensuring that everything is secure. If you look at it from the back, it should resemble this:
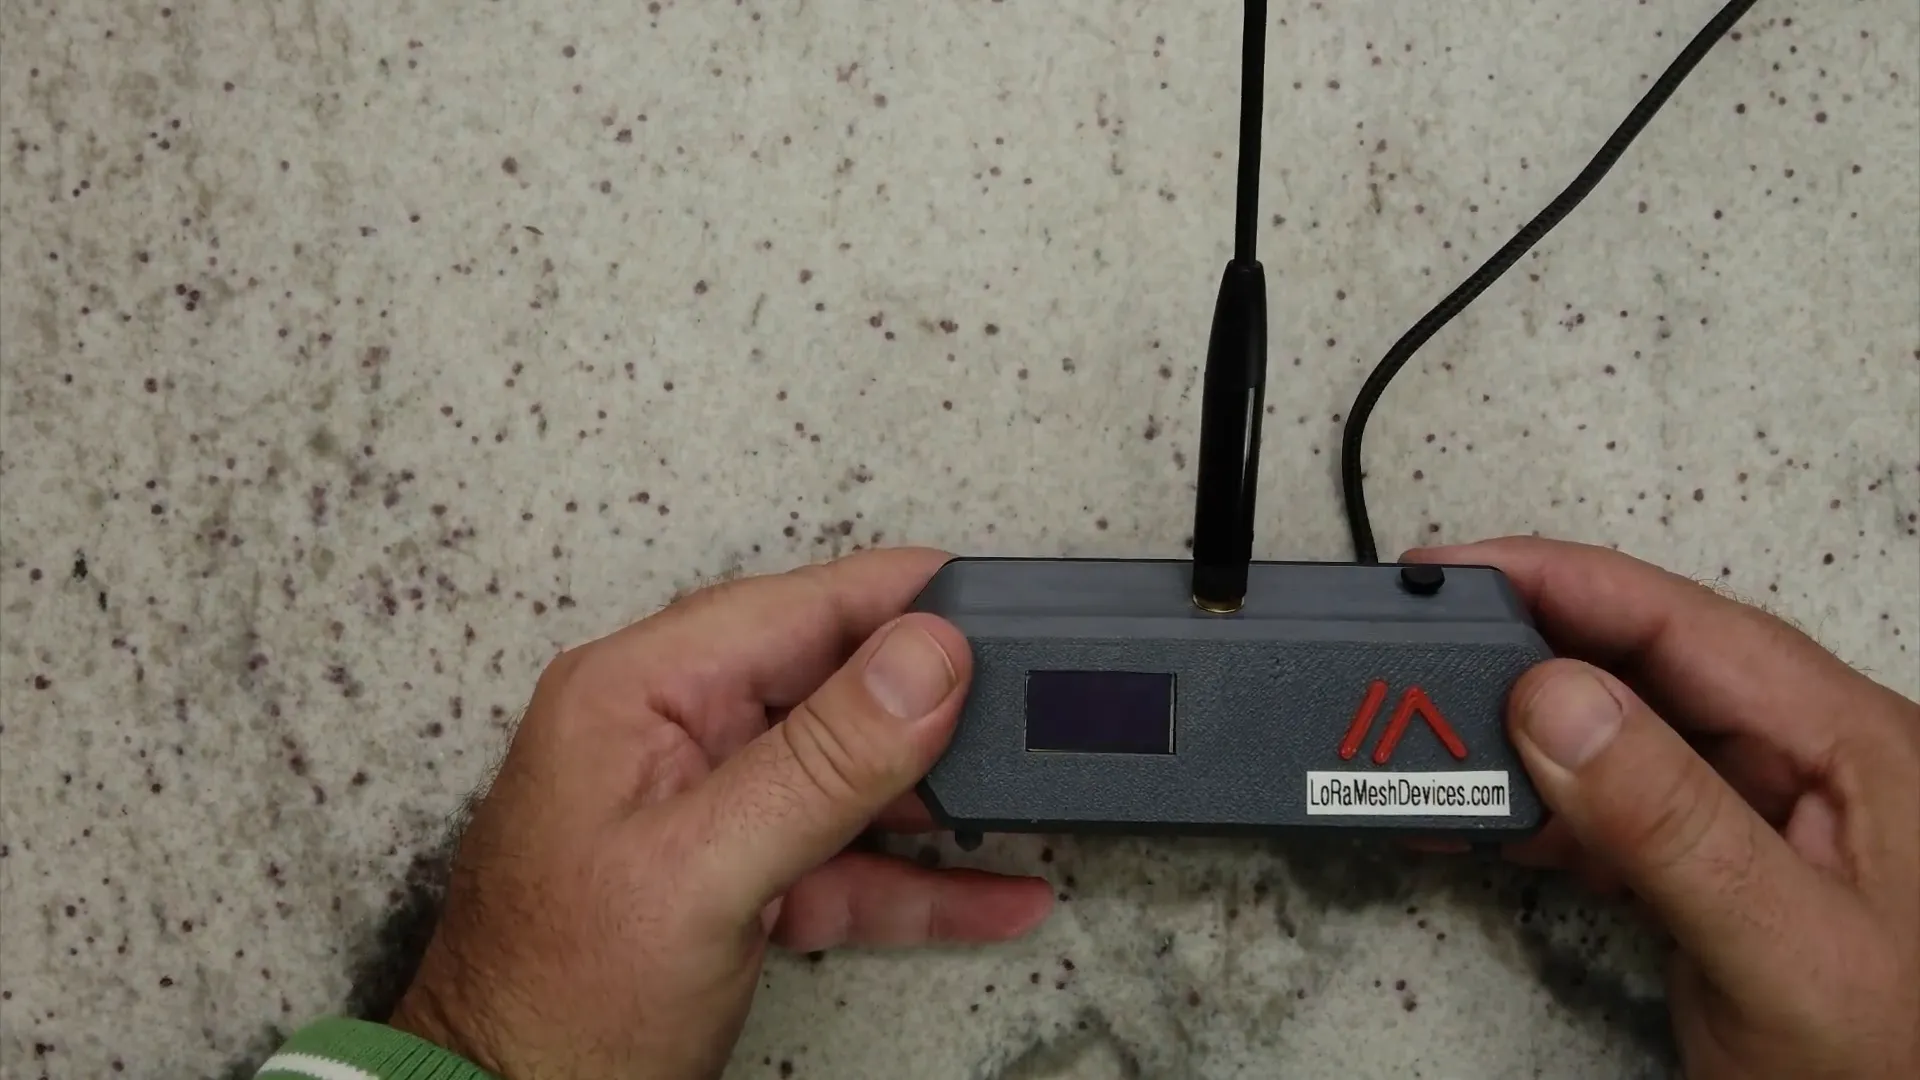
Powering Up Your Home Base
Plug in the USB cable to power your device. The USB port is conveniently located at the back, making it easy to connect without clutter. Once powered, the device should boot up, and you’ll see the LCD screen activate. This is where the magic happens!
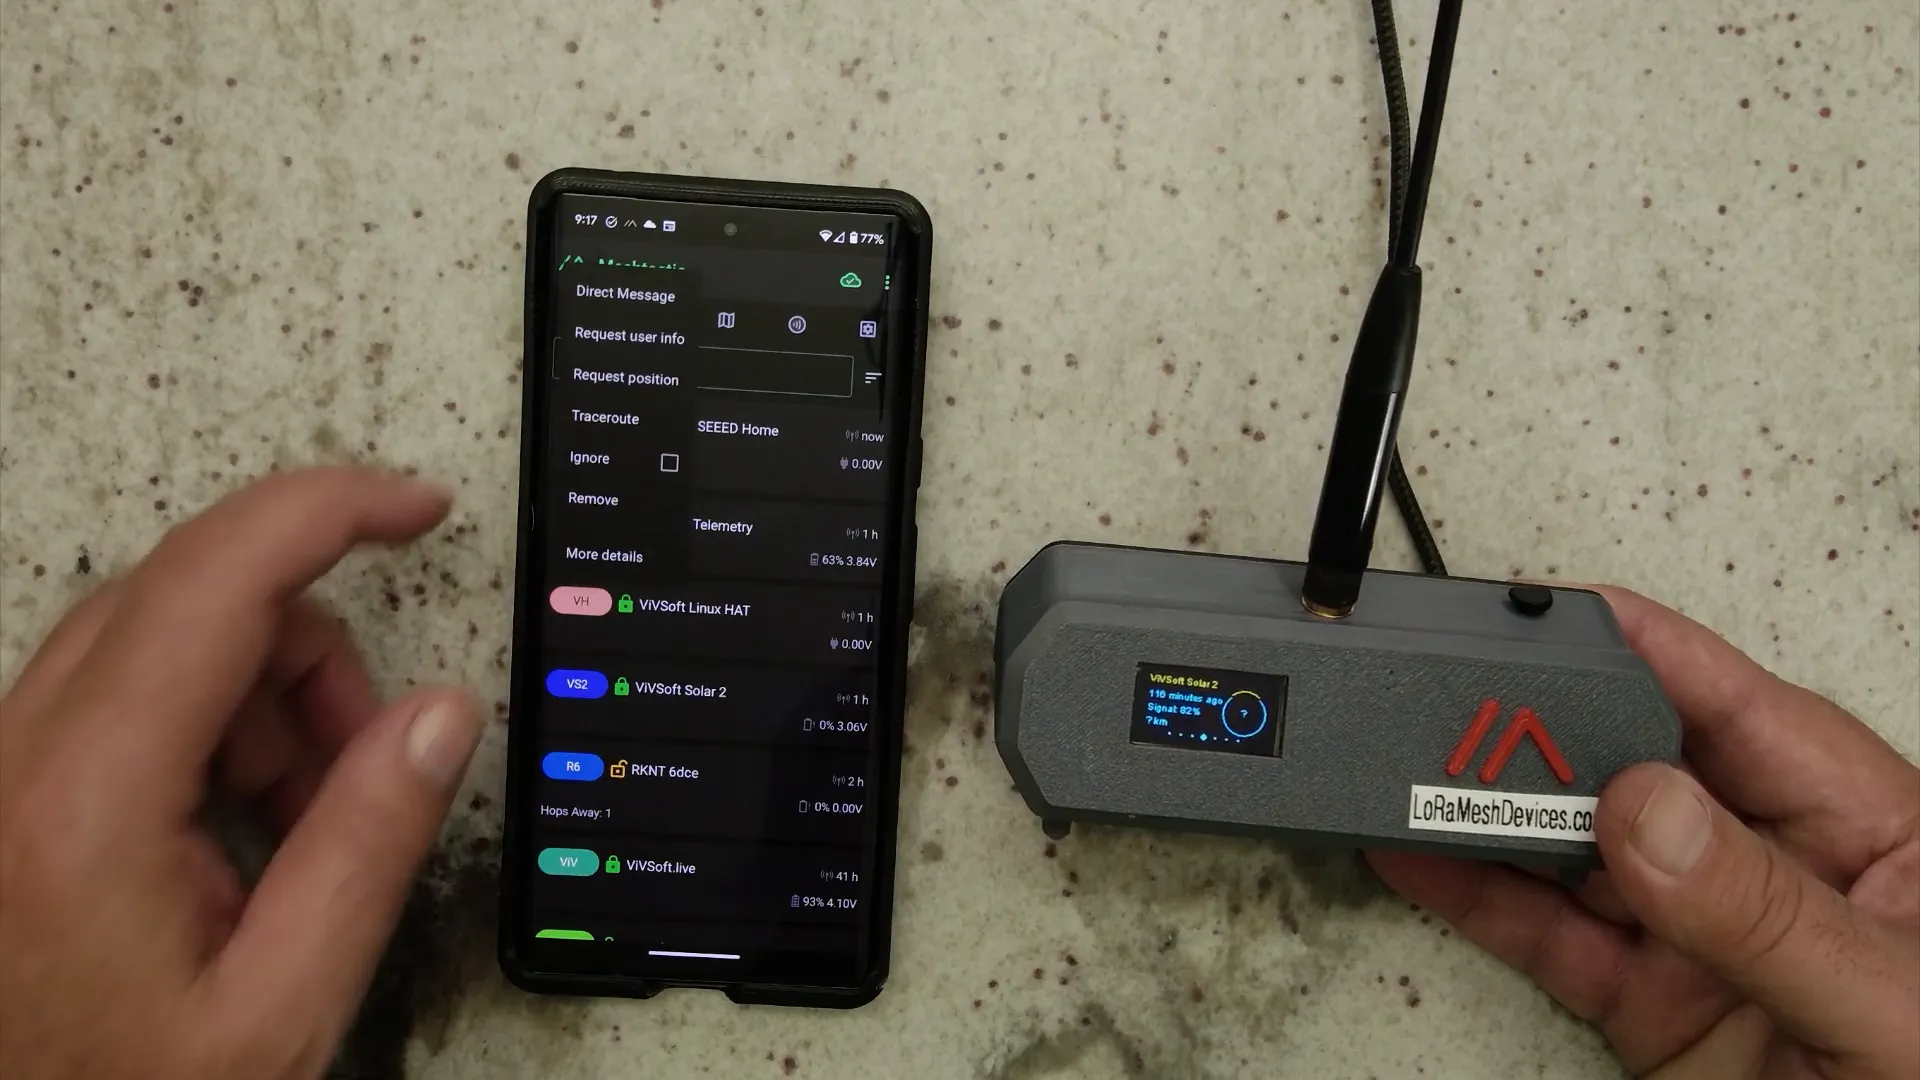
Here’s what the home base looks like when powered on:
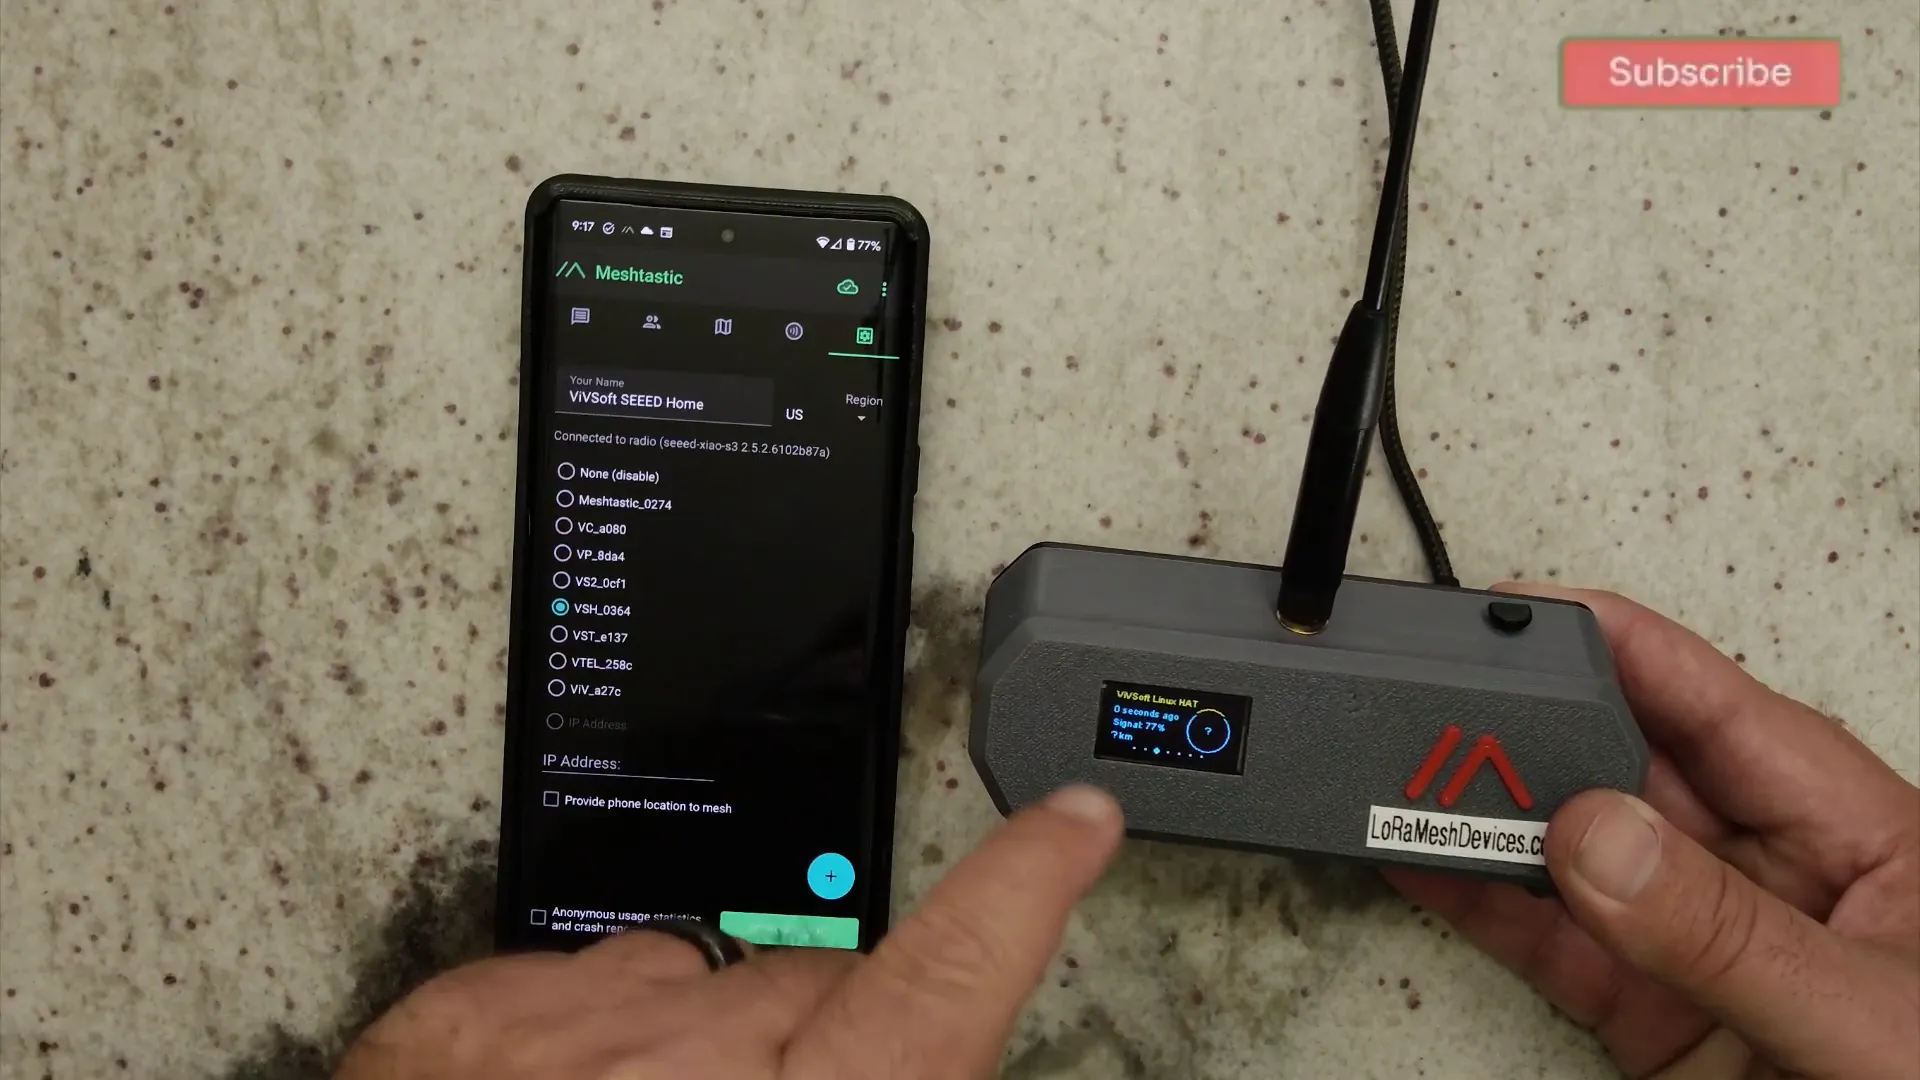
Configuring the Mobile App
To make the most of your Meshtastic home base, you’ll want to configure it using the mobile app. This app allows you to connect to your device, view other nodes, and perform network functions like trace routing. After connecting, you can see all your nodes displayed:
Enhancing Your Home Base
There are many ways to enhance the functionality of your Meshtastic home base. You can add features like:
- GPS for location tracking.
- Additional sensors for environmental monitoring.
- More buttons for user interaction.
As you experiment, you’ll discover even more possibilities, making your home base a versatile communication hub.
Future Updates
I plan to add more features to my unit, such as improved sensors and additional connectivity options. Stay tuned for updates as I continue to refine and enhance my Meshtastic home base.
Conclusion
Creating a Meshtastic home base is a rewarding project that combines creativity with technology. By following this guide, you can build a functional unit that enhances your communication capabilities. Whether you're camping, hiking, or just want a reliable way to stay connected off the grid, your Meshtastic home base is a fantastic solution.
FAQs
What is Meshtastic?
Meshtastic is a mesh communication protocol that allows devices to communicate without relying on traditional infrastructure, making it ideal for off-grid situations.
What components do I need to build a Meshtastic home base?
You will need a 3D printer, Seeed Studio mini module, LCD screen, USB cable, antenna, and other basic electronic components.
How does the Meshtastic mobile app work?
The mobile app connects to your Meshtastic device, allowing you to view other nodes, send messages, and perform network operations like trace routing.
Can I customize my Meshtastic home base?
Absolutely! You can modify the design, add features, and enhance functionality based on your needs.
Where can I buy Meshtastic devices?
You can find a variety of affordable Meshtastic devices at LoRaMeshDevices.com.
This article was created from the video DIY Meshtastic Home Base: 3D Printed Wonder! ???????? with the help of AI.