
DIY Solar Meshtastic Node Build: A Complete Step by Step Guide
Published by Vivian van Zyl in Meshtastic the 10/25/2025 at 09:40 pm

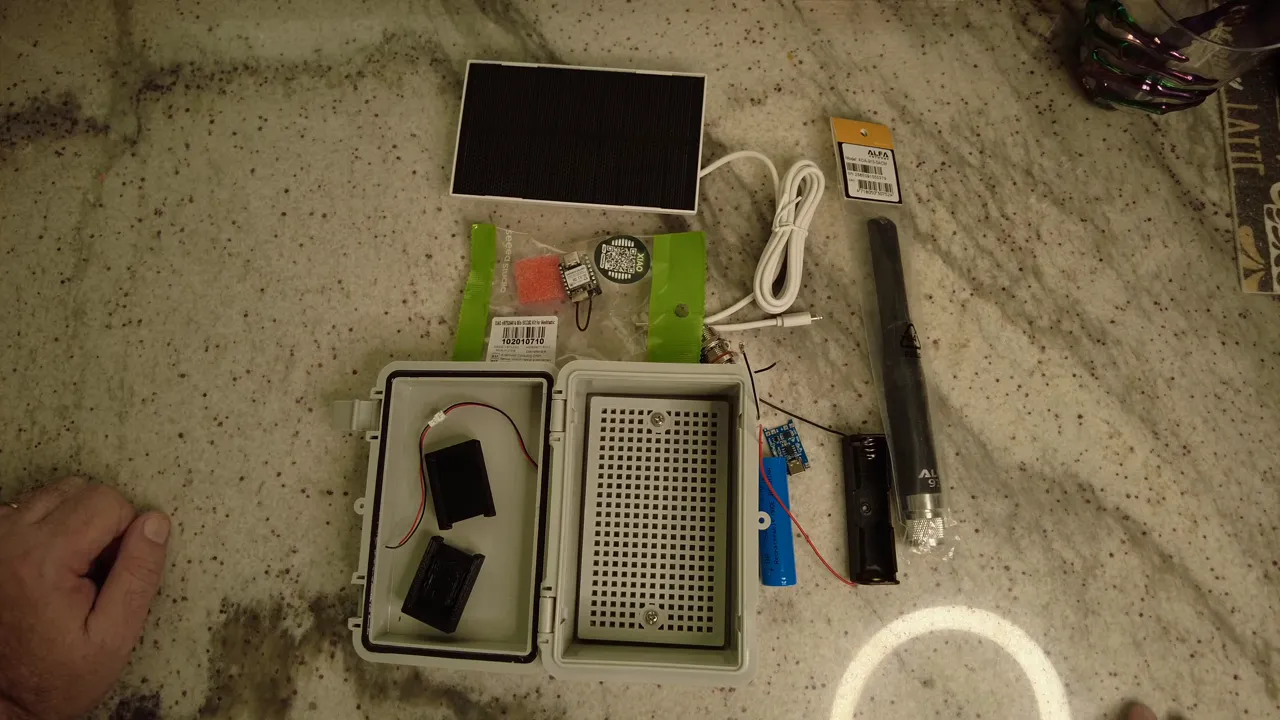
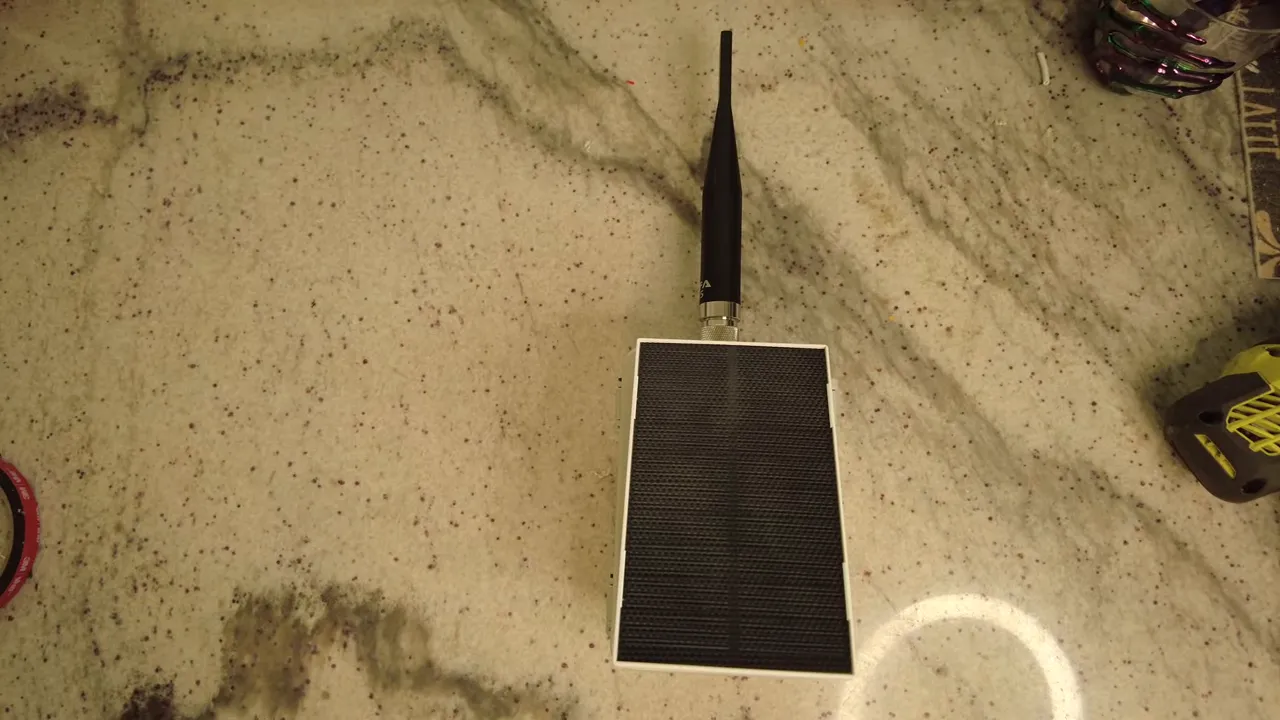
I built a compact Solar Meshtastic node using an NRF52840 Seed Meshtastic kit, a 2 watt solar panel, and a 3,500 mAh 18650 battery. In this guide I walk through the tools, parts, and practical tips I used to turn a tiny radio board into a waterproof, self-sustaining mesh node that can run for weeks on a single charge and recharge via solar with an MPPT controller.
What you will need
- NRF52840 Seed Meshtastic kit
- Waterproof case
- 2 watt solar panel
- MPPT TP4056 style charge controller
- 18650 3,500 mAh battery and holder
- Type N or bulkhead antenna connector and 915 MHz antenna
- Soldering iron, drill and small hardware for mounting
Overview of the design
The main idea is simple. The solar panel feeds an MPPT charge controller. The MPPT charges and protects the 18650 battery. The controller also provides regulated output to the Meshtastic node. The node itself remains tiny inside the waterproof box with an external antenna mounted on a bulkhead connector. Using an MPPT means safe charging and efficient harvest even with limited sunlight.
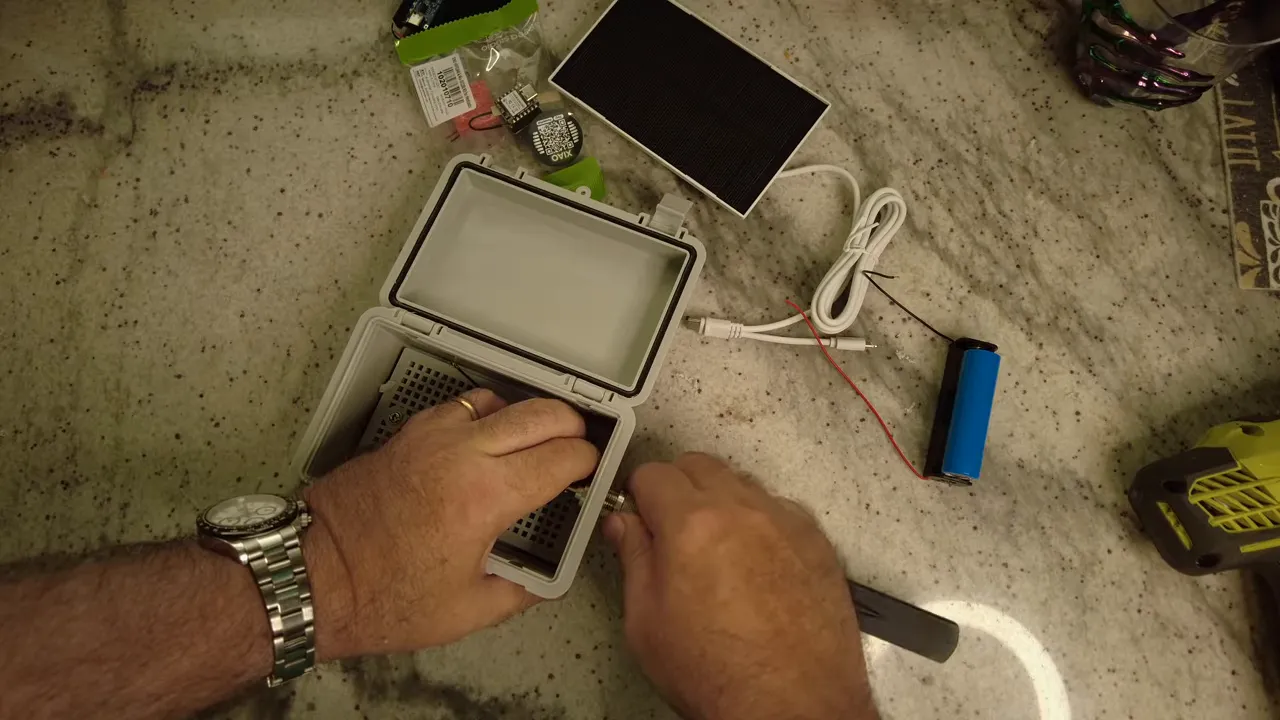
Step 1 - Drill the antenna hole and install the bulkhead
I marked the top of the case so the lid opens the way I prefer and drilled a 5/8ths hole for the antenna bulkhead. The bulkhead pigtail I used has a rubber sealing washer so when tightened it stays waterproof. Always check the orientation so the USB port and lid access stay the way you want.
Step 2 - Prepare the solar panel wiring
The 2 watt panel has only two wires. I trimmed the cable to length and passed it through a small hole I drilled in the front of the case. Solder the panel positive and negative to the MPPT input pads. I considered using the USB-C input on the MPPT but chose to solder directly for a tidy internal connection.
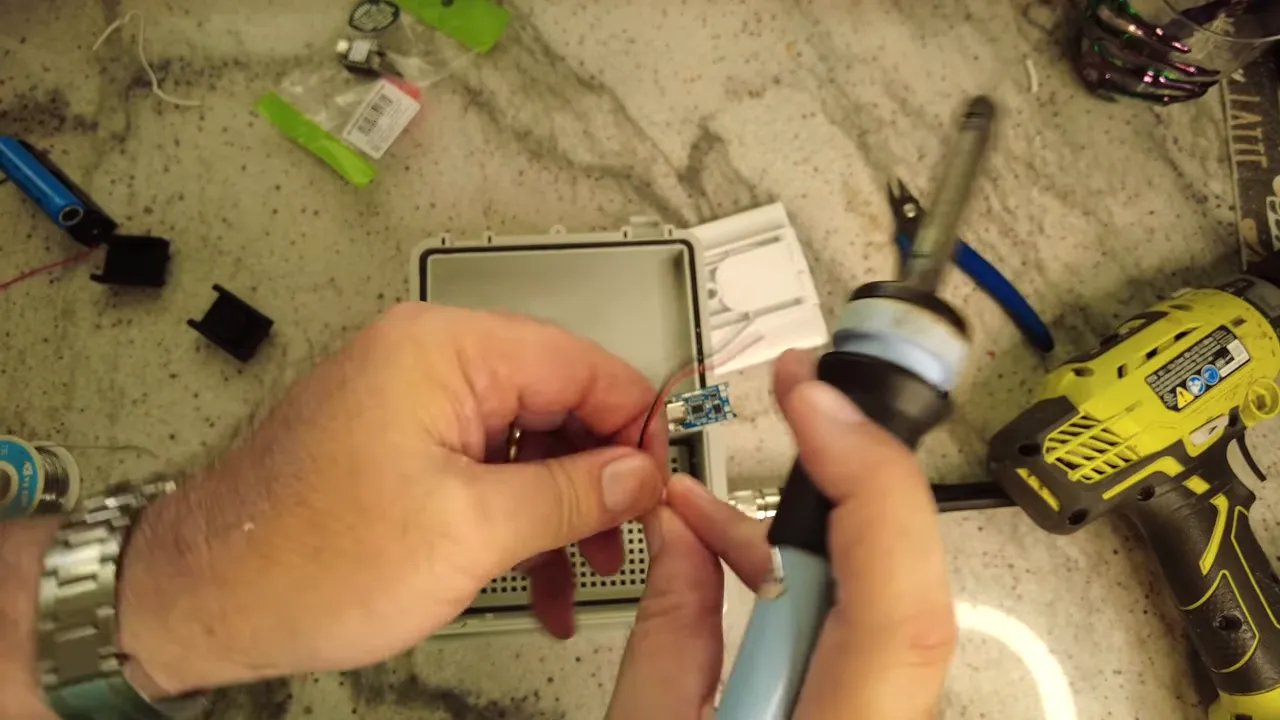
Step 3 - Wire the MPPT controller, battery, and node
The MPPT has three main sections: solar input, battery connection, and output to the node. I soldered the solar input, battery leads, and output wires. The Seed board is tiny so the battery pads are small. I carefully soldered thin wires from the MPPT output to the battery pads on the board. These two small solder joints power the node directly.
Step 4 - Mount everything neatly
I 3D printed small mounting plates that snap into the case and used double sided tape to hold the MPPT, the node, and the battery holder in place. The tape can be finicky so take your time aligning parts. Add mechanical screws for the solar panel on the outside and use a small nut and washer to allow angle adjustment for best sun exposure.

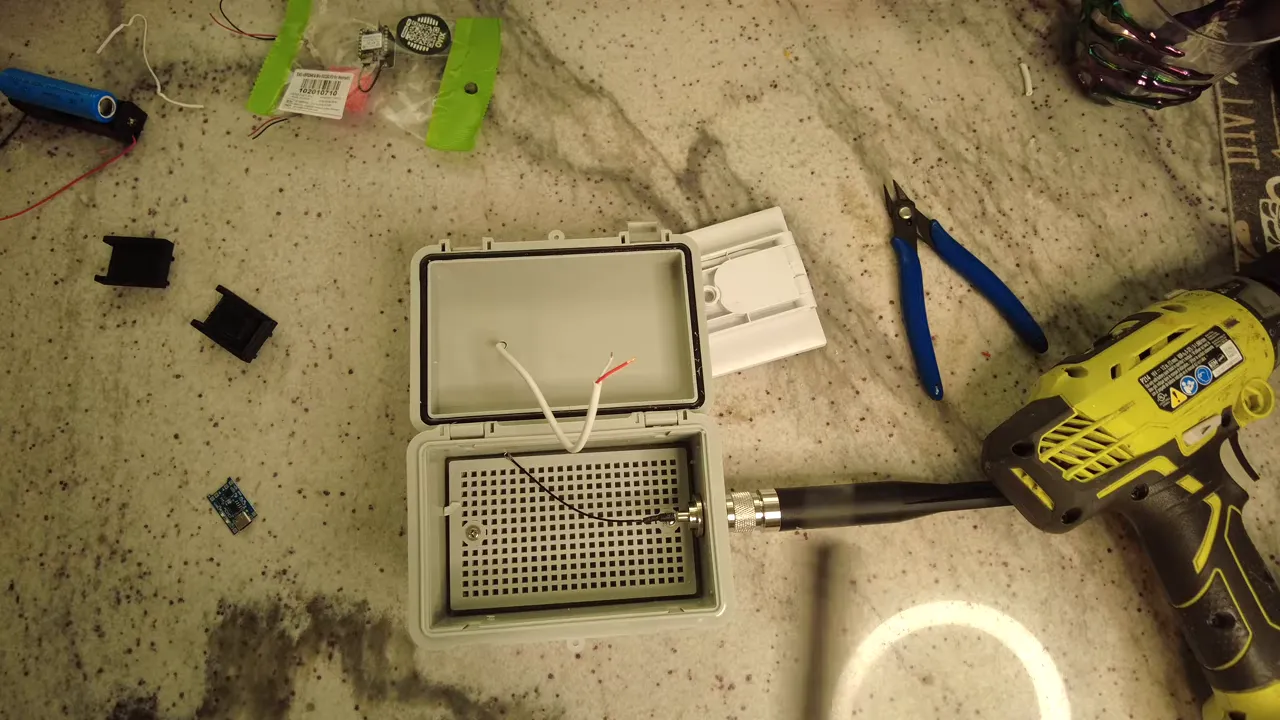
Step 5 - Seal, test, and boot
Before sealing the case, make sure the antenna is attached. MPPT modules often need a little light to start up, so a moment of sun will bootstrap the controller. Once it initializes you should see the node boot LED. With Meshtastic firmware on the board you can connect by Bluetooth and configure the node.

Final adjustments and waterproofing
Secure the solar panel to the lid with screws and washers, angle it as needed, then seal any cable entry points and the bulkhead surrounding with silicone to ensure a waterproof enclosure. The sealed build is then ready to mount on a pole or roof.
Why use an MPPT controller
Basic charging circuits on tiny nodes are not designed for large 18650 cells. An MPPT TP4056-style controller provides proper charge control, prevents overcharge, and harvests more energy from the solar panel under weak sun. It is a small investment that greatly improves reliability and safety.
Estimated run time
On a 3,500 mAh 18650 this little node, depending on transmission rates and settings, will typically last around two weeks without sun. With the 2 watt solar panel and an MPPT controller, trickle charging in modest light will keep it topped up and extend uptime indefinitely in most locations.
Tips and common pitfalls
- Confirm polarity on every connection before powering up.
- Use a sealed bulkhead connector for the antenna to keep the case waterproof.
- Practice soldering small pads; use fine gauge wire and steady hands.
- Apply silicone after testing so you can re-open the case for firmware updates via USB-C.
FAQ
How long will this Solar Meshtastic node run on a 3,500 mAh battery?
Typical runtime for a properly configured Meshtastic node is about two weeks without sun on a 3,500 mAh 18650. Actual runtime depends on transmit interval and radio usage.
Do I really need an MPPT for a small 2 watt panel?
Yes. MPPT improves charging efficiency and provides battery protection. It prevents overcharging and allows the panel to harvest usable power in low light.
Can I mount the solar panel on a pole or roof?
Yes. Use screws and washers to secure the panel to the case lid, angle it for best sun, and seal with silicone to ensure the unit remains waterproof when mounted outdoors.
How do I update the Meshtastic firmware once the node is sealed?
You can open the waterproof case and connect a USB-C cable to update the firmware. Apply silicone after final testing so updates remain easy.