
DIY Solar Meshtastic Node with nRF52840!
Published by Vivian van Zyl in Meshtastic the 09/25/2025 at 07:13 pm

Hi — I'm Vivian Van Zyl from LoraMeshDevices.com. In this post I’ll walk you through how I built a compact Solar Meshtastic node using an nRF52840 board paired with an SX1262 radio, a tiny solar panel, and a small LiPo battery. If you want a low-power mesh node that can run from sun + battery, this Solar Meshtastic approach is fast, cheap, and very satisfying to assemble.
Table of Contents
- Why choose nRF52840 for a Solar Meshtastic node?
- Parts & tools I used
- Design overview
- Step-by-step assembly
- Tweaks, tips and gotchas
- Conclusion
- FAQ
Why choose nRF52840 for a Solar Meshtastic node?
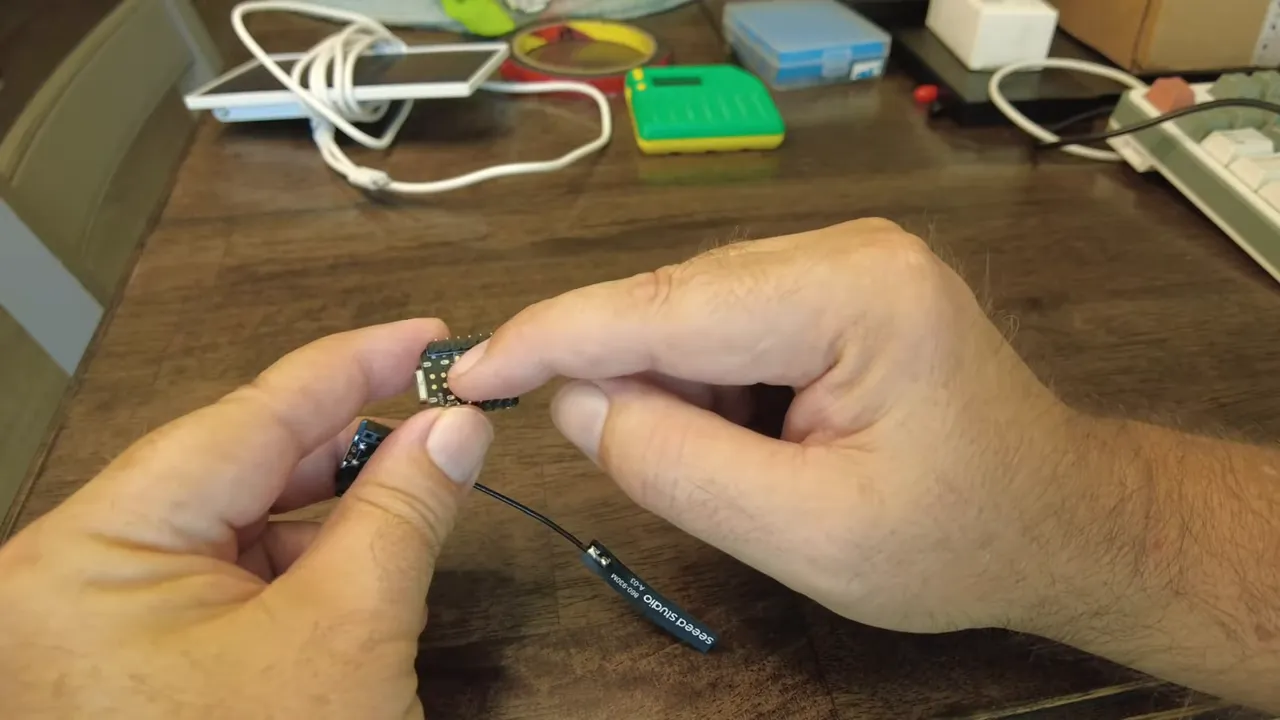
The nRF52840 is excellent for low-power projects — it’s much lighter on energy than an ESP32 in deep-sleep scenarios, which makes it ideal when you want a node that runs off battery and a small solar panel. Paired with the SX1262 LoRa radio on the same tiny module, you get a compact board with exposed battery pads and the radio antenna connector ready for a field node.
Parts & tools I used
- nRF52840 + SX1262 seed node (tiny module with antenna pad)
- Small LiPo battery (approx 1000–1300 mAh spare cell)
- Tiny USB-C solar panel (5V output)
- TP4056 or built-in charge controller (start simple, upgrade to MPPT later)
- Type N antenna connector + pigtail and antenna
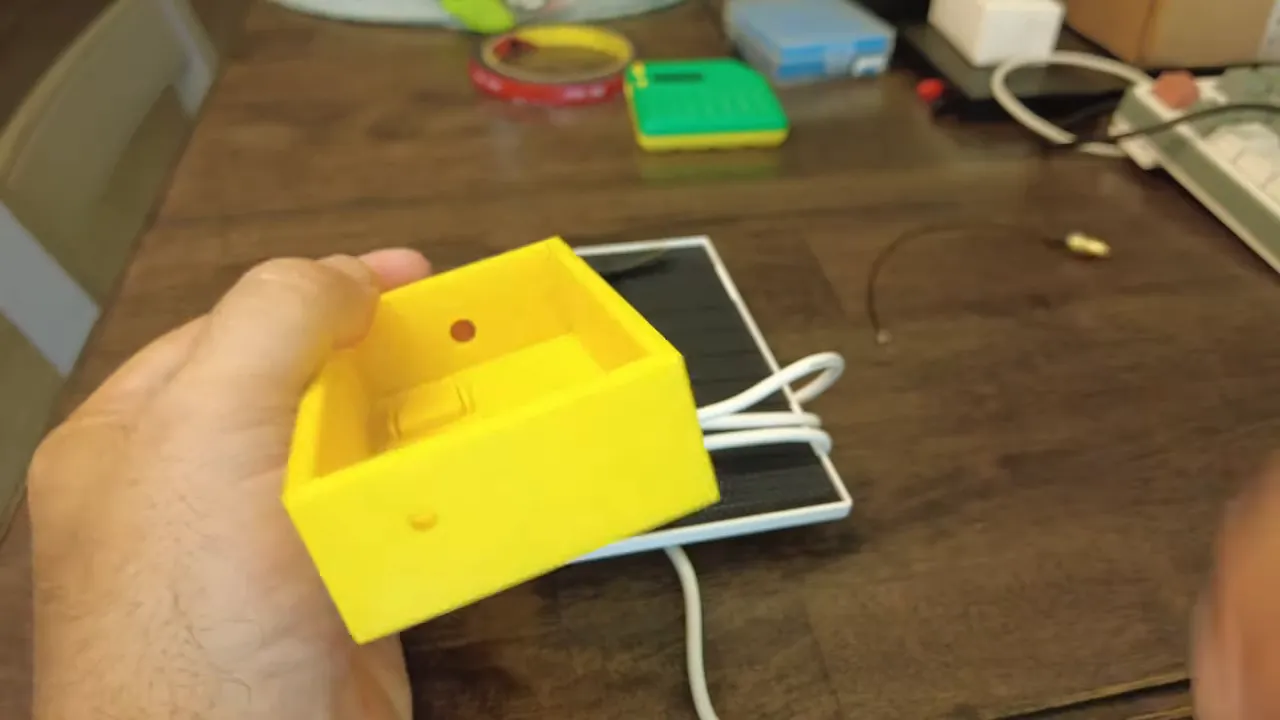
- 3D printed case I designed to hold the module, battery and cable
- Soldering iron, small JST or power connector, double-sided tape, silicone for sealing
Design overview
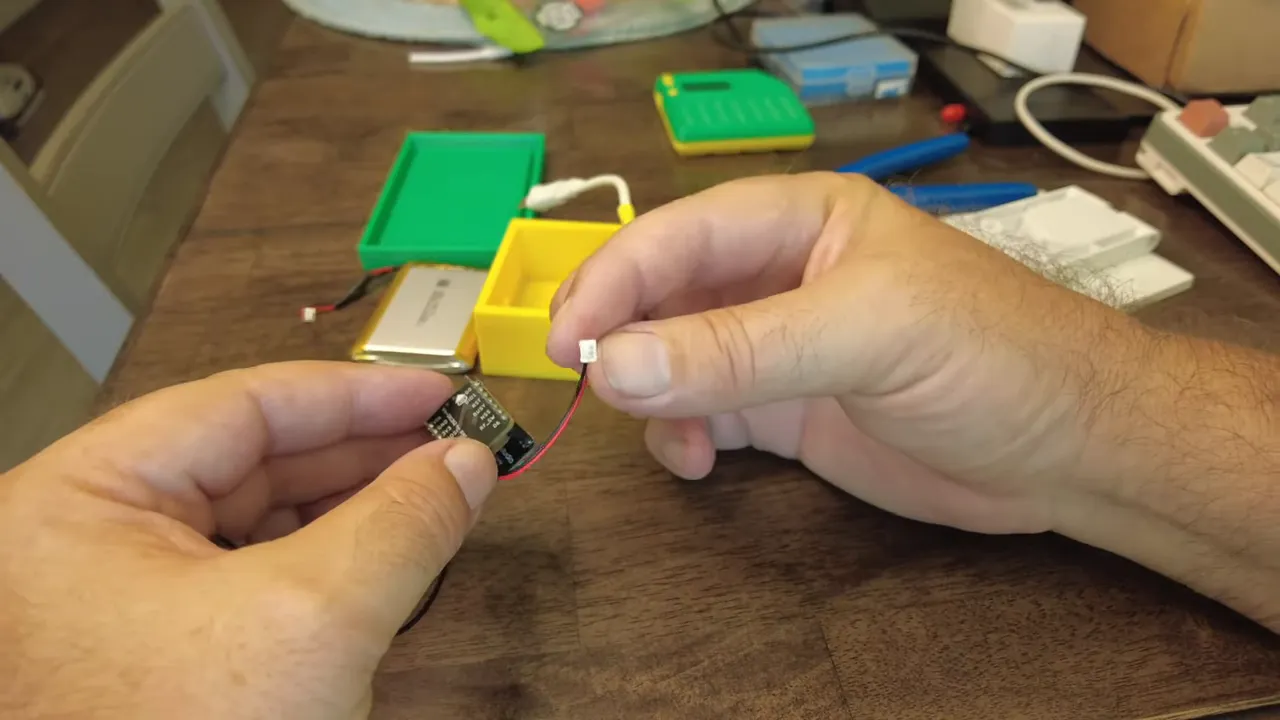
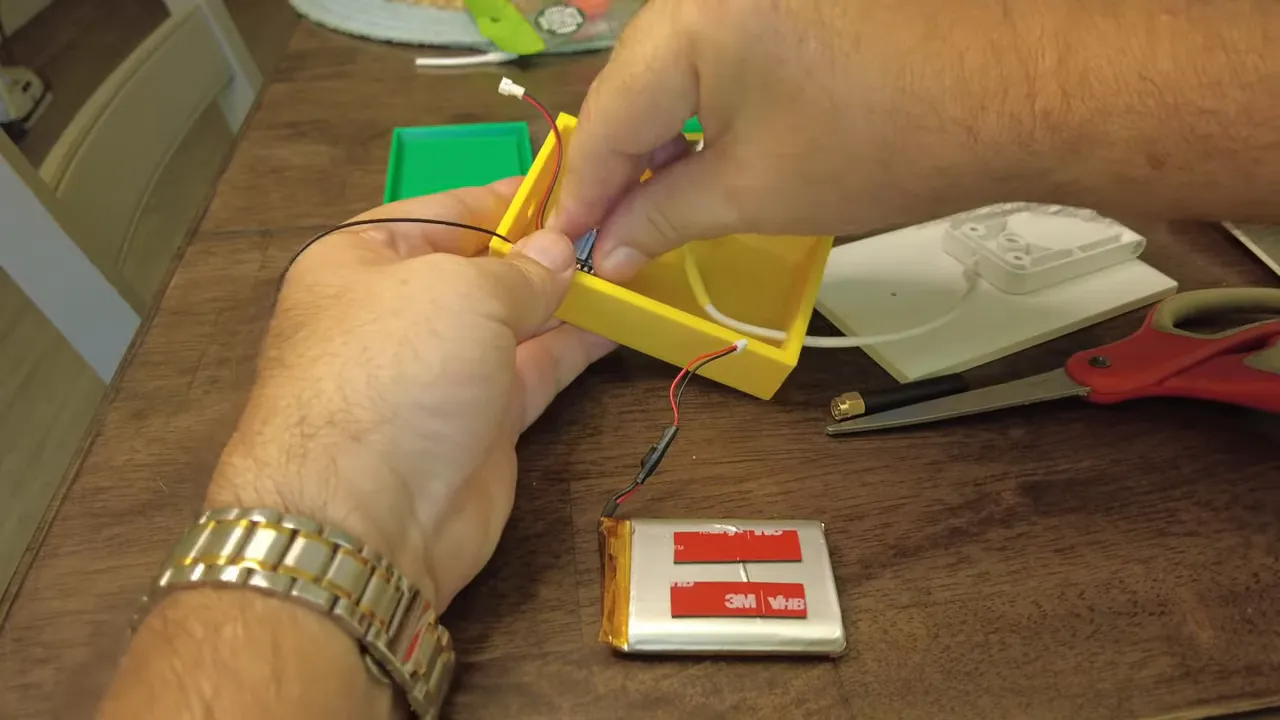
The basic idea is simple: the solar panel feeds a charging circuit that charges the LiPo battery, which in turn powers the nRF52840 module. I designed a small 3D printed case with a hole for routing the solar cable and a gland for the antenna connector. The board has two battery pads — positive and negative — which are perfect for soldering a tiny power pigtail directly to the module.
Step-by-step assembly
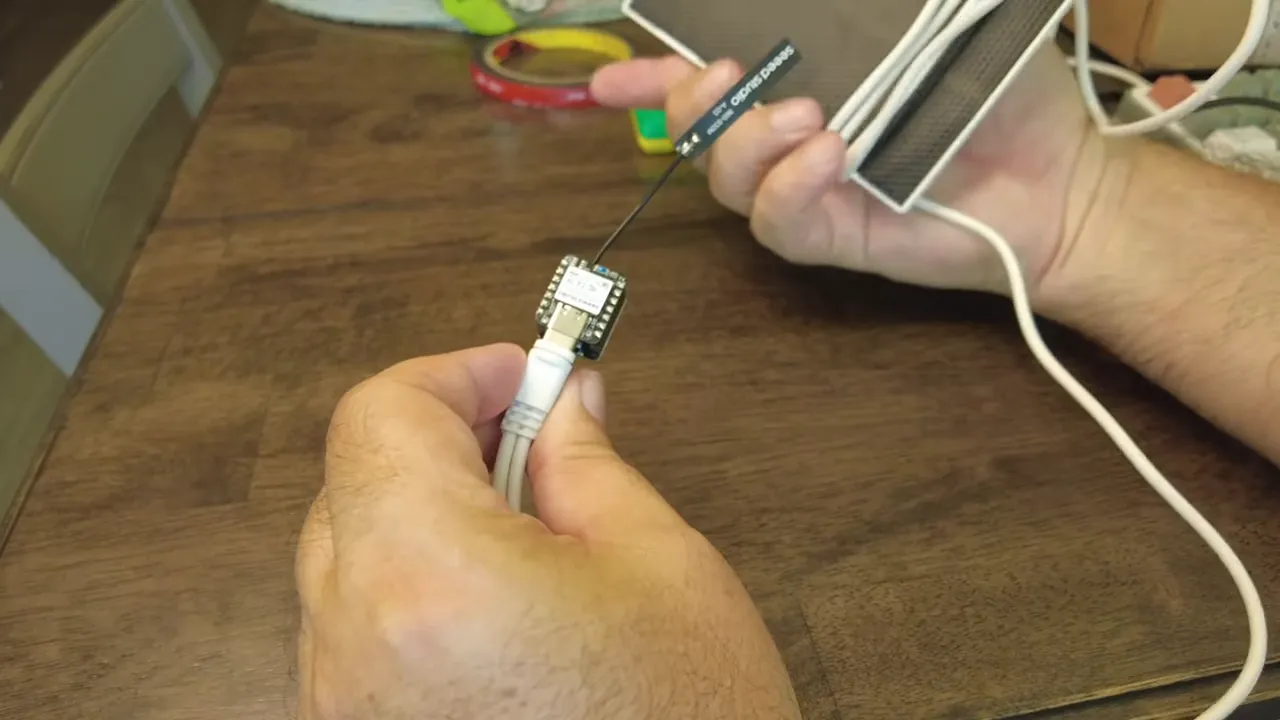
1. Prepare the solar cable and connectors
Trim the USB-C cable to the length you need, expose the power wires and add a small connector that matches the charging module or battery pigtail. I cut off the extra dual connector on my panel so it would be compact.
2. Solder power pigtail to the board
Locate the battery pads on the nRF52840 board and solder a small power connector / JST pigtail. Keep polarity correct — positive to positive, negative to negative. I used a tiny peg-tail connector for a neat connection.
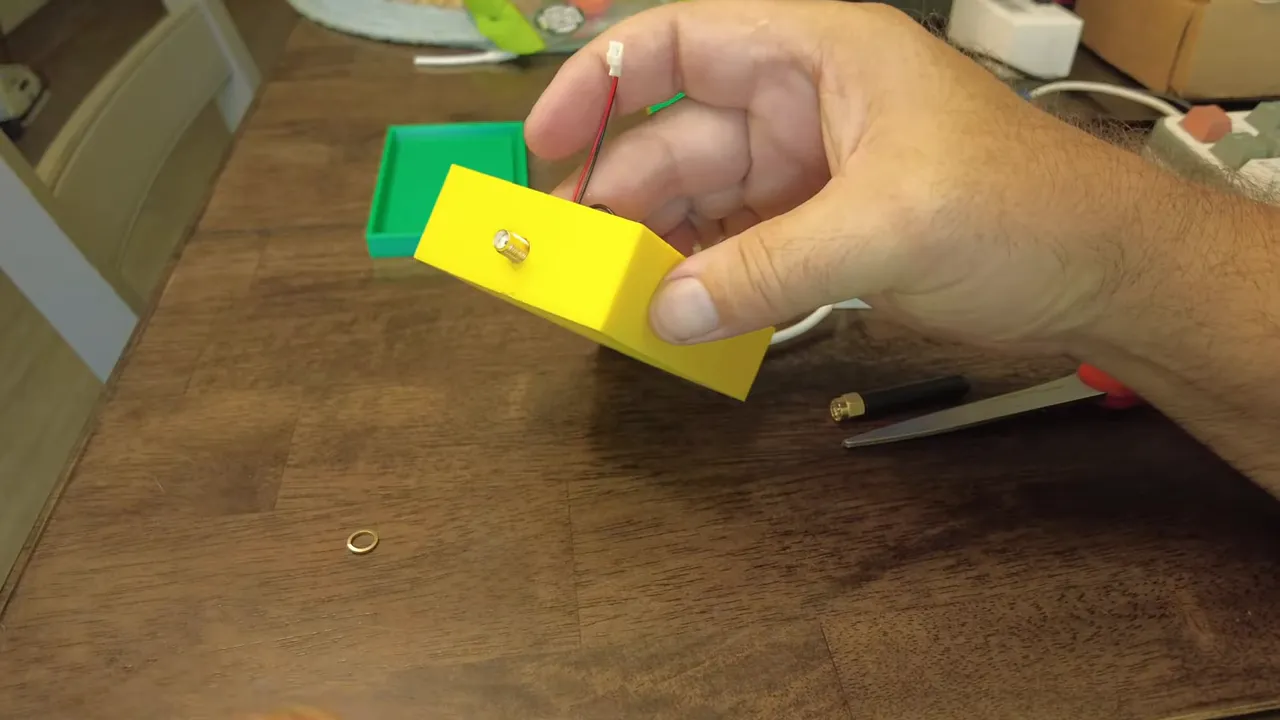
3. Mount components inside the case
I used double-sided tape to stick the module and battery inside the 3D printed enclosure. Note: the tape I used was high-quality and annoying to peel — plan for that frustration. If you want a more robust mount, use screws or a battery holder instead of tape.
4. Install the antenna connector
Bring the antenna pigtail through the case hole and install the connector nut and washer. Important safety tip: do not power the node without the antenna connected — always attach the antenna before applying power. I tightened the connector and fitted the antenna; later I’ll add silicone around the gland for waterproofing.
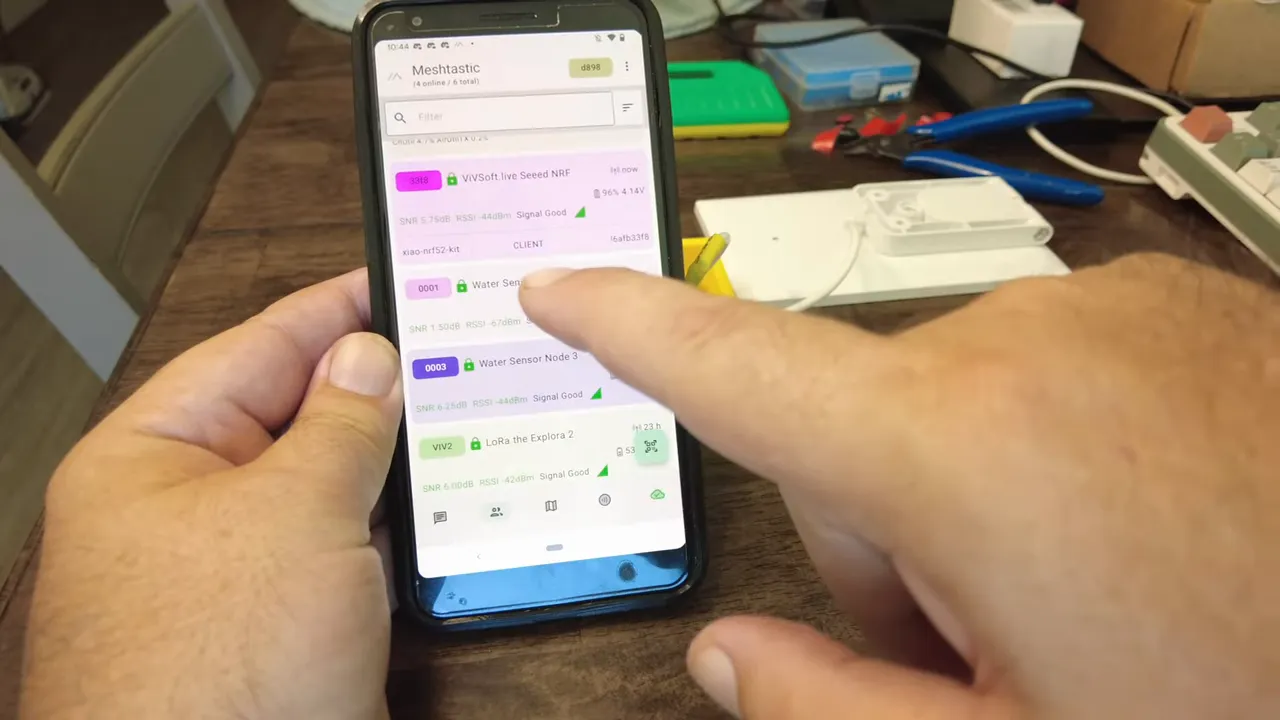
5. Power up and flash Meshtastic firmware
I flashed the board using the Meshtastic flasher (flasher.meshtastic.org) and named the node. After connecting power and antenna, the node showed up in Meshtastic as "meshtastic seed NRF" in client mode with a healthy battery reading and good signal.
6. Final assembly and mounting
Close the case, secure the panel to the back with double-sided tape or fasteners, and optionally fit a larger MPPT charge controller if your location needs efficient charging. I left the silicone sealing for later but you should seal the antenna gland if you plan to leave the node outdoors.
Tweaks, tips and gotchas
- If your solar panel is small, use a low quiescent current charger or an MPPT board for better efficiency.
- Battery size: any small LiPo will work, but balance weight vs. runtime. I used a ~1.1–1.3 Ah cell as a spare.
- Waterproofing: silicone around the cable gland and connector nut will keep the internals dry.
- Mounting: double-sided tape is quick but not the most durable long-term solution — consider a proper bracket for pole mounting.
- Always connect the antenna before powering the radio to avoid damaging the transmitter.
Conclusion
Building a Solar Meshtastic node with an nRF52840 + SX1262 is a practical way to add low-power mesh coverage using renewable energy. The parts are inexpensive, the build is compact, and the node integrates cleanly with Meshtastic. Whether you’re experimenting or deploying nodes around a property, this Solar Meshtastic setup gives you a solid starting point.
FAQ
Will this run on a tiny USB solar panel?
Yes, a small USB-C solar panel will work if paired with an appropriate charge controller and a battery. For consistent performance, consider an MPPT controller for better charge efficiency.
Can I use an ESP32 instead of nRF52840?
Technically yes, but ESP32 generally consumes more power. For true solar-powered longevity, nRF52840 is preferable because it’s much lighter on energy in sleep modes.
How waterproof is the build?
Out of the box, it’s not fully waterproof. Apply silicone around the antenna gland and any cable entry points to make it suitable for outdoor use.
What software did you use?
I flashed the Meshtastic firmware (using flasher.meshtastic.org) and configured the node as a client. The device showed up in the Meshtastic UI and reported battery and signal values.
Where can I mount it?
Mount the node where it sees good sun and has decent line-of-sight to other mesh nodes. Pole mounting with fasteners is ideal once you swap the tape for a permanent bracket.
If you want the parts list or STL files for my 3D-printed case, or help flashing and configuring Meshtastic, drop a comment and I’ll help you get set up.