
Exploring the Meshtastic Mobile Node: My Car Setup
Published by Vivian van Zyl in Meshtastic the 12/05/2024 at 05:21 pm

Today, I want to share my experience with the Meshtastic Mobile Node that I built specifically for my car. This unit is not just functional; it's a blend of creativity and technology tailored to fit perfectly in my vehicle.
Table of Contents
Design and Build
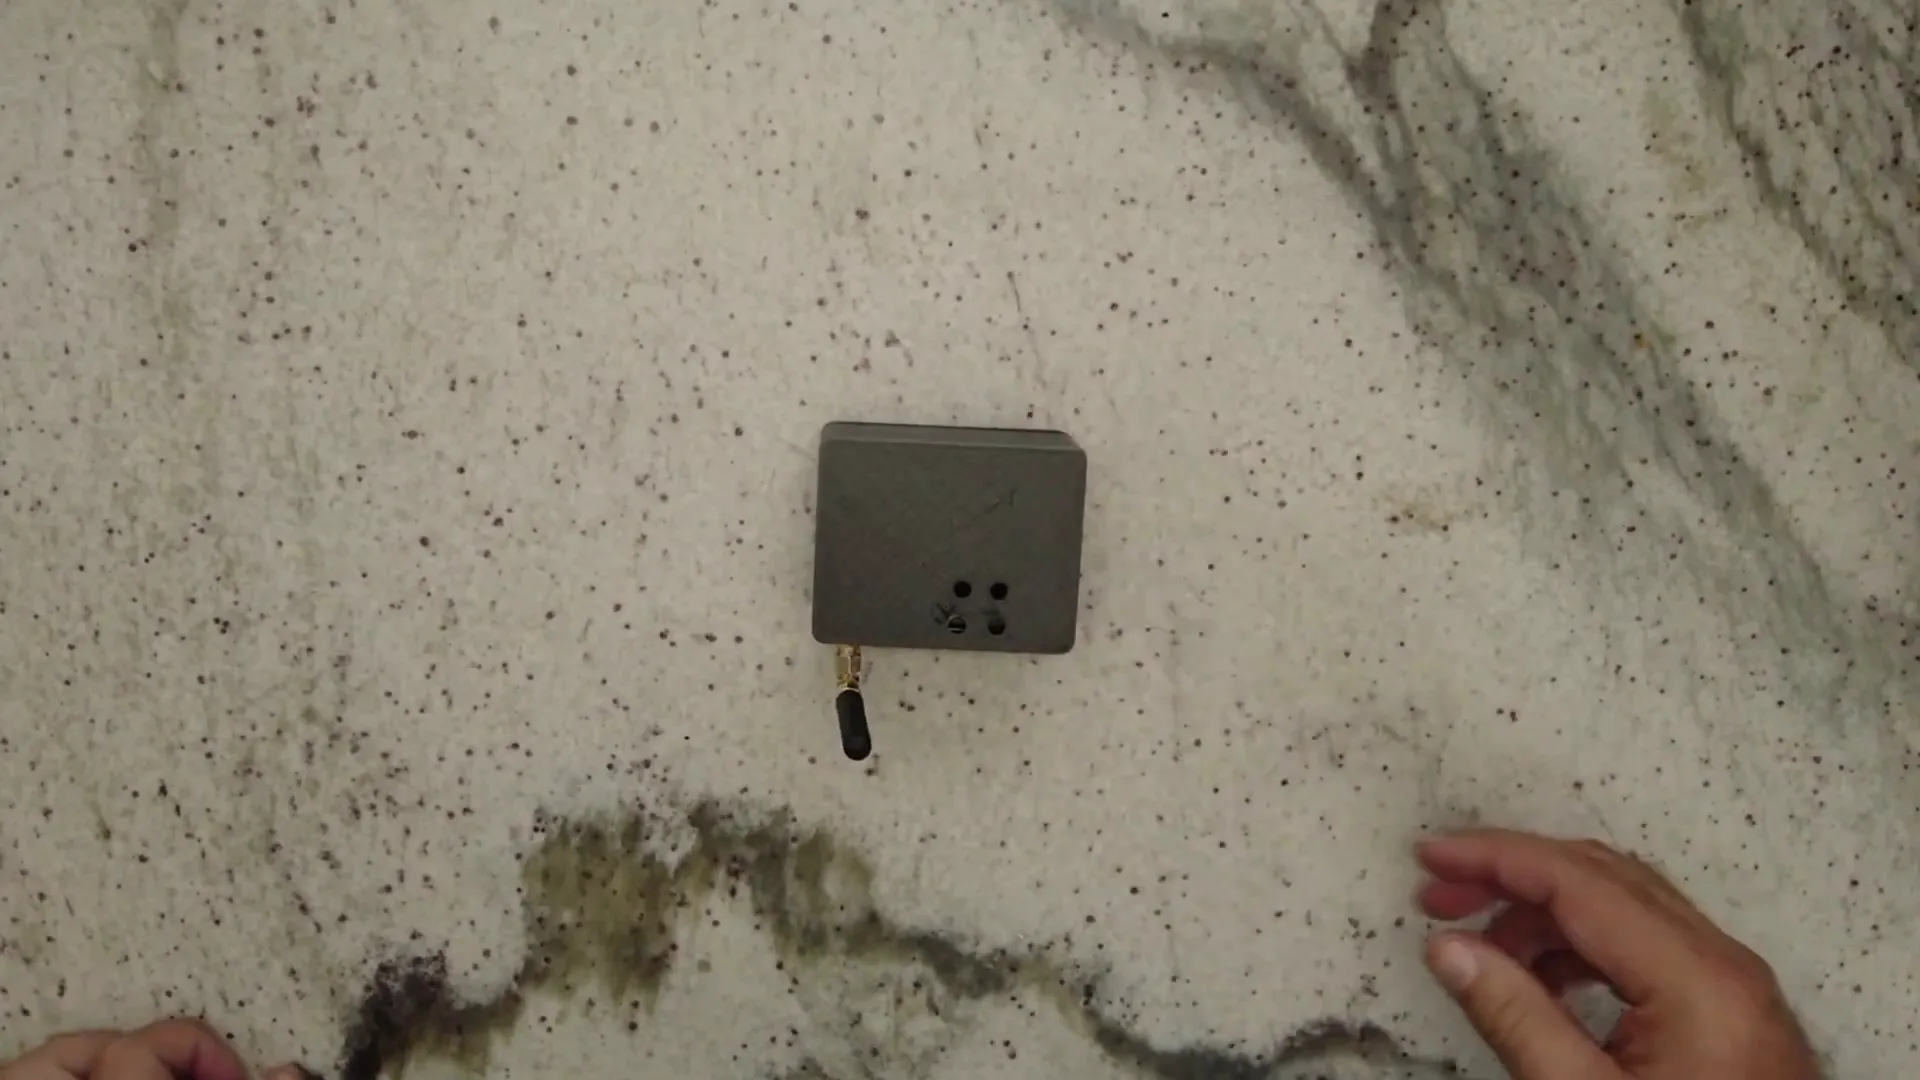
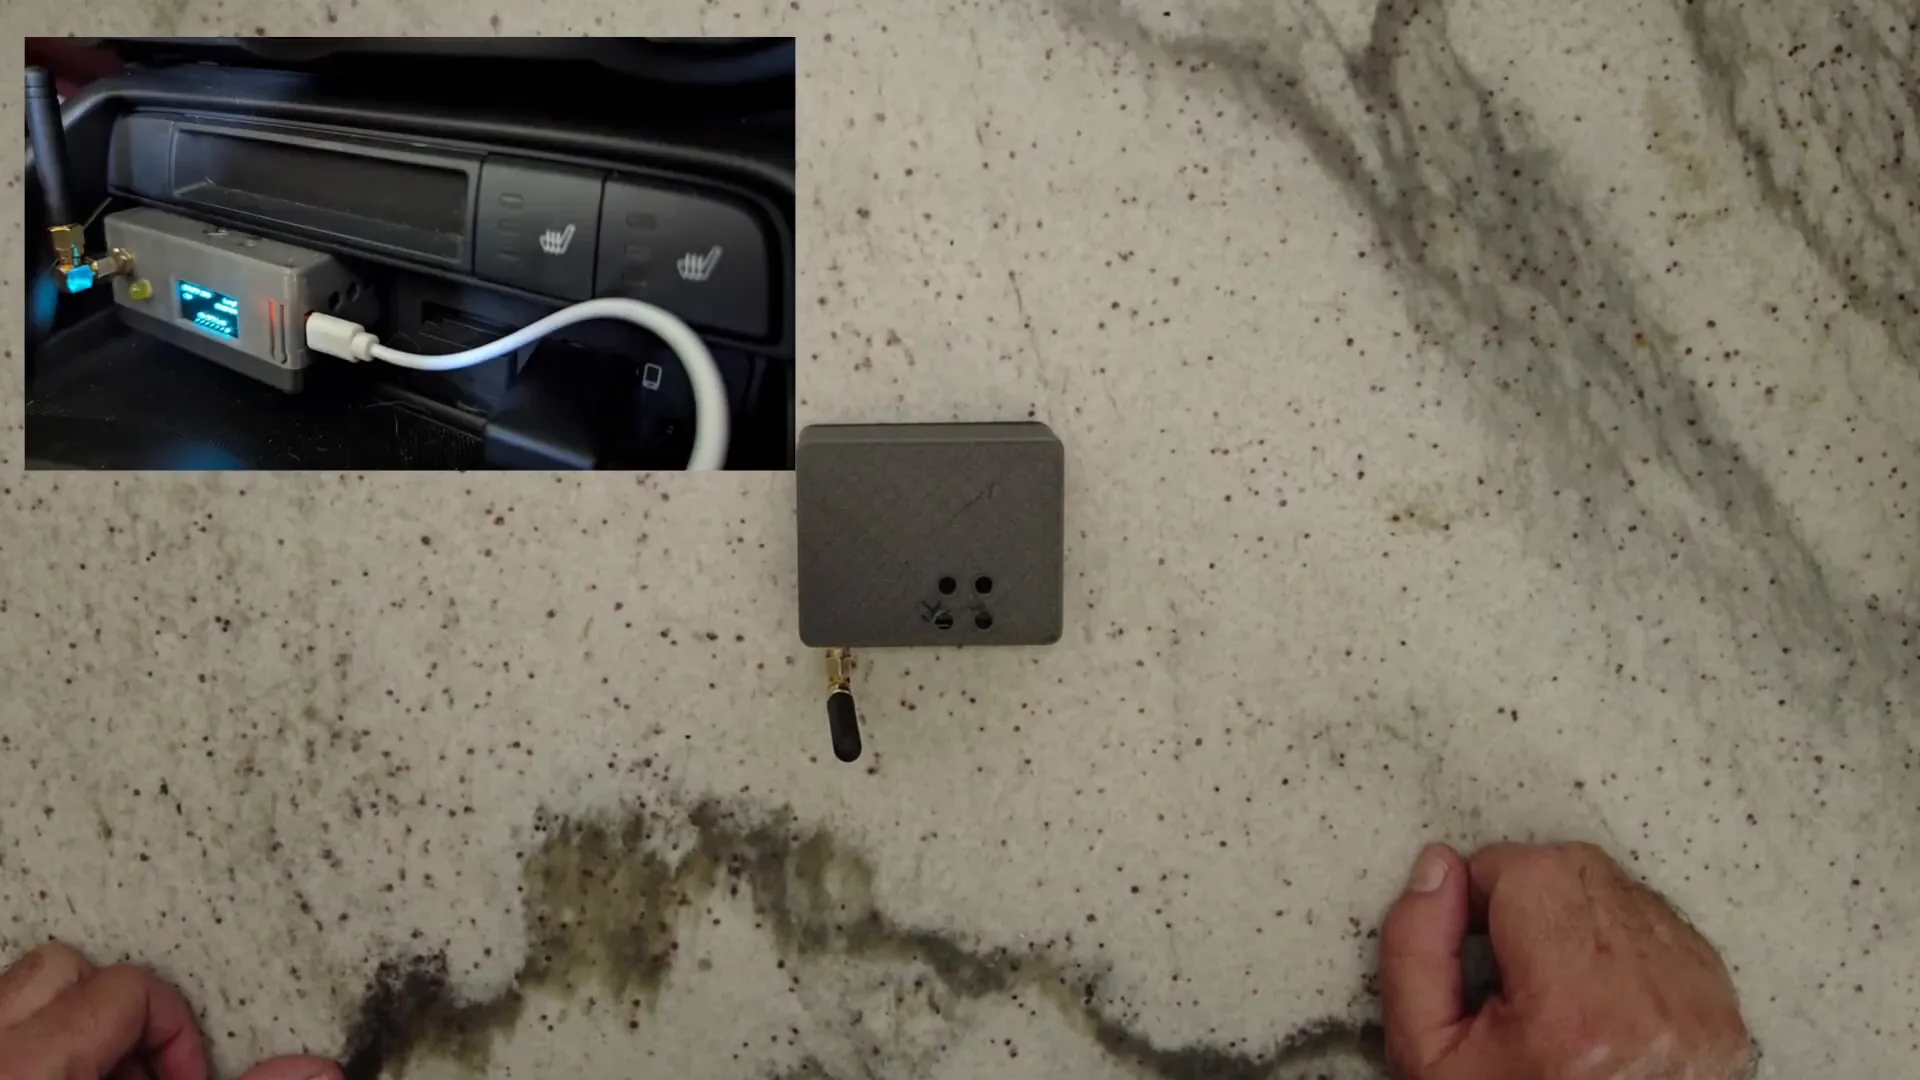
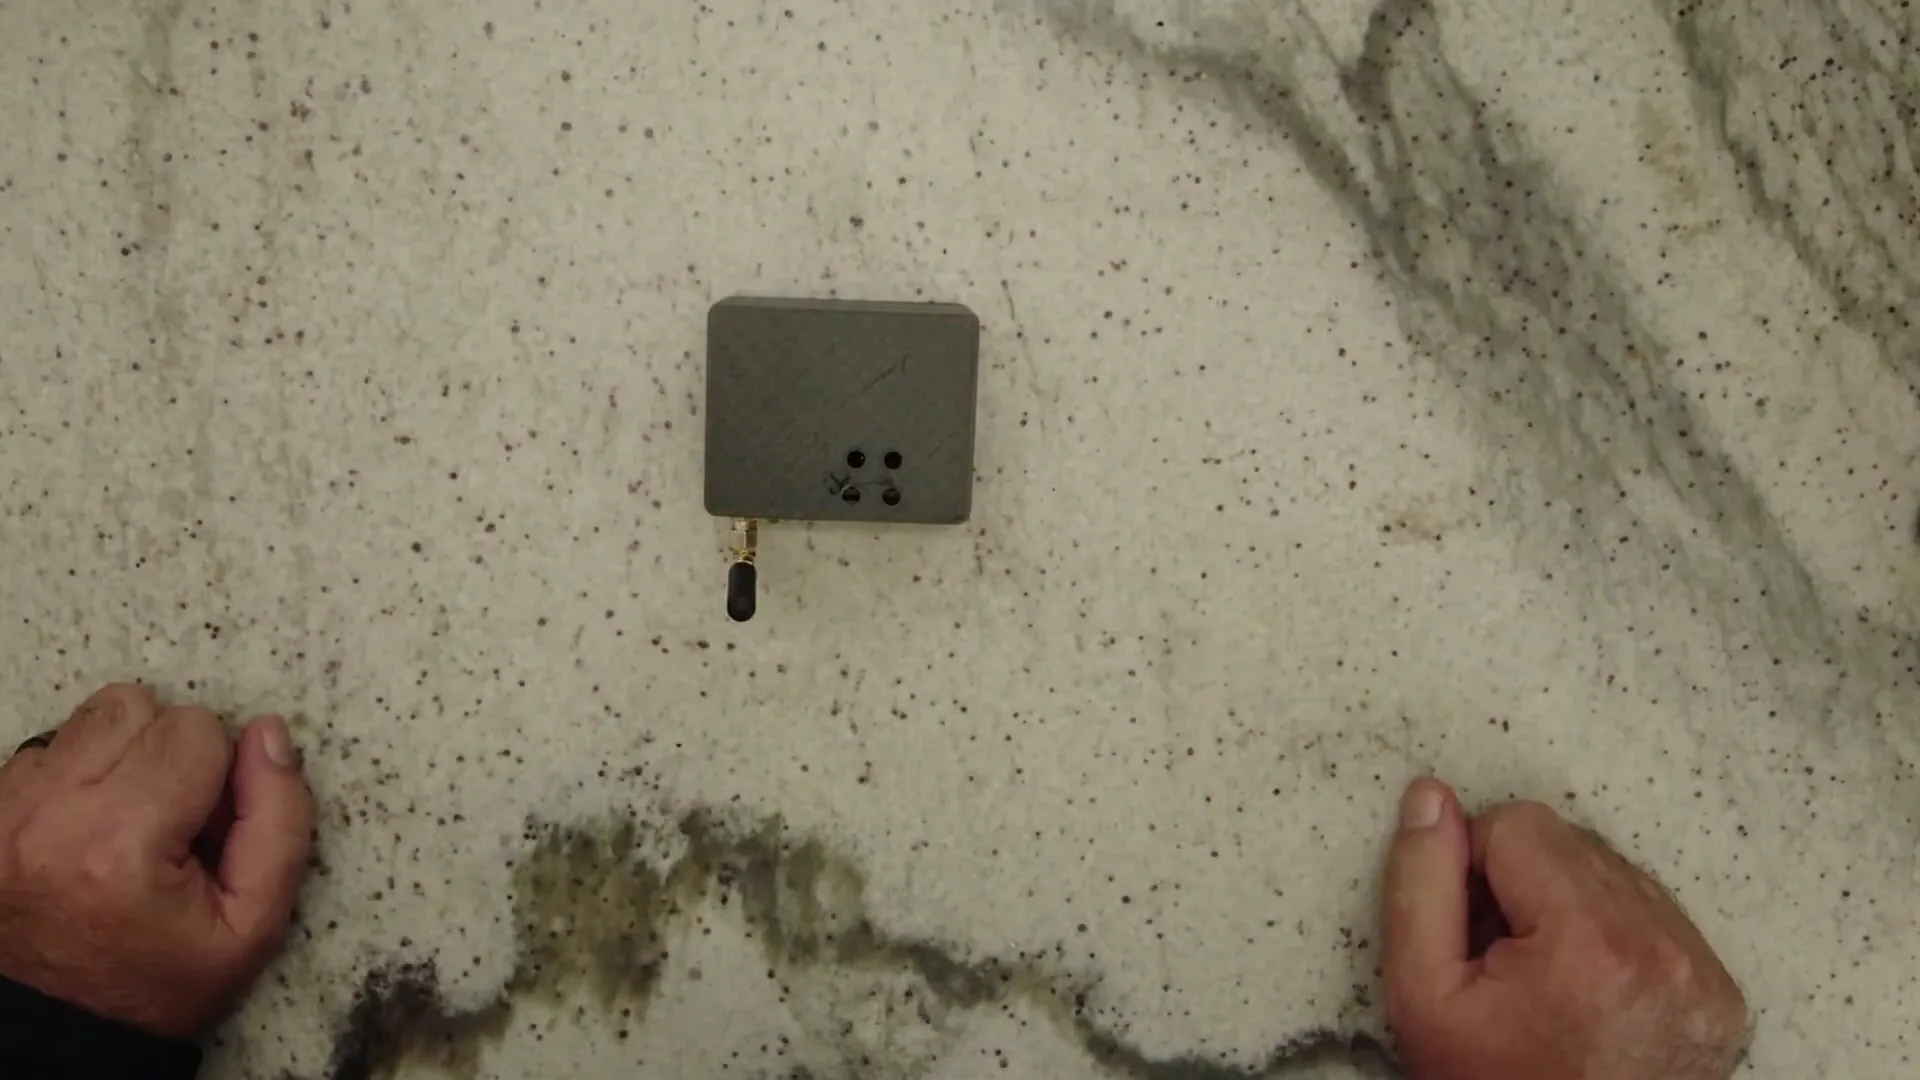
The mobile unit I created is housed in a modified case that I found online. I made some adjustments to ensure it fits snugly in a designated spot in my car. Here’s a look at how it fits:
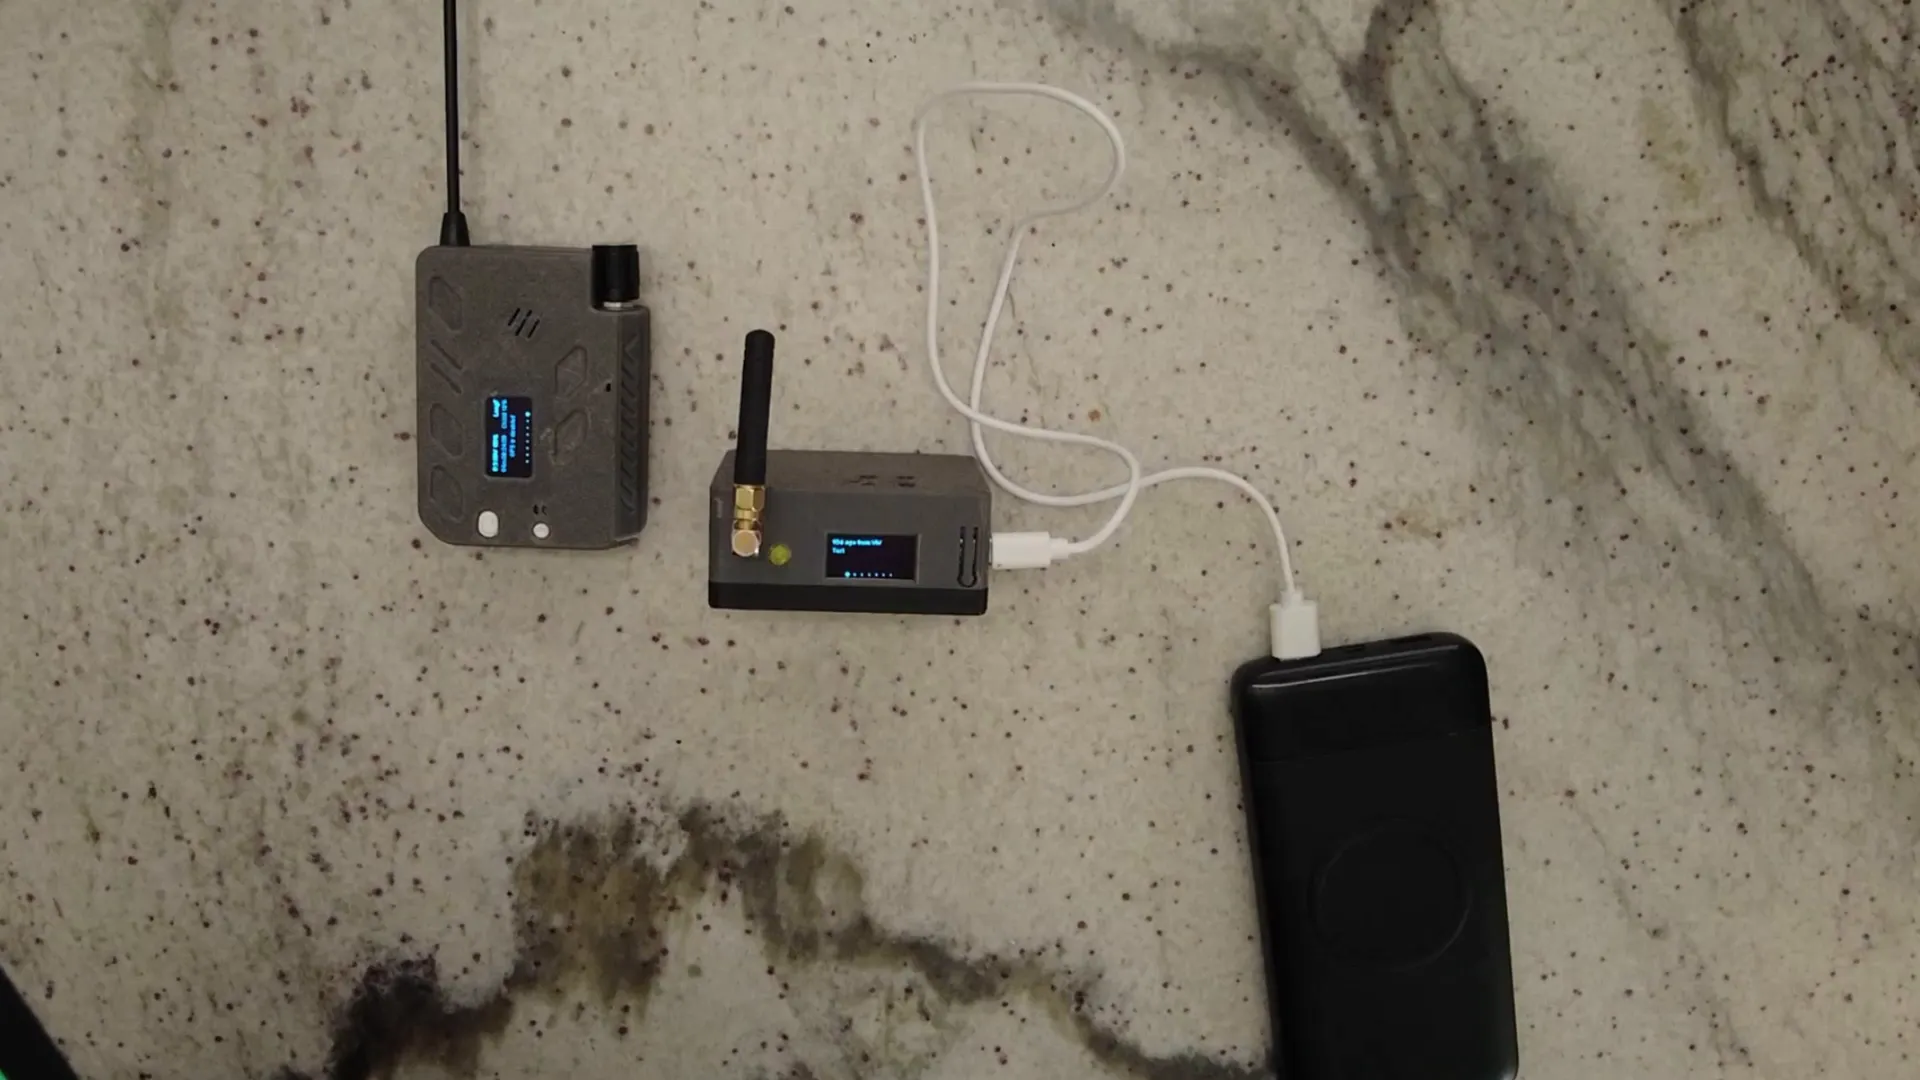
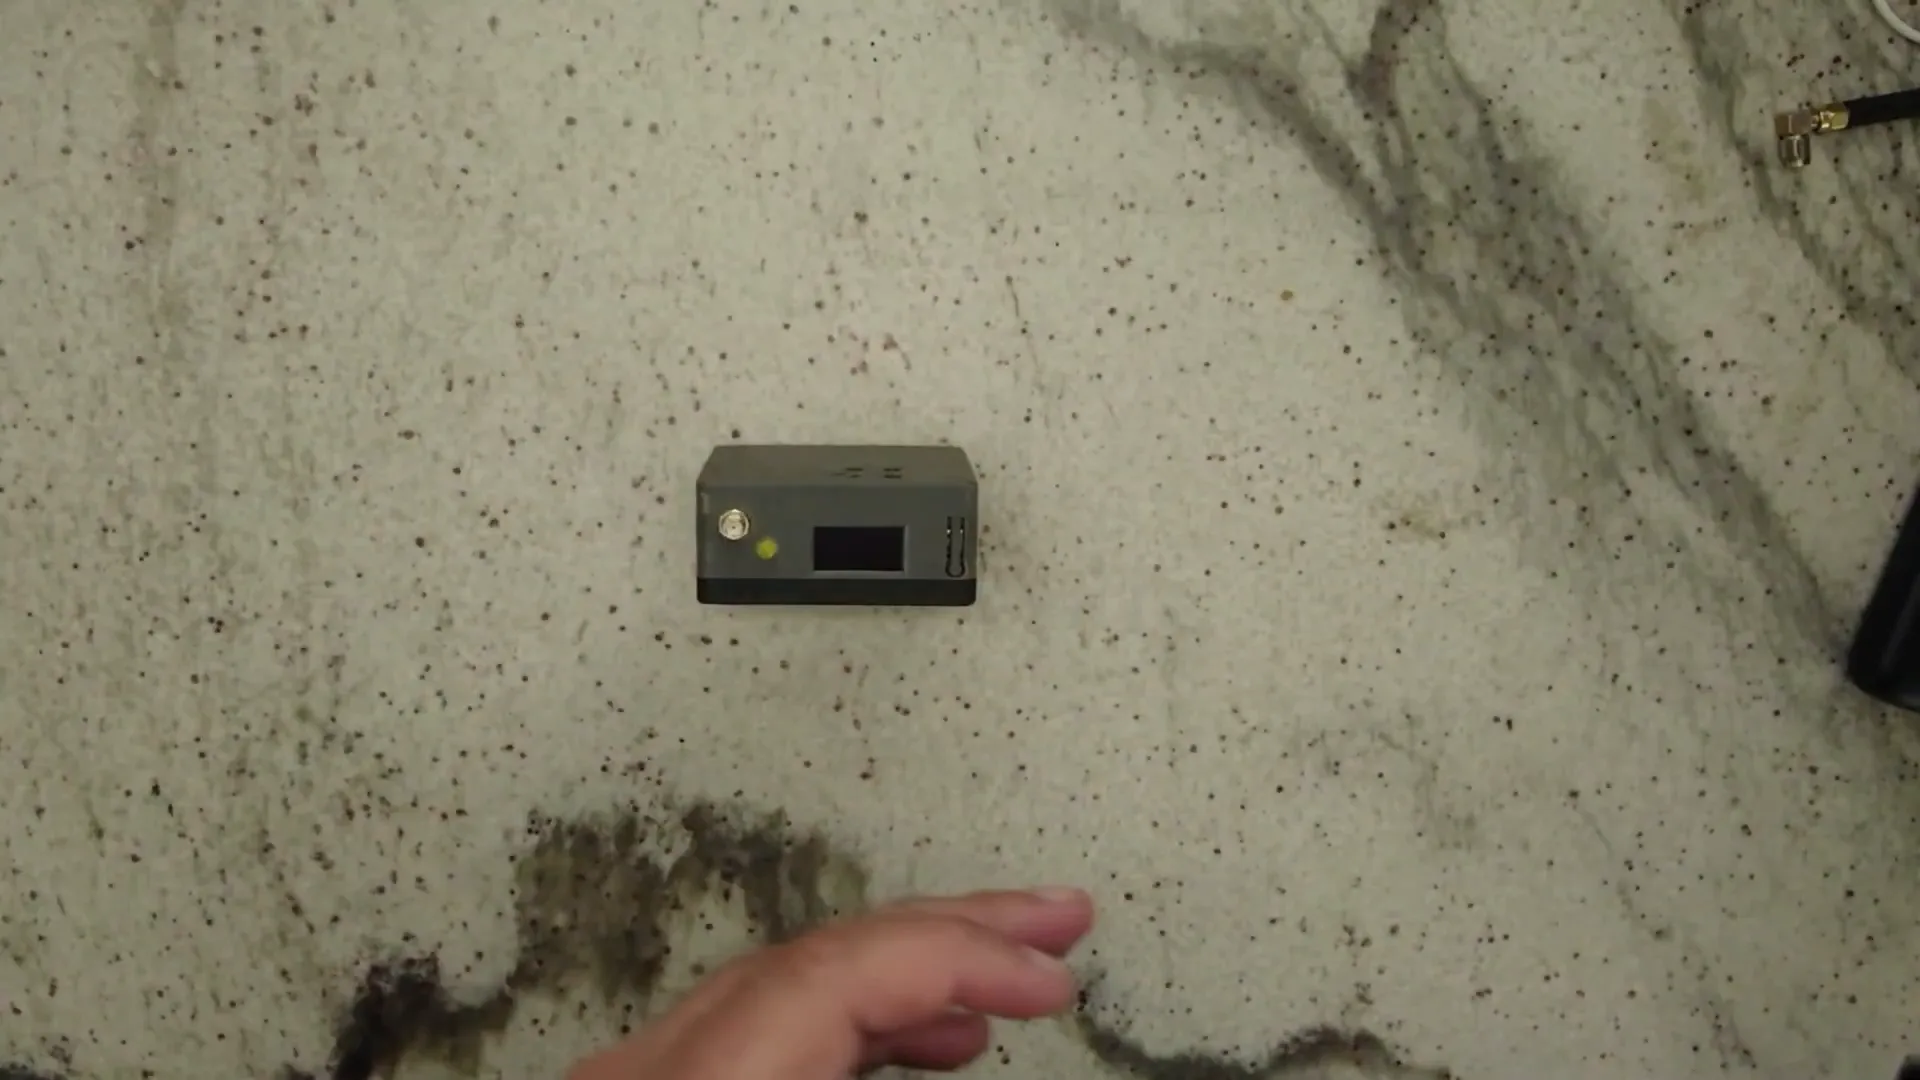
The unit has a USB port on the side, which connects directly to the car's power using a Heltec V3 board. This setup allows me to power the system seamlessly while on the go.
At the front of the unit, there’s a small antenna and an LED indicator, which plays a crucial role in my setup. I’ll explain how it works in just a moment.
Internal Components
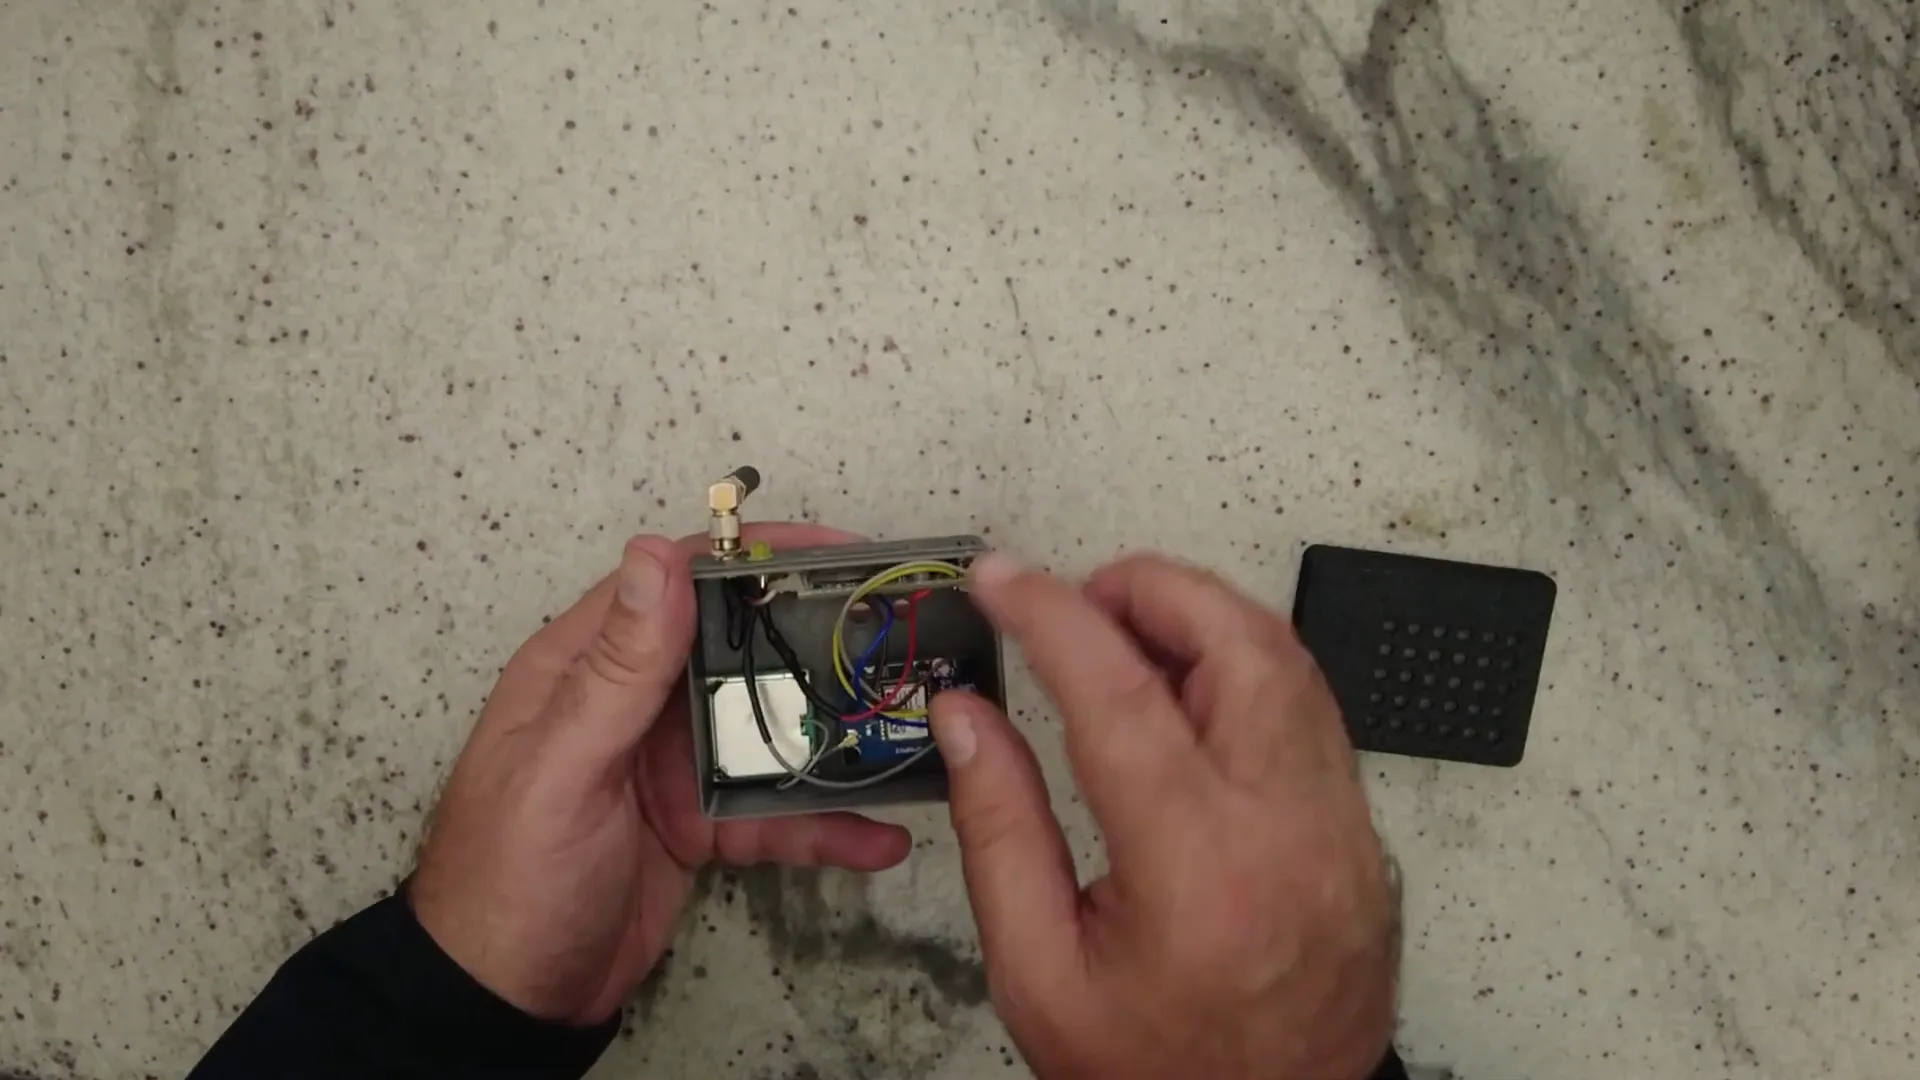
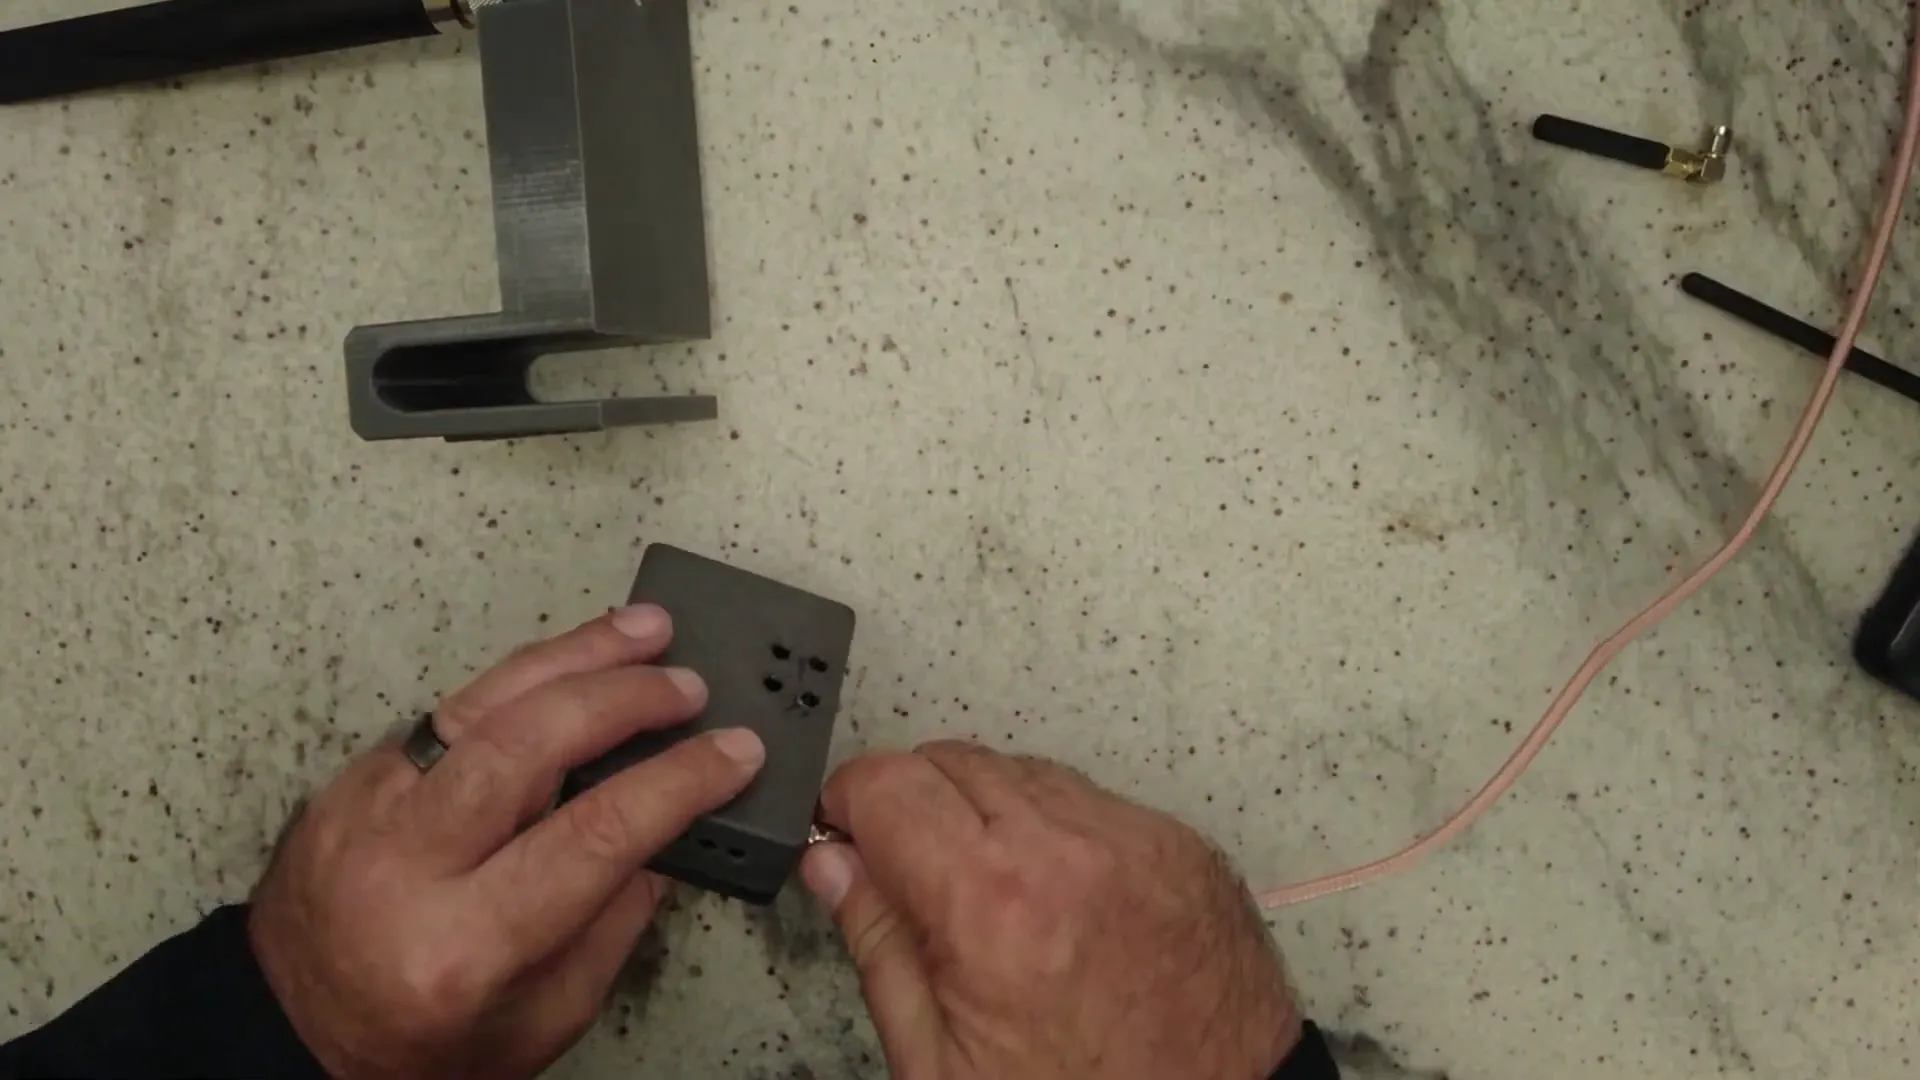
Inside the case, I have the Heltec V3 board along with a GPS unit. The GPS is essential for tracking my location while driving, but I chose not to install a battery. This means that when I turn off the car, the unit essentially powers down. I prefer this method as it prevents the device from continuously broadcasting my location.
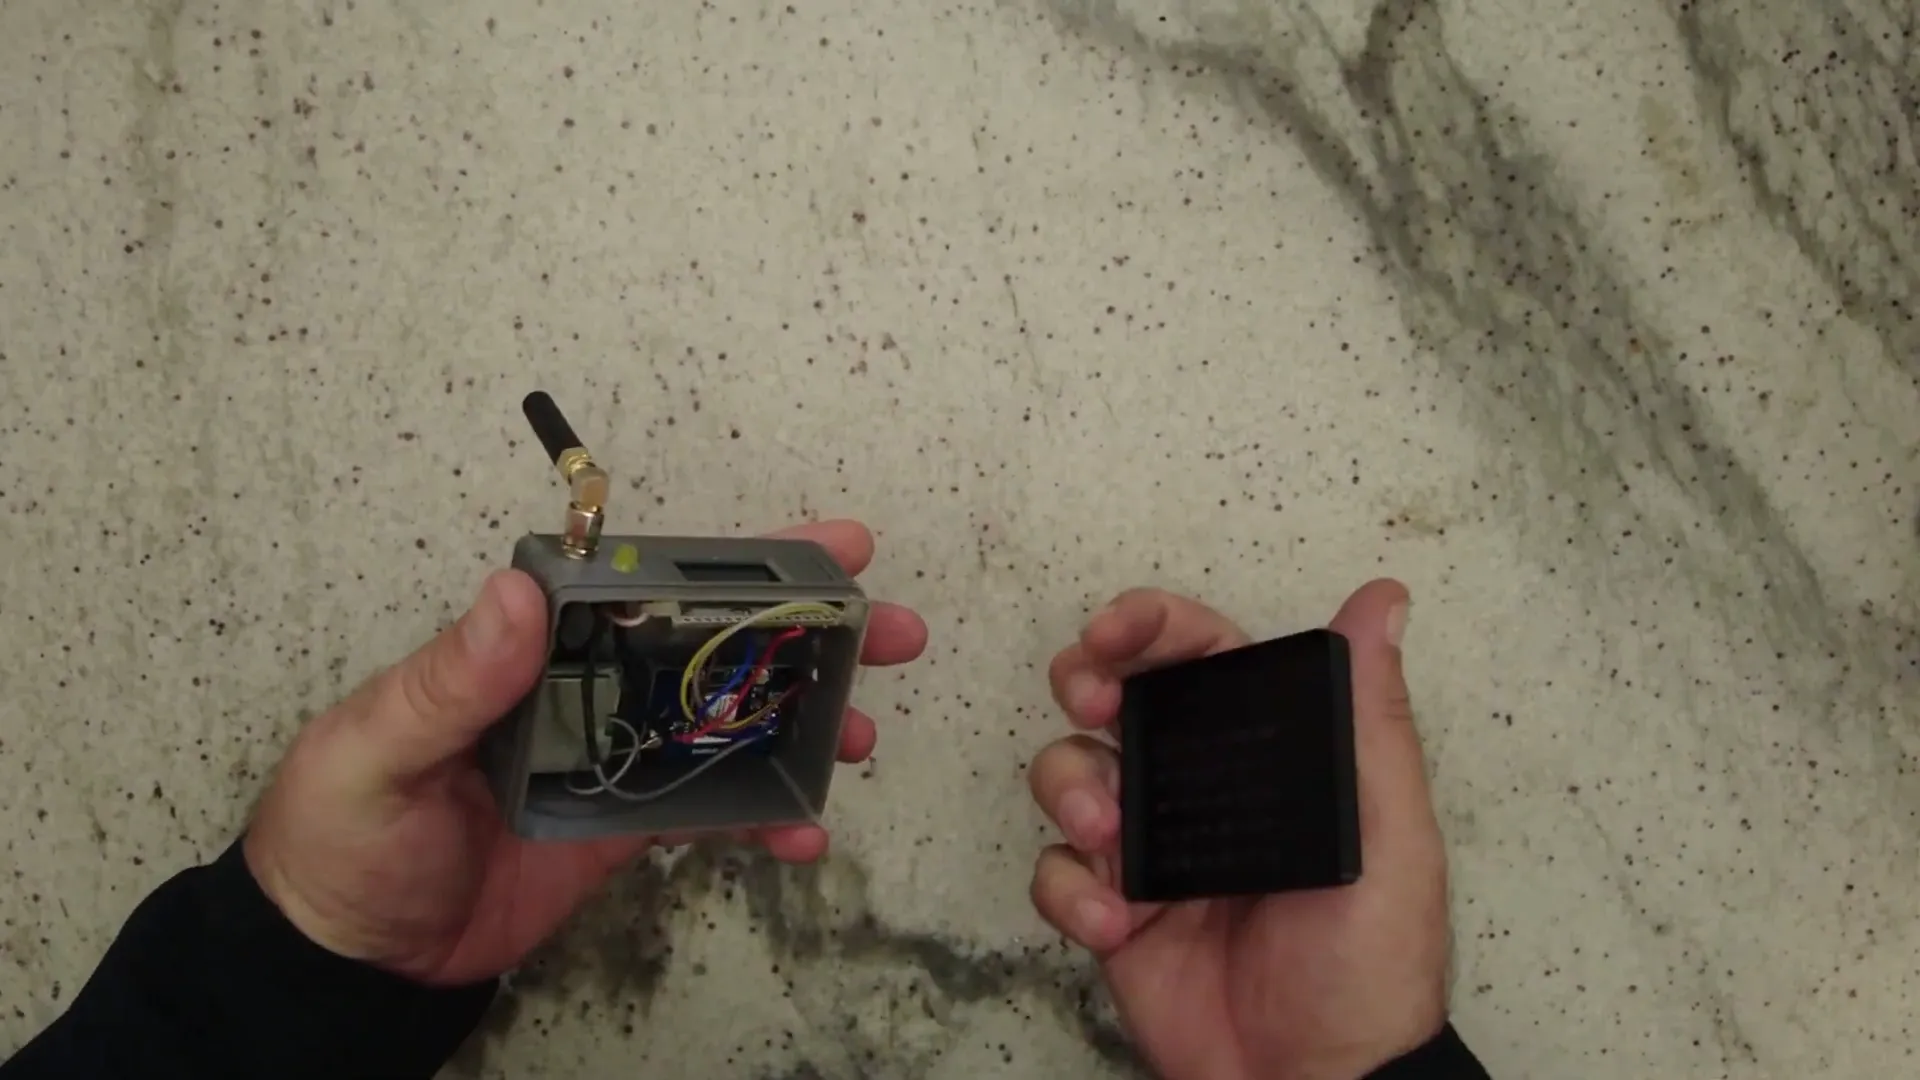
However, I can add a battery later if I decide it’s necessary. The standout feature of this build is the LED indicator. I connected one wire to ground, while the long leg of the LED goes through a 330-ohm resistor to pin 45 on the Heltec board. I configured the app to recognize pin 45 as the LED pin.
Functionality of the LED
Let me show you how the LED works. When I power the unit on, the LED will flash to indicate that a message has been received. This is particularly useful while driving, as it allows me to keep my eyes on the road rather than constantly checking the app for new messages.
Here’s how it works: I send a direct message (DM) from another unit to the mobile node. Once the message is received, the LED flashes, letting me know that there’s something I need to check. This simple addition makes a big difference in safety and convenience.
Antenna Setup
For better connectivity, I also created a mount for a longer antenna. This mount is specifically designed for my car and allows me to attach a 915 MHz magnetic base antenna (or ALFA 915 antenna). This antenna improves signal strength, especially during longer trips or when war driving.
The antenna screws into the unit and can be placed on the roof of my car for optimal performance. With this setup, I can achieve a much better signal than with the standard rubber ducky antenna.
Conclusion
In conclusion, this Meshtastic Mobile Node setup has been a rewarding project. I’m continuously learning and experimenting with new features, and the LED notification system has significantly improved my experience. I believe that enhancing the antenna setup also contributes to better connectivity and performance.
FAQ
What is a Meshtastic Mobile Node?
A Meshtastic Mobile Node is a portable communication device that utilizes LoRa technology to send messages over long distances without needing traditional cellular networks.
How does the LED indicator work?
The LED flashes to indicate when a message has been received, allowing the driver to stay focused on the road without frequently checking the app.
Can I add a battery to the unit?
Yes, although I chose not to install a battery initially, it can be added later if desired for continuous operation.
Where can I find more information about Meshtastic devices?
You can explore more about Meshtastic devices at LoraMeshDevices.com.
Thanks for following along with my project! I hope you found this interesting and informative.