
Getting Started with Meshtastic on Raspberry Pi
Published by Meshtastic developer Jonathan Bennett in Meshtastic the 11/14/2024 at 04:59 pm

Meshtastic is an exciting project that allows users to set up a decentralized mesh network for communication without relying on traditional infrastructure. In this guide, we'll explore how to get Meshtastic up and running on a Raspberry Pi, focusing specifically on the Meshtastic D application. Whether you're a hobbyist or looking for a robust solution for off-grid communication, this setup will help you get started.
Table of Contents
- What is Meshtastic D?
- Hardware Requirements
- Setting Up Your Raspberry Pi
- Configuring Meshtastic D
- Starting the Meshtastic D Service
- Accessing the Meshtastic Web Interface
- Conclusion
- Frequently Asked Questions
What is Meshtastic D?
Meshtastic D is the version of the Meshtastic firmware that has been adapted to run natively on Linux systems, particularly the Raspberry Pi. This application provides a Python command line interface that allows users to interact with the mesh network directly from their Raspberry Pi. With Meshtastic D, you can connect various hardware components, including LoRa radios, displays, and sensors, enabling a wide range of functionalities.
Hardware Requirements
To get started with Meshtastic on your Raspberry Pi, you’ll need specific hardware components. Here’s a rundown of what you need:
- Raspberry Pi: We recommend using a Raspberry Pi 3B+ or later, running the Raspberry Pi OS 64-bit (Debian Bookworm edition).
- LoRa Radio Hat: A compatible radio hat, such as the Waveshare SX1262, is essential for connecting to the Meshtastic network.
- Optional Components: GPS modules, displays, and sensors can enhance the functionality of your setup.

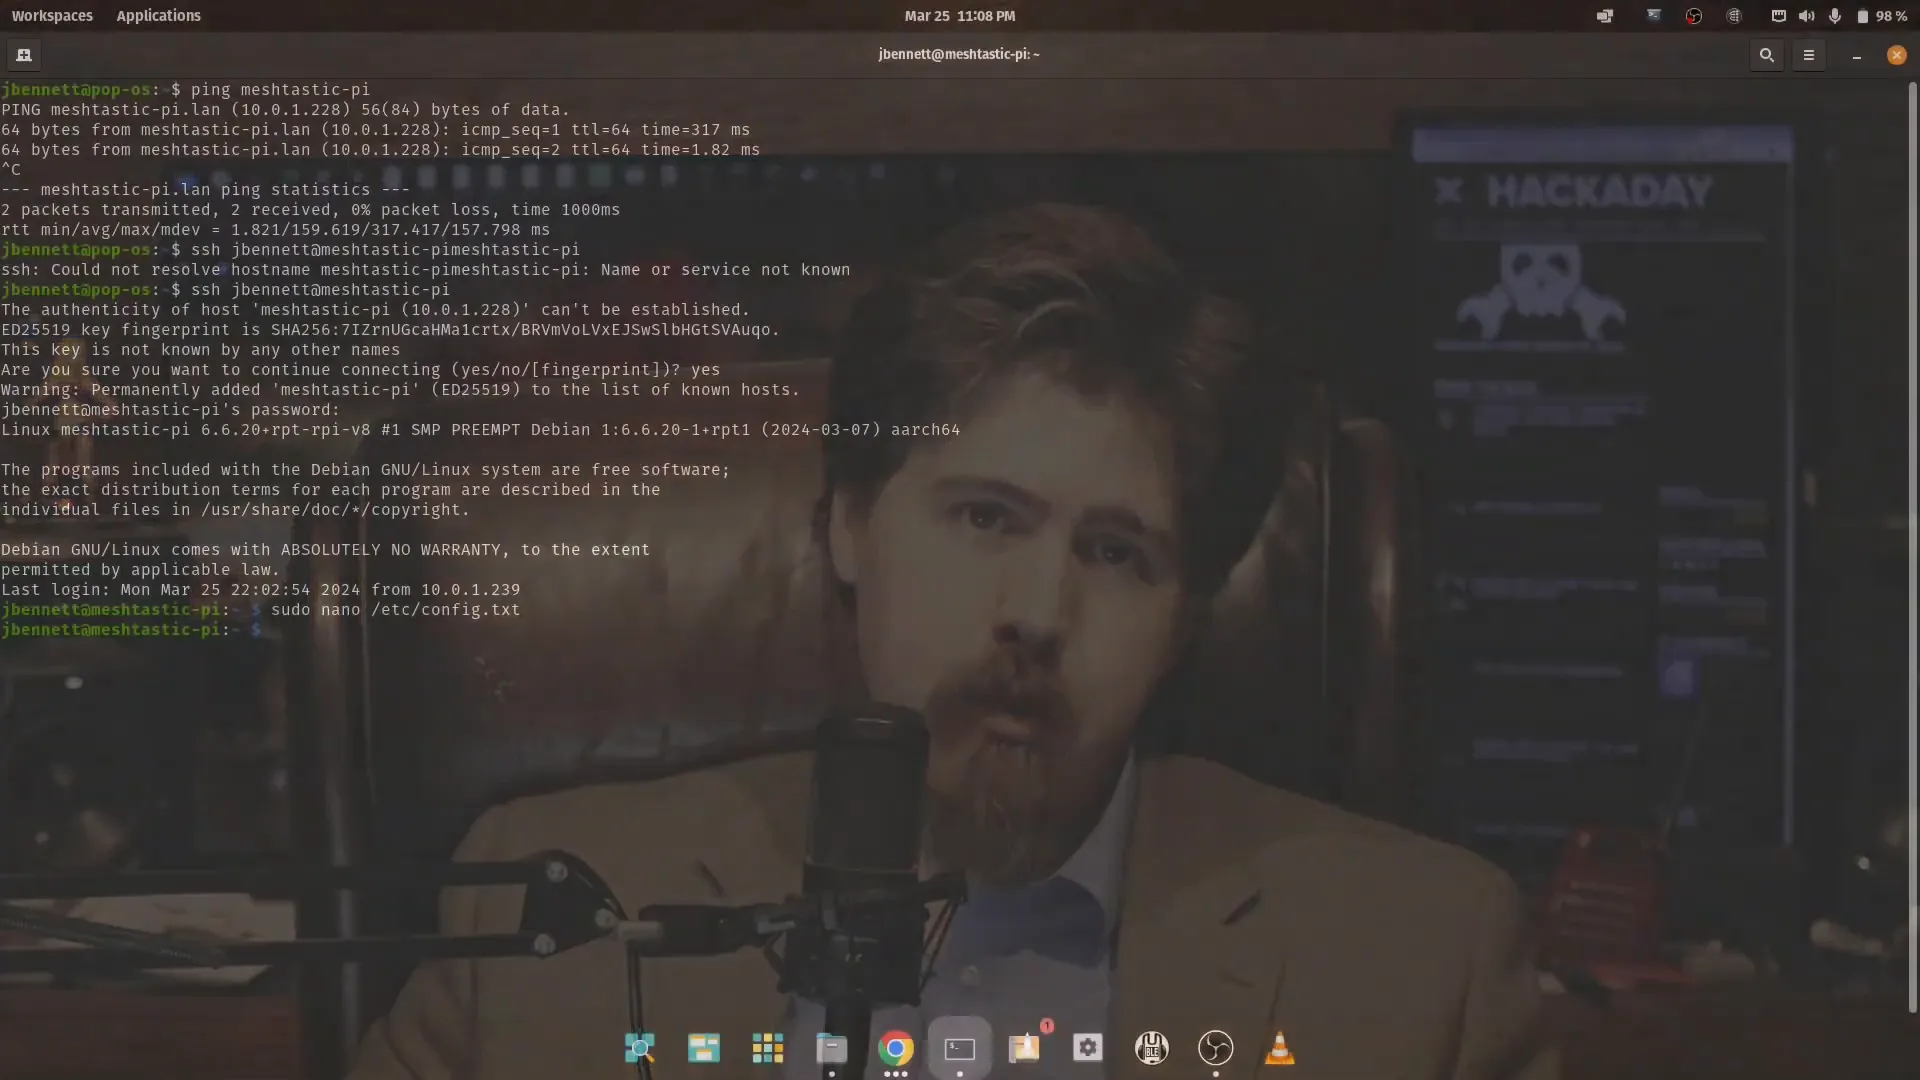
Setting Up Your Raspberry Pi
Once you have your hardware ready, it’s time to set up your Raspberry Pi. Follow these steps to prepare your device:
1. Enable SPI Interface
Before connecting your radio hat, you need to enable the SPI interface on your Raspberry Pi. This is done by editing the config.txt file located in the boot directory. Here’s how:
- Open the terminal and enter the following command to edit the config file:
sudo nano /boot/firmware/config.txt- Add the following lines:
dtparam=spi=ondtoverlay=spi0-0cs- If using GPS, add
enable_uart=1to enable the serial port for GPS.
- Save and exit the file by pressing
CTRL + X, thenY, andEnter.
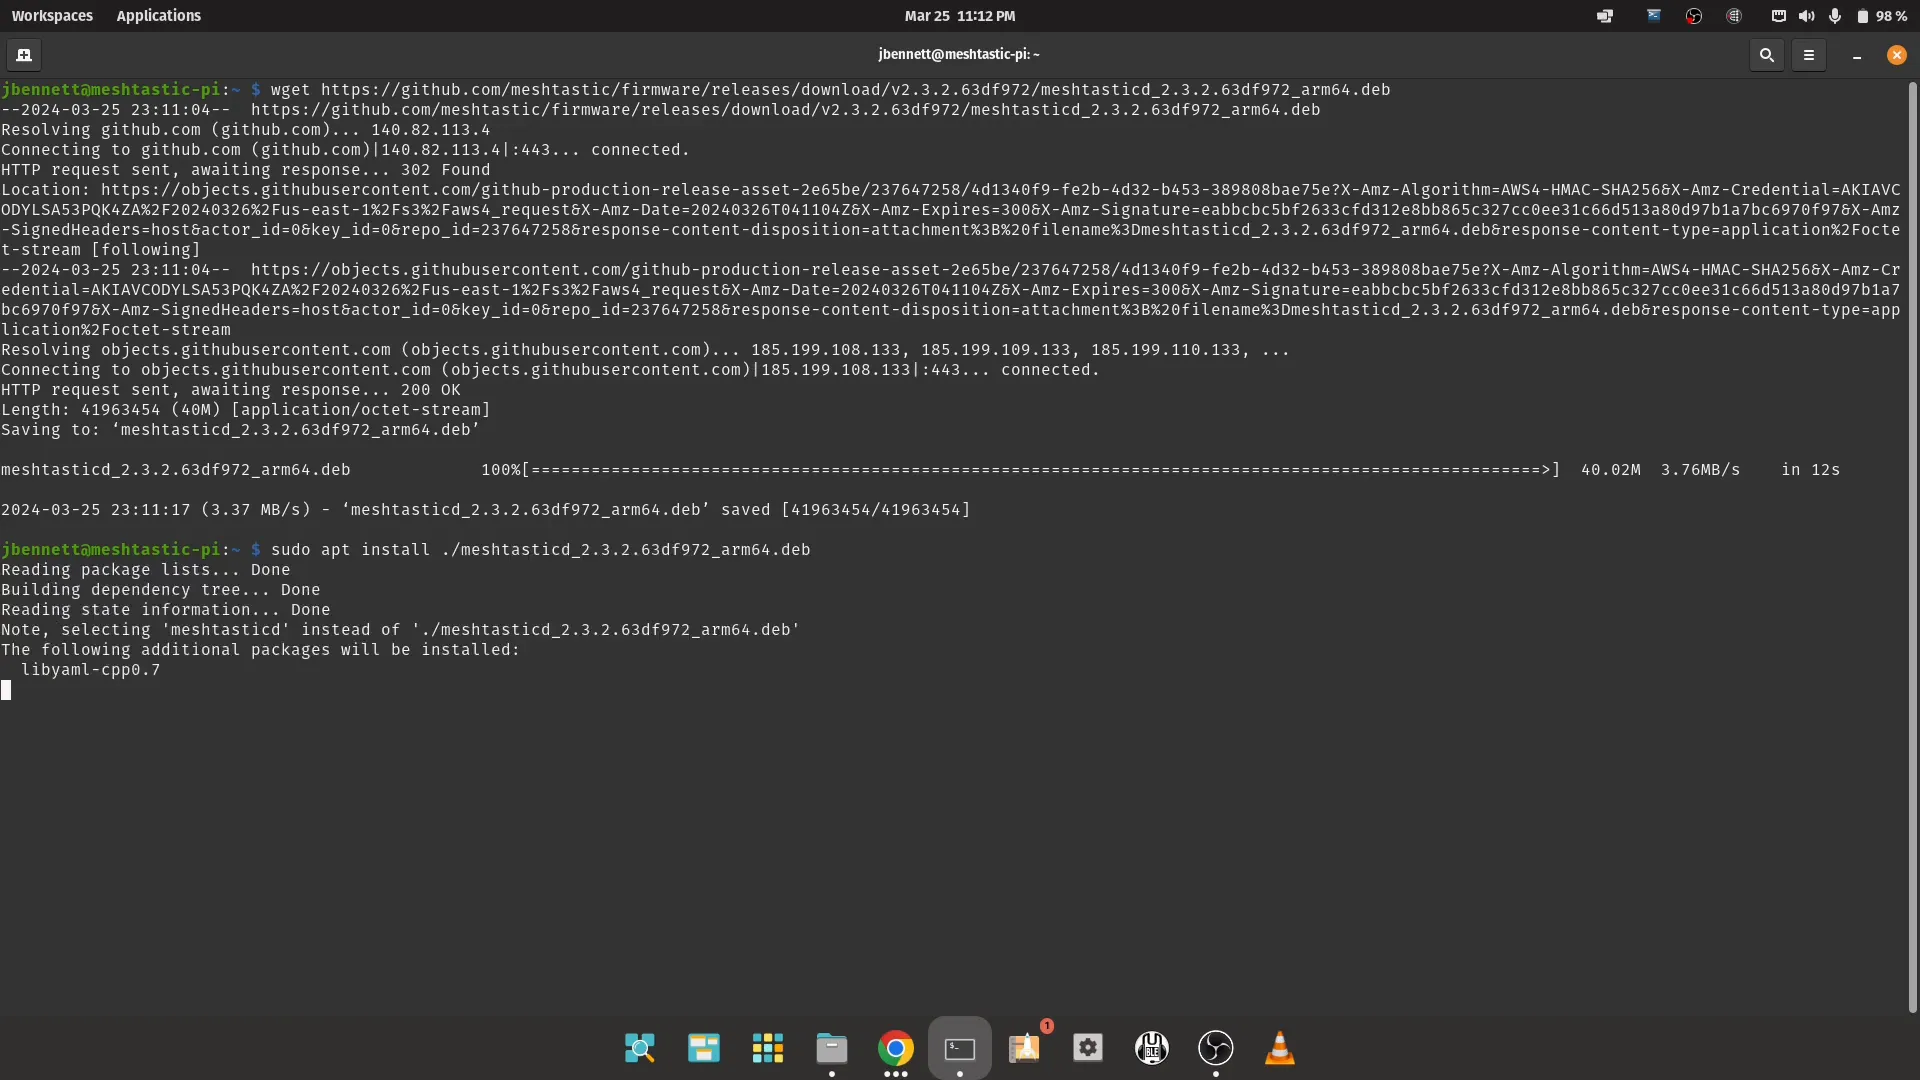
2. Install the Meshtastic D Application
Next, you’ll need to install the Meshtastic D application. Follow these steps:
wget sudo apt install ./meshtasticd__arm64.deb - Download the latest Debian package from the Meshtastic firmware releases page on GitHub.
- Use the following command to download it directly:
- Install the package using:
Configuring Meshtastic D
After installation, you need to configure Meshtastic D to work with your hardware. This involves editing the configuration file:
sudo nano /etc/meshtasticd/config.yml- Open the configuration file with your preferred text editor:
- Uncomment the lines relevant to your hardware setup, such as the radio module and GPS settings.
- Ensure that the spacing in the YAML file is correct, as it is whitespace-sensitive.

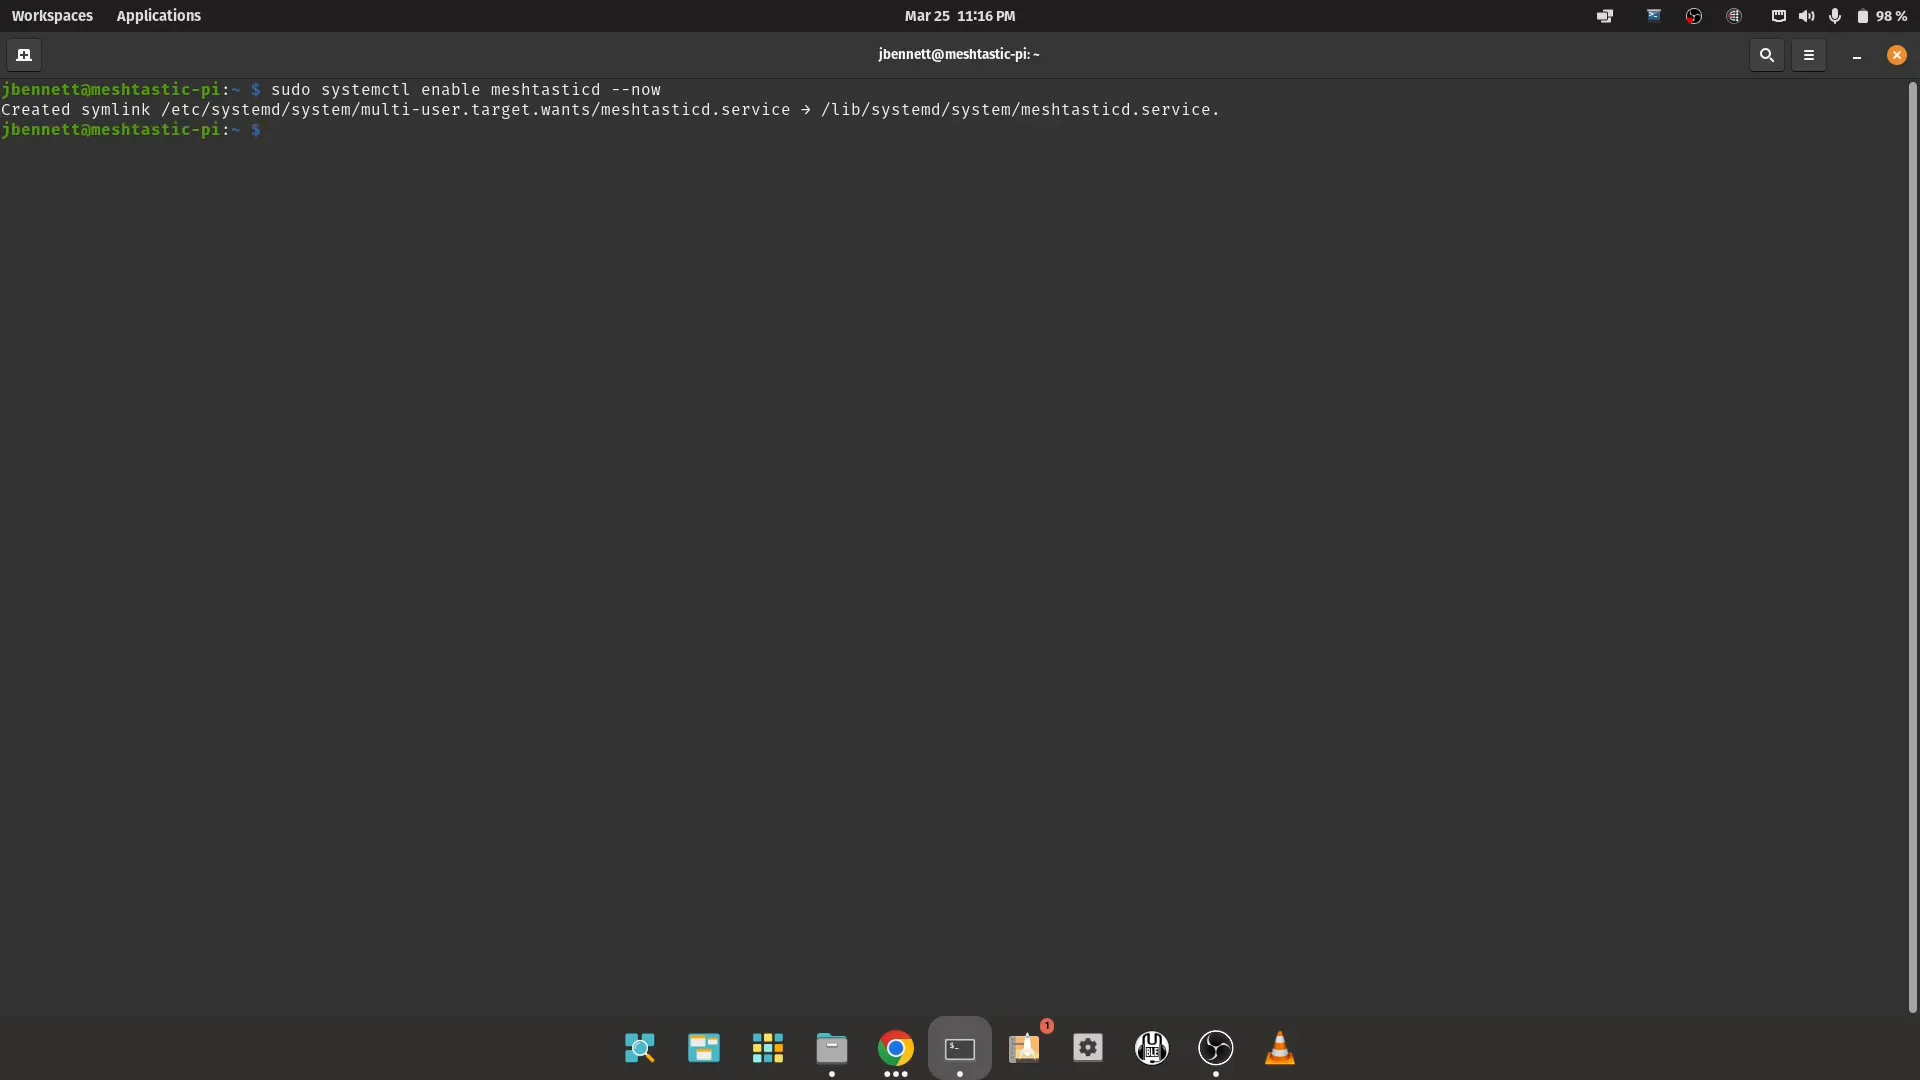
Starting the Meshtastic D Service
With the configuration in place, you can now start the Meshtastic D service:
sudo systemctl enable meshtasticdsudo systemctl start meshtasticdjournalctl -u meshtasticd -f- Enable the service to start on boot:
- Start the service:
- To monitor the service, use:
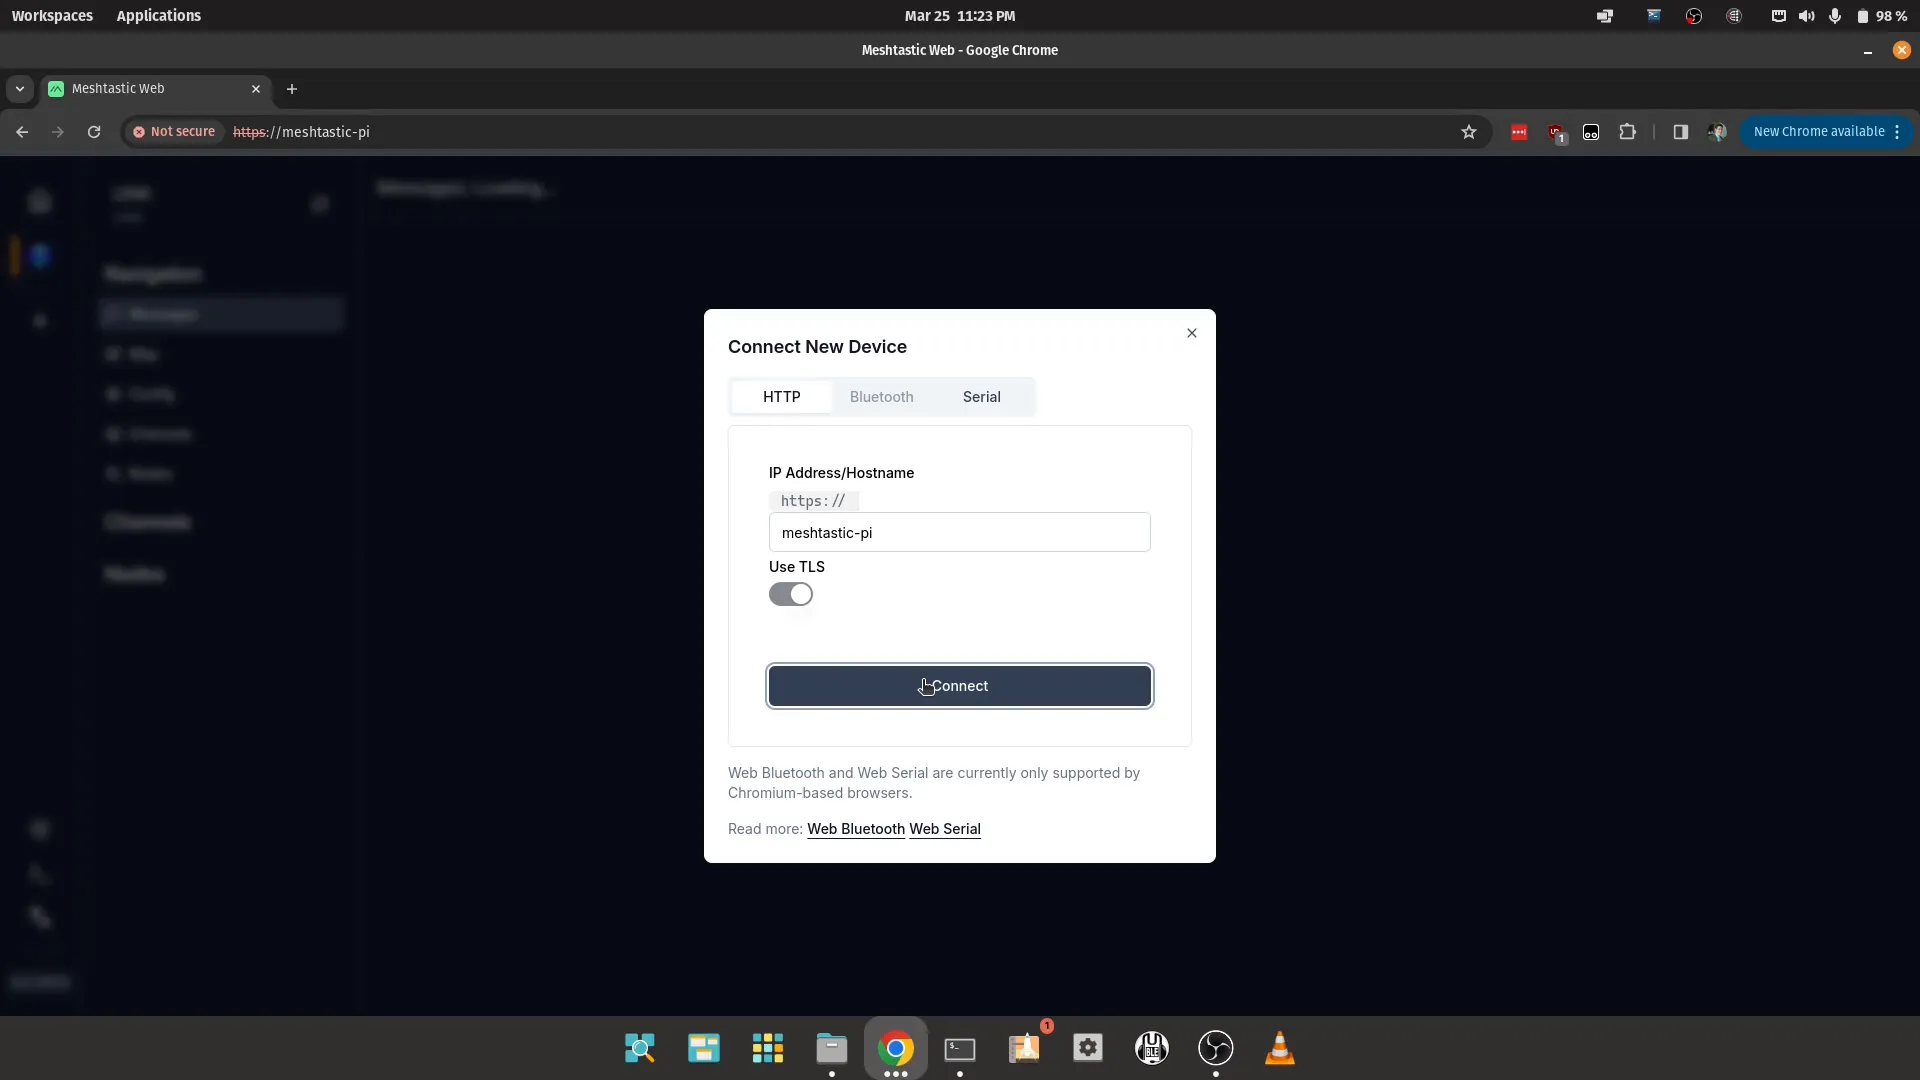
Accessing the Meshtastic Web Interface
One of the exciting features of Meshtastic D is the ability to serve a web interface. To access it, follow these steps:
https://meshtastic-pi- Open a web browser and navigate to:
- From here, you can configure your Meshtastic node and manage your settings easily.
Conclusion
Congratulations! You now have a fully functional Meshtastic setup running on your Raspberry Pi. This setup not only enables communication in off-grid scenarios but also opens up possibilities for various projects and integrations. Explore the capabilities of Meshtastic and consider experimenting with additional sensors or features for a more robust system.
Frequently Asked Questions
What is Meshtastic used for?
Meshtastic is primarily used for creating decentralized mesh networks that allow for long-range communication without relying on cellular networks or internet access. It's ideal for outdoor adventures, emergency communications, and remote locations.
Can I use Meshtastic with other devices besides Raspberry Pi?
Yes, Meshtastic can be used with various hardware platforms, including Arduino and ESP32, depending on your project requirements. However, the process for setup may differ.
How can I troubleshoot issues with my Meshtastic setup?
You can check the service logs using the command journalctl -u meshtasticd -f to troubleshoot any issues. Additionally, ensure that your hardware connections are secure and that your configuration file is correctly set up.
Where can I find more information about Meshtastic?
You can visit the official Meshtastic website for documentation, community support, and resources related to the project.