
Heltec T114 vs ESP32 S3: The Ultimate Power Efficiency Showdown
Published by Vivian van Zyl in Meshtastic the 04/22/2025 at 05:53 pm

In this blog, we dive into the remarkable power efficiency of the Heltec T114 compared to the ESP32 S3, revealing why this difference matters for your IoT projects. Join me as I walk you through the process of building a custom Meshtastic solar node, highlighting the innovative features and modifications that enhance performance and sustainability.
Table of Contents
- Introduction to the Solar Node
- Understanding the Heltec T114 and ESP32 S3
- The Importance of Power Draw
- Designing the 3D Printed Case
- Installing the Antenna
- Setting Up the Solar Panel
- Cover Installation for Heat Dissipation
- Sinking Screws Technique
- Overview of the Electronics
- Assembling the Electronics
- Connecting the Solar Panel
- Powering On the Solar Node
- Finalizing the Setup
- Conclusion and Real-World Application
- FAQs
Introduction to the Solar Node
The Solar Node is an innovative solution for sustainable IoT applications. By harnessing solar energy, this device operates independently of traditional power sources, making it ideal for remote locations. The integration of efficient components, like the Heltec T114, enhances its functionality and performance.
In this guide, we'll explore the design and assembly of a Solar Node tailored for Meshtastic applications. This project not only emphasizes power efficiency but also showcases unique design elements that contribute to heat management and overall durability.
Understanding the Heltec T114 and ESP32 S3
The choice of microcontroller significantly impacts the performance of IoT devices. The Heltec T114, based on the NRF52 architecture, boasts a mere 13 milliamps of power draw, while the ESP32 S3 consumes around 94 milliamps when idle. This stark difference in energy consumption translates to longer operational periods on a single charge, making the T114 a superior choice for battery-powered projects.
In practical terms, this means that while the ESP32 S3 can last approximately 25 hours on a 3500 mAh battery, the Heltec T114 can stretch that to nearly 200 hours. This efficiency is crucial for applications where access to power is limited or non-existent.
The Importance of Power Draw
Understanding power draw is essential for designing effective solar-powered devices. The lower the power consumption, the longer the device can operate without needing a recharge. This is particularly vital for remote sensors and communication nodes that require consistent uptime.
- Longer Battery Life: Devices that draw less power can operate for extended periods, benefiting applications in remote areas.
- Reduced Solar Panel Size: Lower power requirements mean smaller solar panels can suffice, reducing weight and cost.
- Improved Sustainability: Eco-friendly designs that prioritize energy efficiency contribute to a more sustainable future.
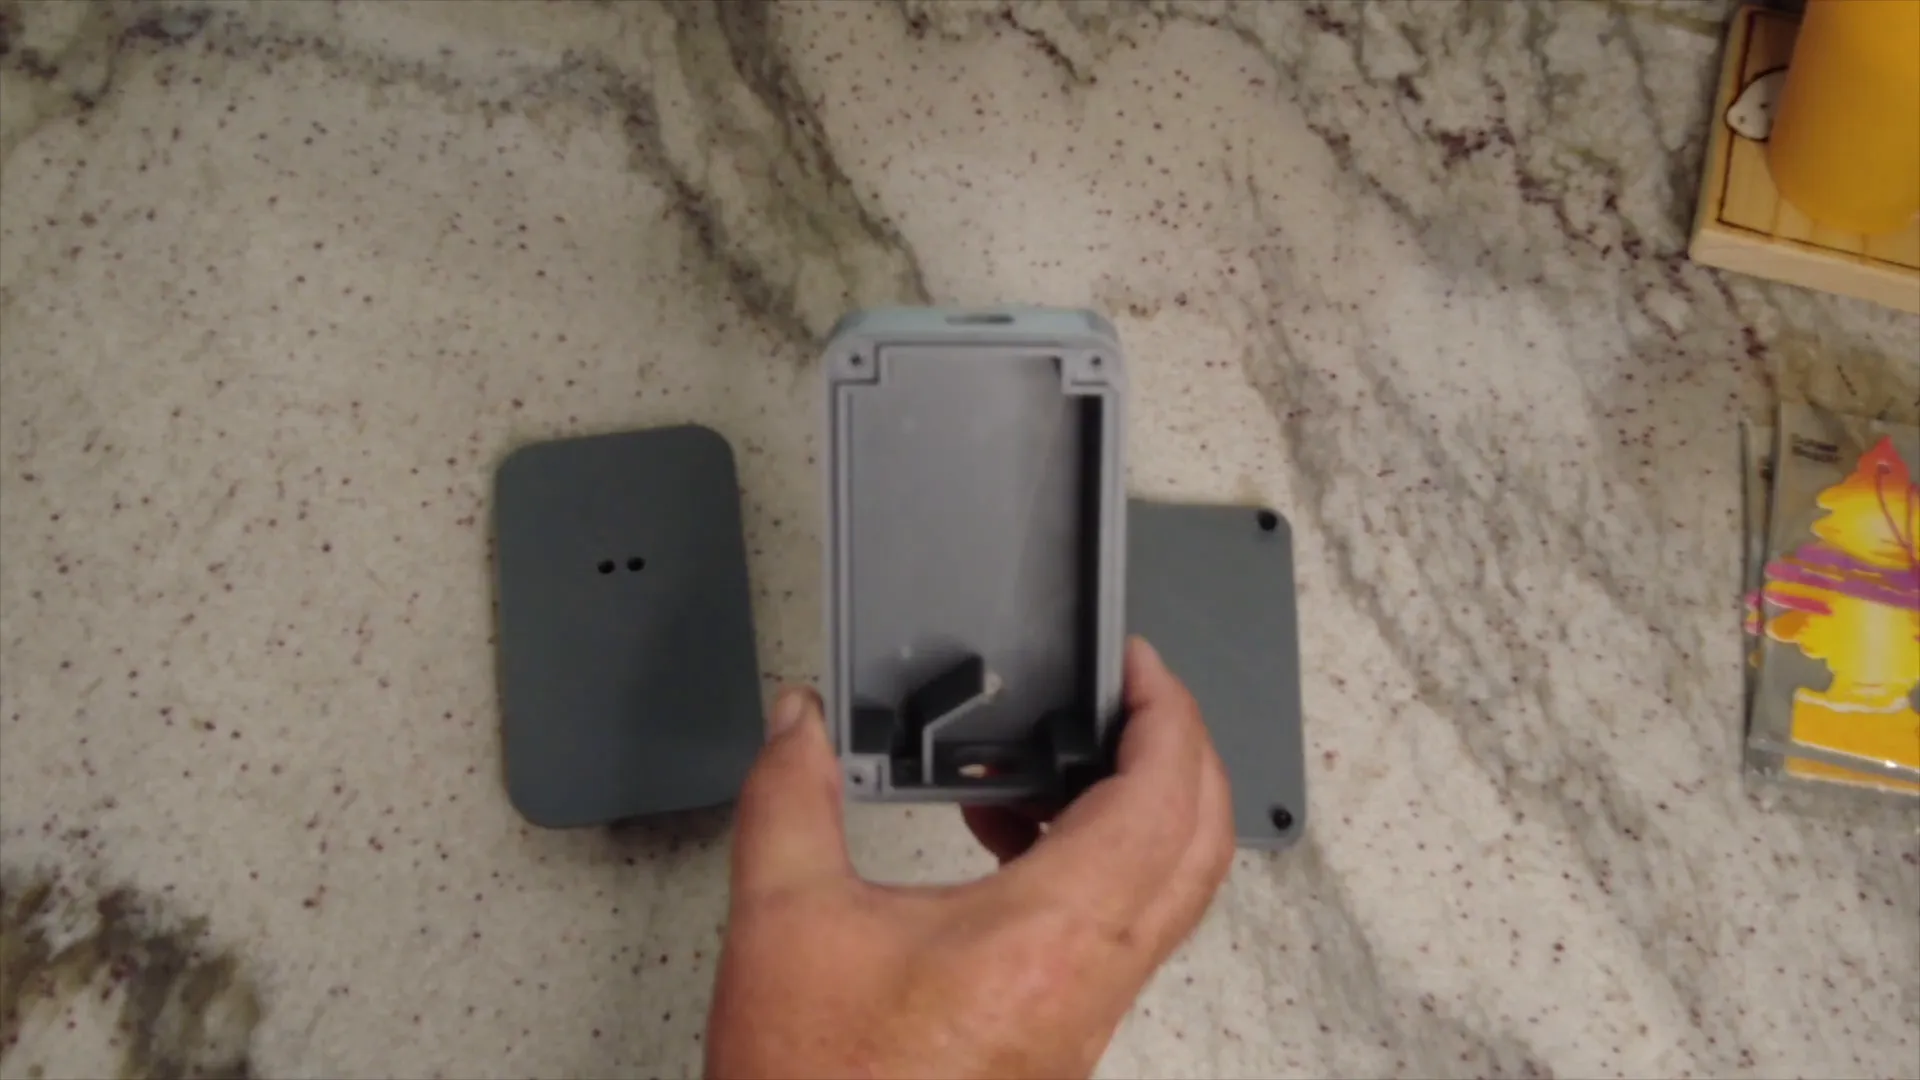
Designing the 3D Printed Case
A well-designed case is critical for housing electronic components while ensuring efficient heat dissipation. The case for the Solar Node is crafted to provide ample airflow while protecting the internal components from external elements.
Featuring a fan mount and ventilation holes, the design promotes airflow, allowing heat generated by the electronics to escape. This is particularly important in warmer climates, where overheating can lead to device failure.
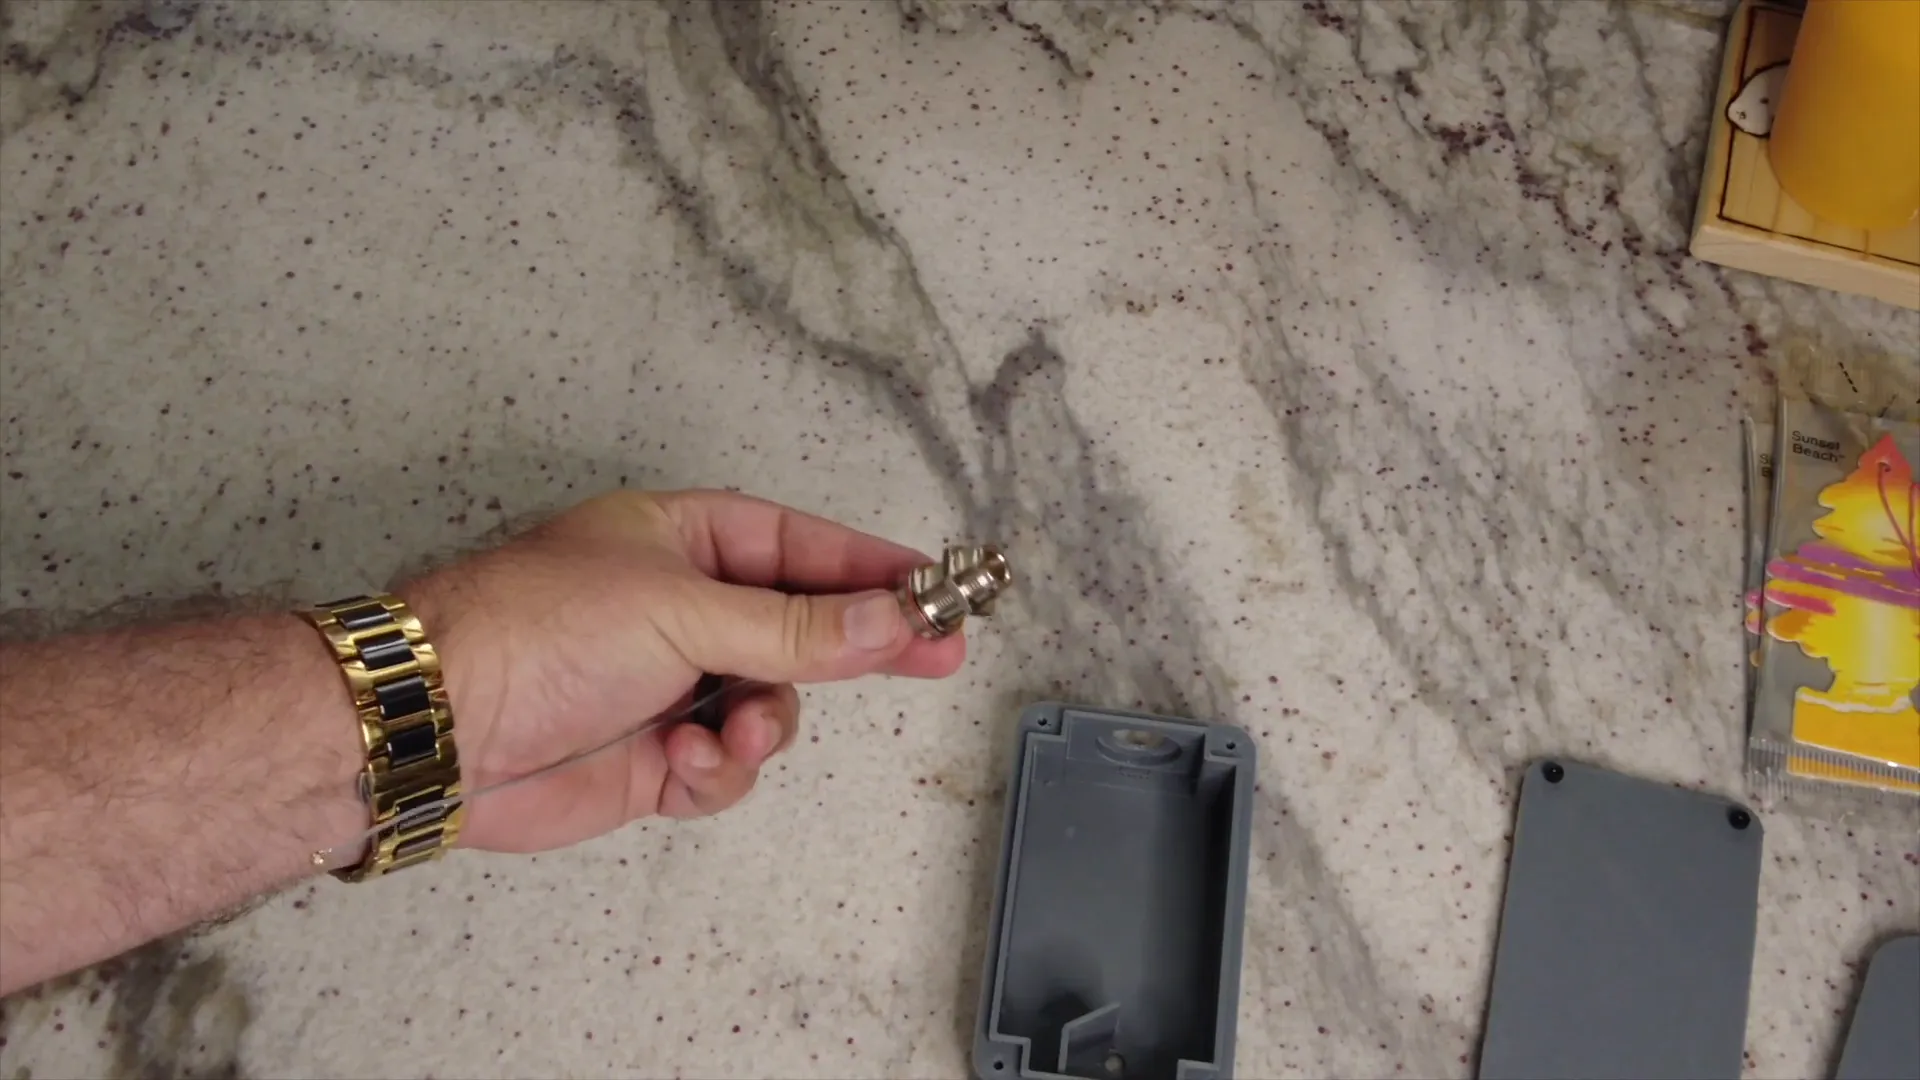
Installing the Antenna
The antenna is a key component for ensuring reliable communication. Using a Type N connector enhances the overall connectivity of the device. This connector is known for its robust sealing capabilities, which protect against moisture and dust.
When installing the antenna, ensure that it is securely mounted and that the rubber gasket is properly seated to maintain a waterproof seal.
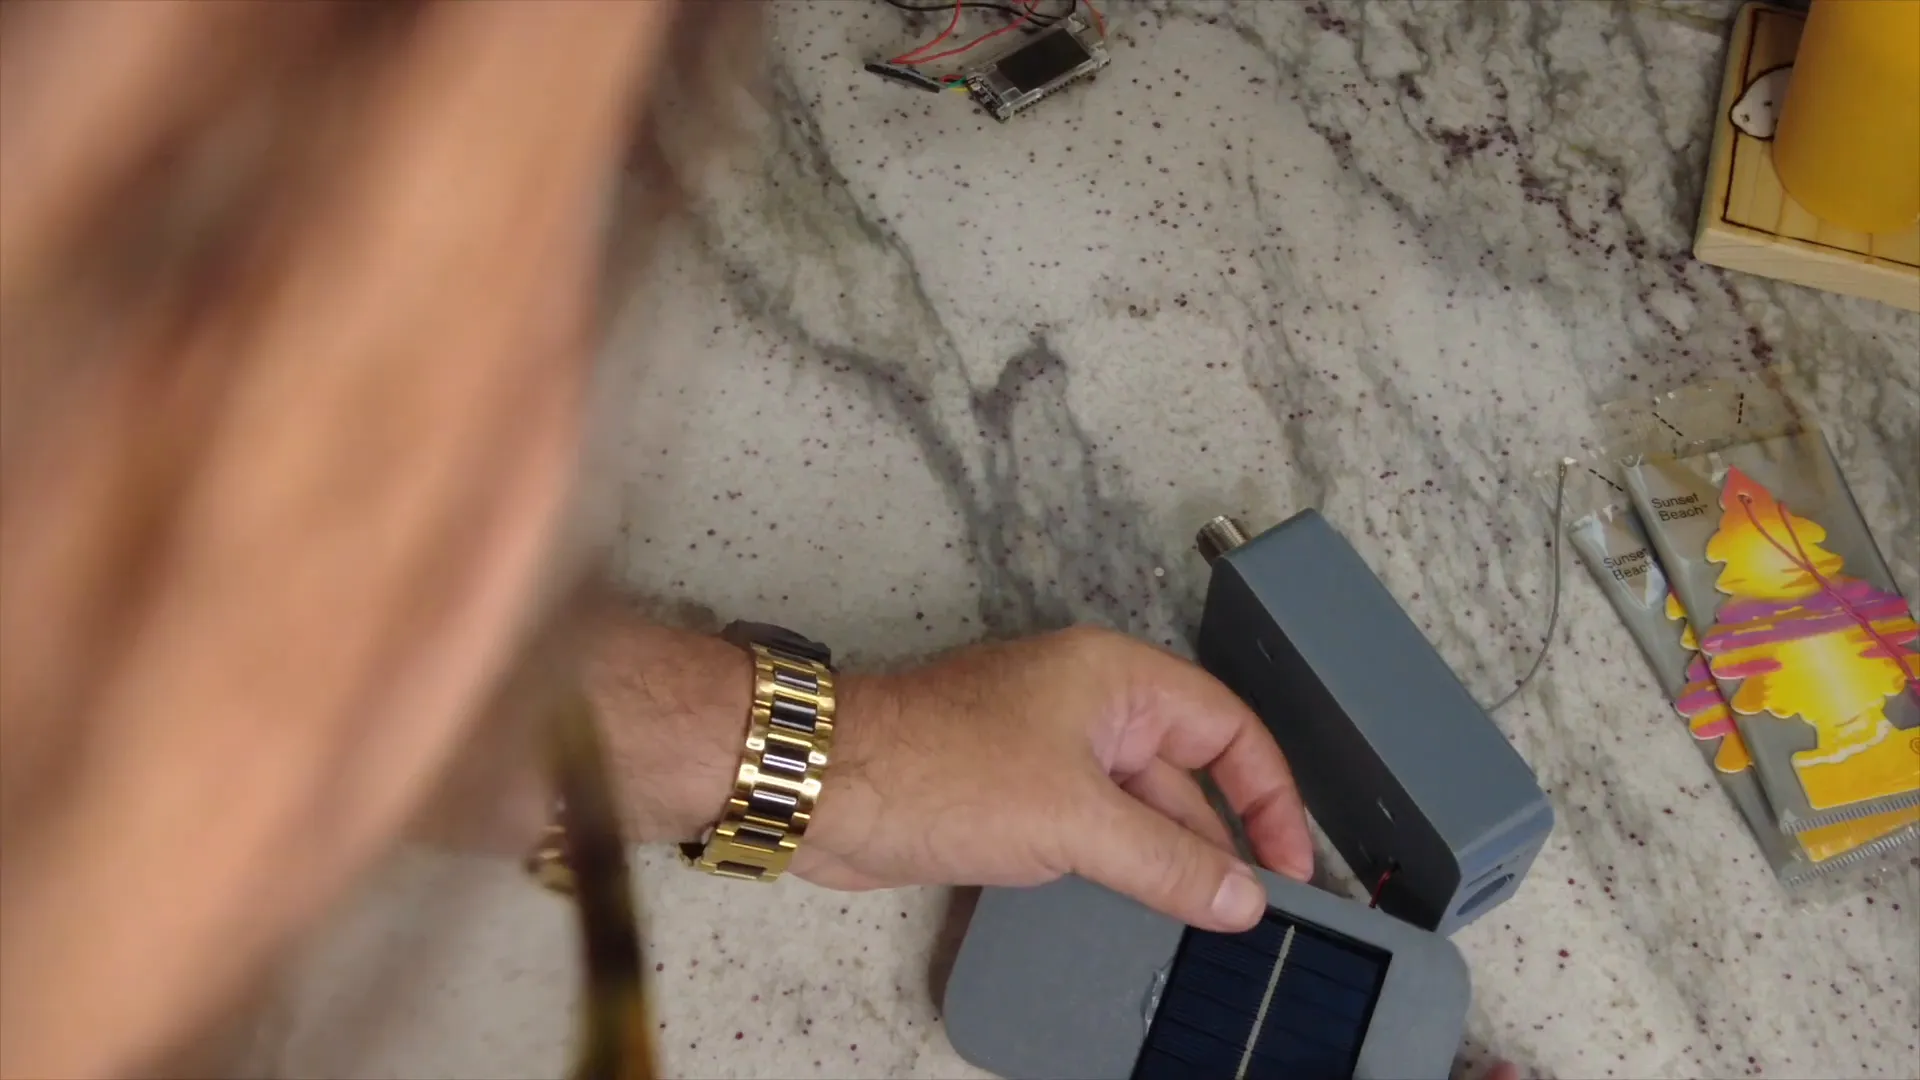
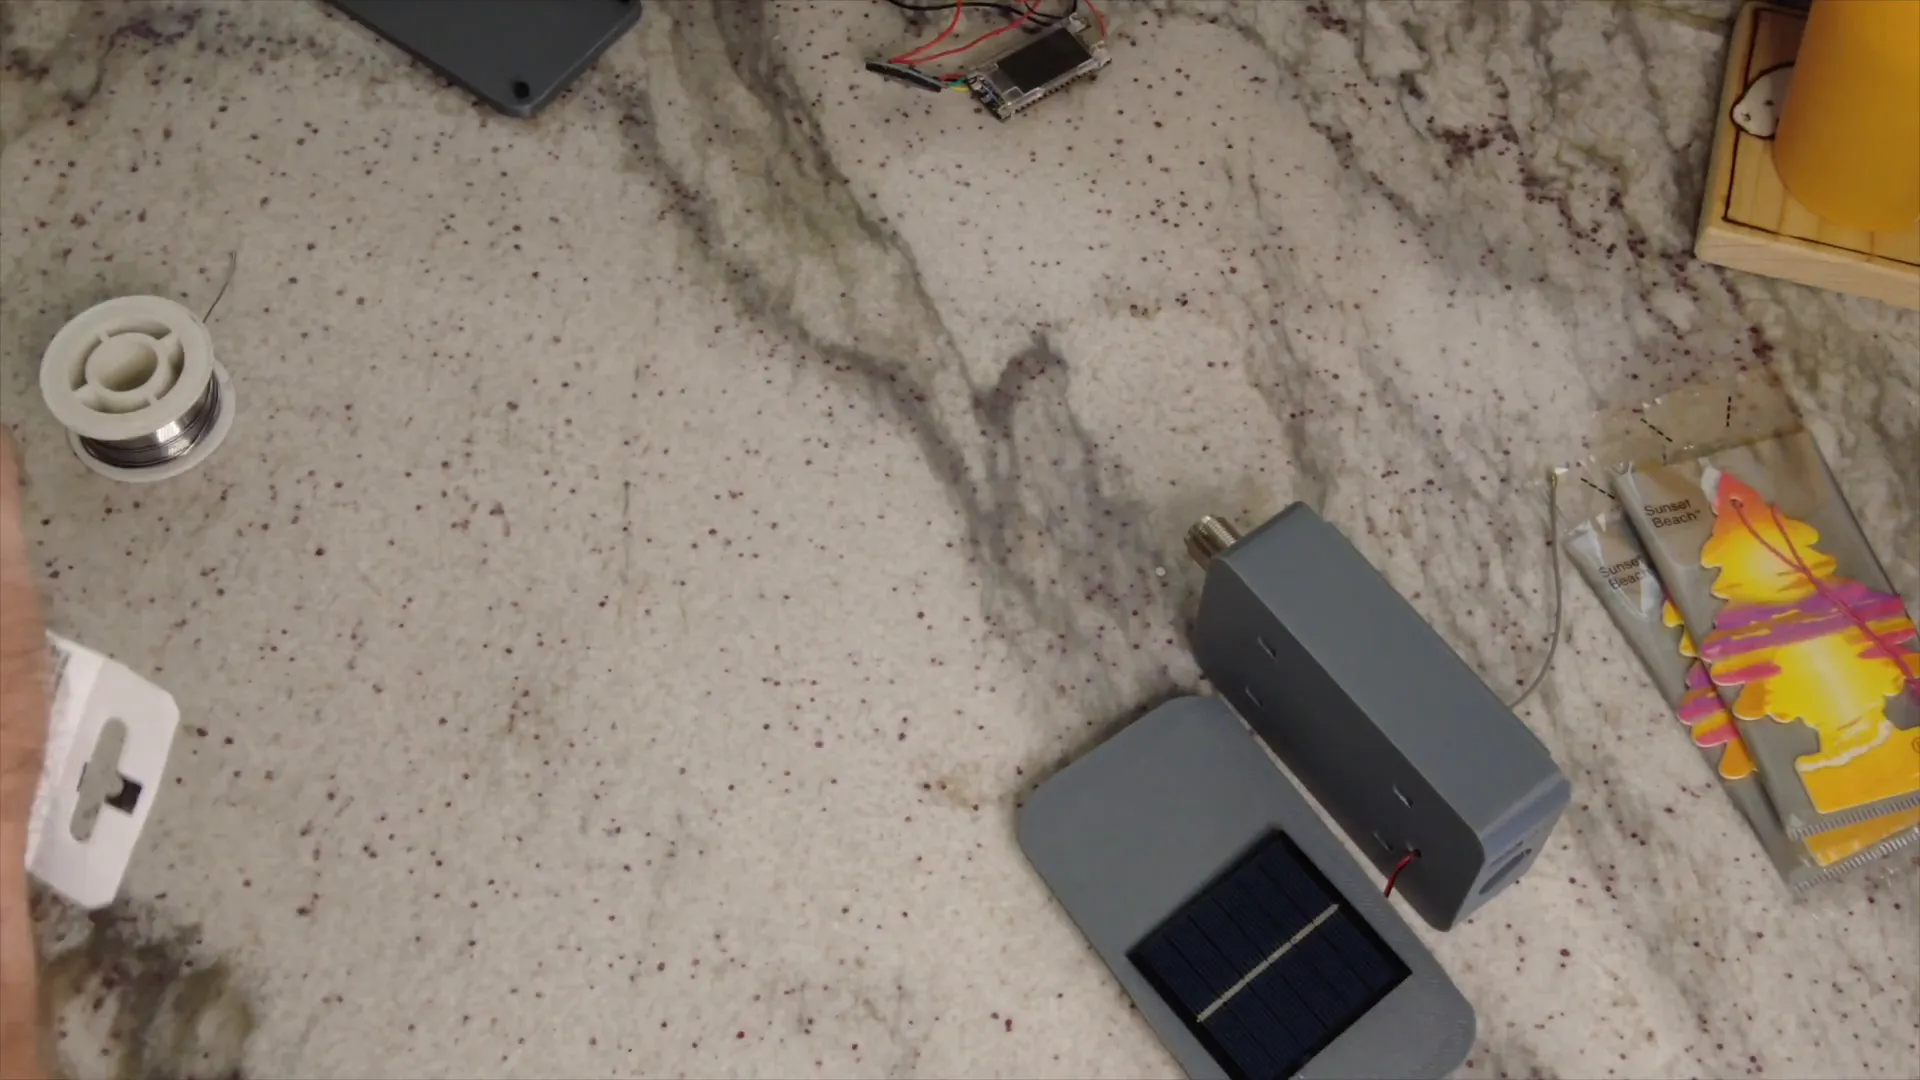
Setting Up the Solar Panel
The solar panel plays a vital role in keeping the Solar Node powered. Mounting the solar panel correctly ensures that it receives maximum sunlight exposure, optimizing energy capture. In this design, the solar panel is mounted on a cover that also facilitates heat dissipation.
Use silicone to secure the solar panel in place, ensuring a tight seal to prevent moisture ingress. This is crucial for maintaining the longevity of the electronics housed within the case.
Cover Installation for Heat Dissipation
The cover for the Solar Node is designed not only for aesthetics but also for functionality. It includes fins that create an air gap, allowing heat to dissipate effectively. This design helps keep the internal components cool, especially under direct sunlight.
When installing the cover, ensure that it clips securely onto the case. This not only protects the internal components but also enhances the overall structural integrity of the node.

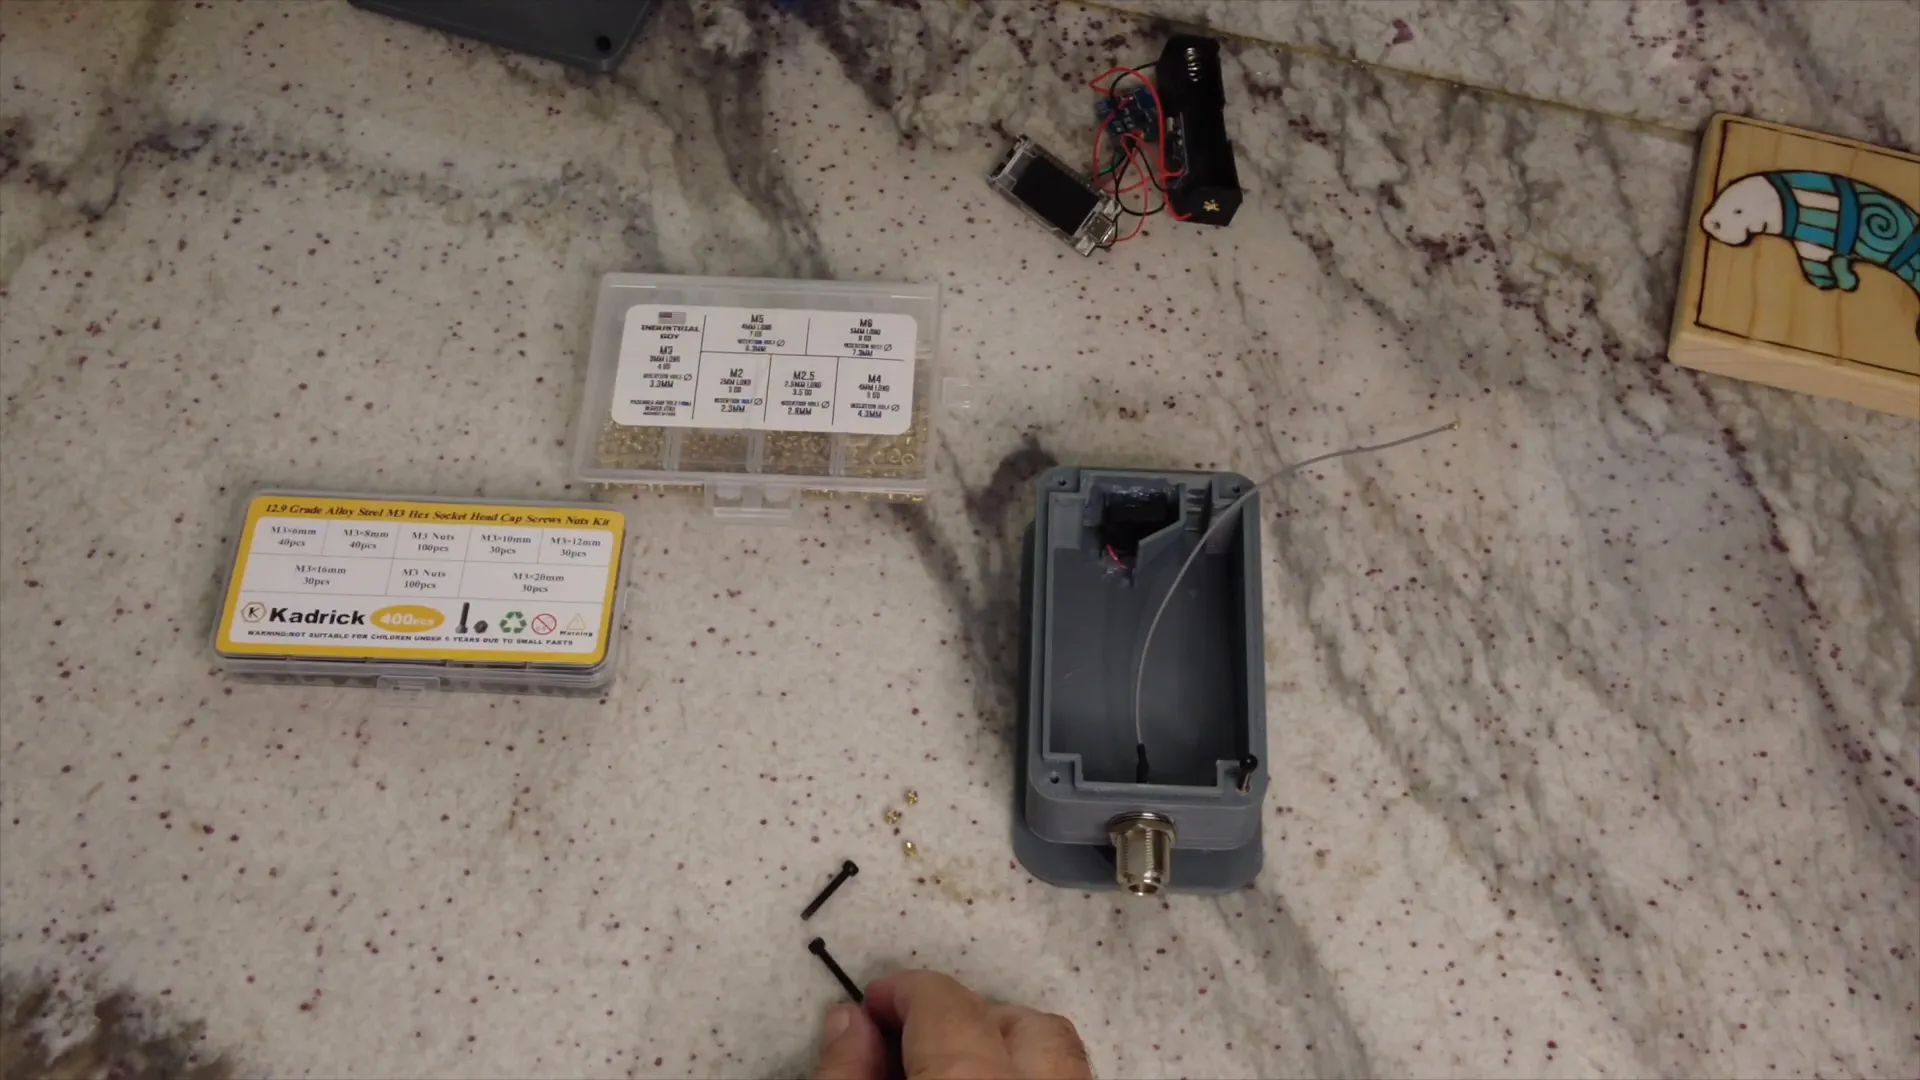
Sinking Screws Technique
To secure the components effectively, a sinking screws technique is employed. This involves heating the screws and pressing them into the plastic of the case, creating a strong hold without protruding elements.
Using a lighter or heat source, carefully heat the screws before embedding them into the designated holes. This technique ensures a clean finish and prevents any sharp edges from damaging the internal wiring.
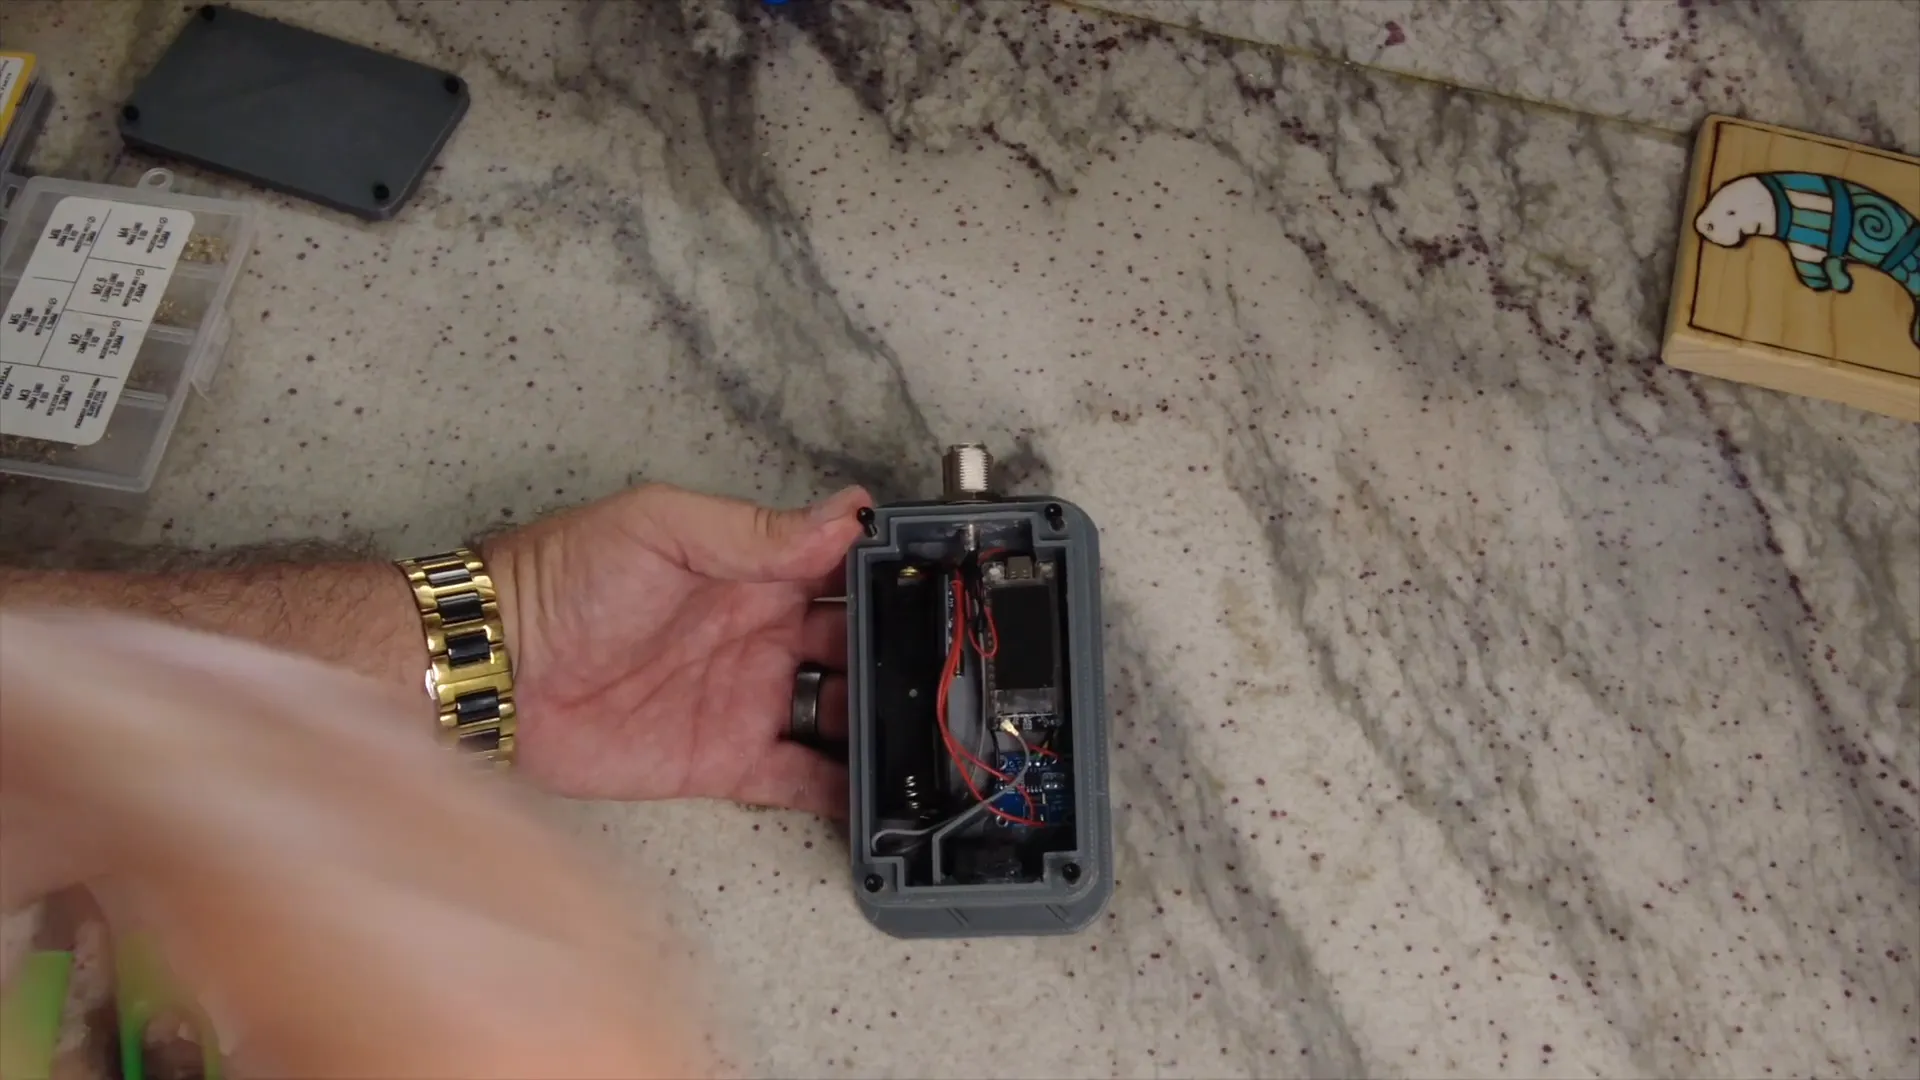
Overview of the Electronics
The heart of the Solar Node is the Heltec T114, a powerful microcontroller based on the NRF52 architecture. This choice is not arbitrary; it significantly impacts both performance and power efficiency. The T114 operates at a mere 13 milliamps, allowing for longer operational times on battery power compared to alternatives like the ESP32 S3.
In addition to the T114, the setup includes an INA219 for monitoring voltage and current, enhancing the node's ability to manage power efficiently. A charge controller is also integrated into the design, ensuring that the battery is charged optimally while the solar panel is in use.
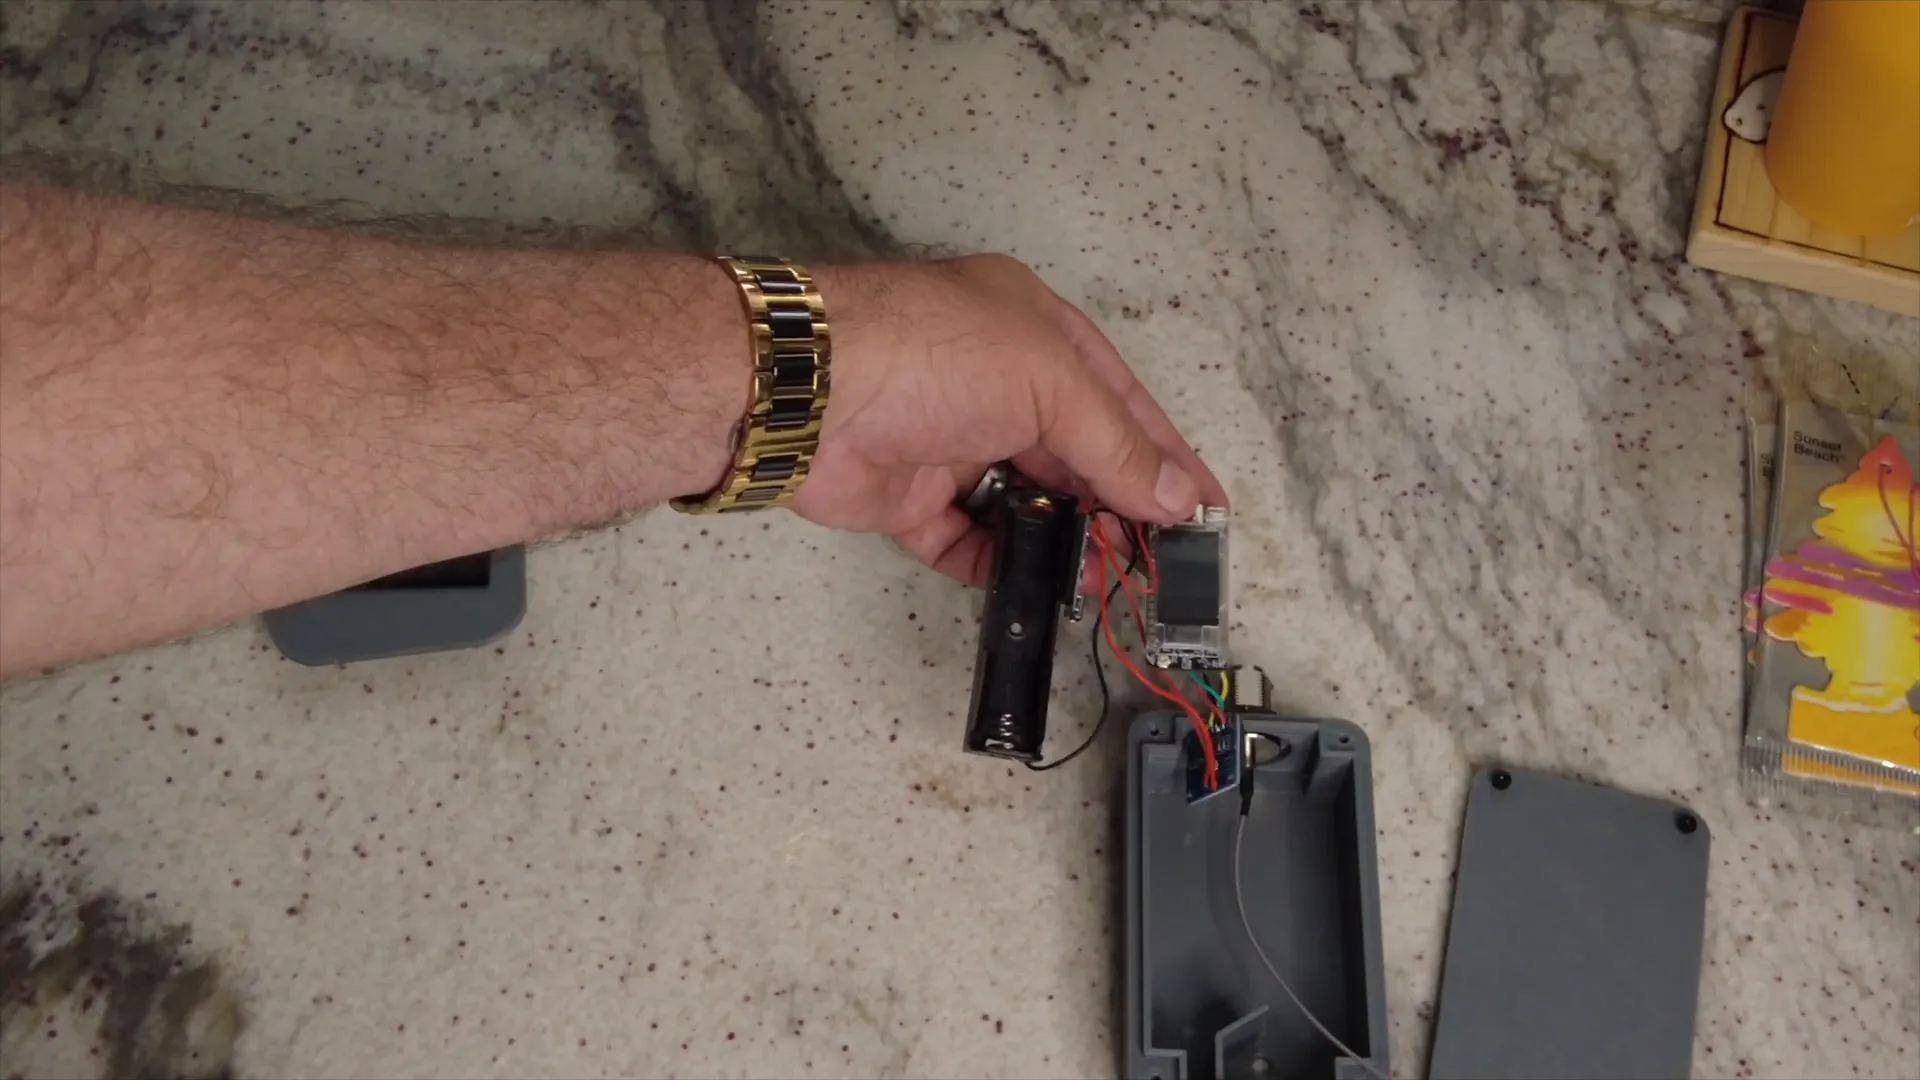
Assembling the Electronics
When assembling the electronics, it’s crucial to ensure that each component is securely mounted within the case. Start by placing the T114 in the designated area, followed by the INA219 and the battery holder. Ensure that wires are neatly arranged to avoid any interference with other components.
During this phase, it's also important to check that the connections are tight. A well-organized setup minimizes the risk of short circuits and improves reliability.
Connecting the Solar Panel
Connecting the solar panel is a critical step that ensures the Solar Node remains powered. Begin by applying a small amount of silicone adhesive to secure the solar panel in place. This not only holds the panel but also provides a barrier against moisture, which is essential for longevity.
Once the adhesive is applied, position the solar panel carefully, ensuring that the positive and negative connectors align correctly with the battery holder. After securing the panel, seal any edges with silicone to prevent water ingress.
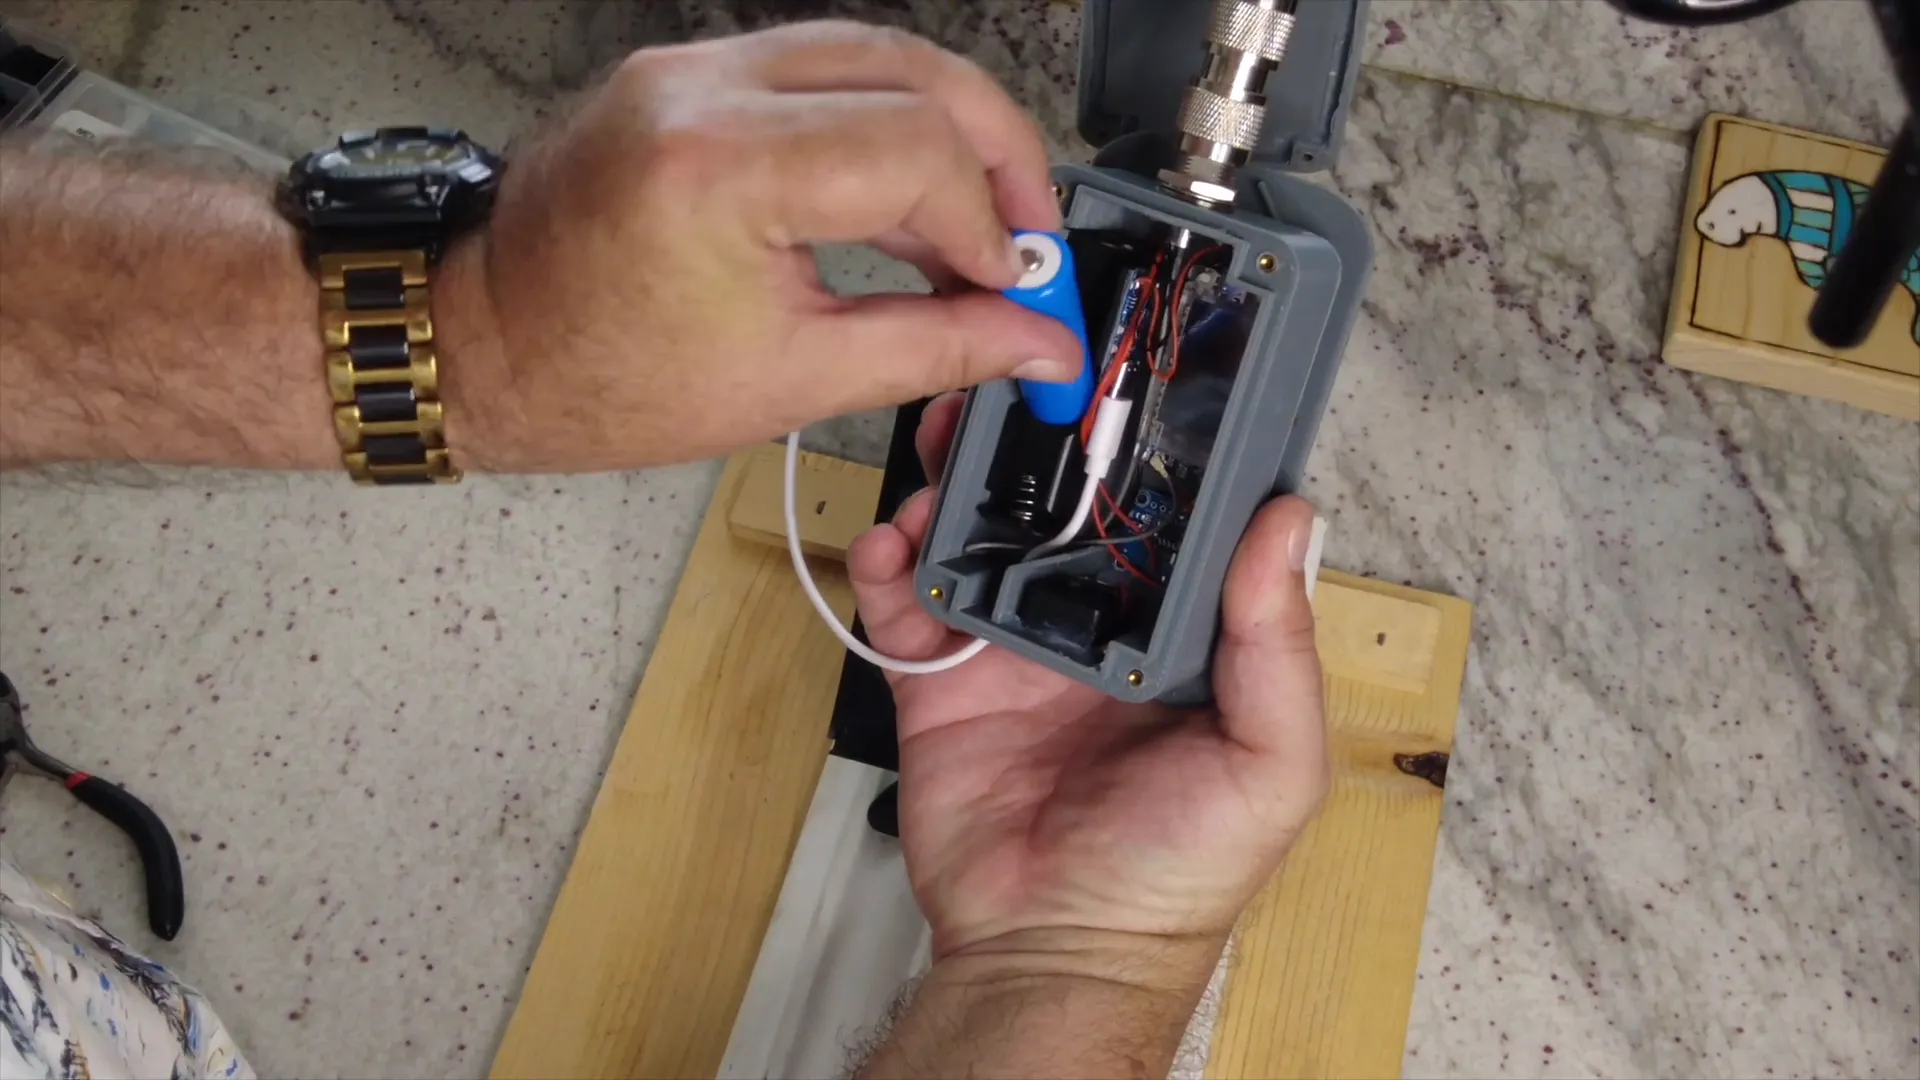
Powering On the Solar Node
With the assembly complete, it’s time to power on the Solar Node. First, connect the antenna to ensure proper communication capabilities. Insert the battery only after the antenna is securely in place to avoid damaging the radio components.
Once the battery is inserted, you should see the LED indicators flashing, which confirms that the system is operational. This initial power-up is a critical moment; it’s the first indication that all components are functioning as intended.
Finalizing the Setup
The last steps involve sealing the case securely. Use sunken screws to tighten the back cover, ensuring that everything is snug and protected from the elements. It's wise to double-check all connections and seals to prevent any future issues.
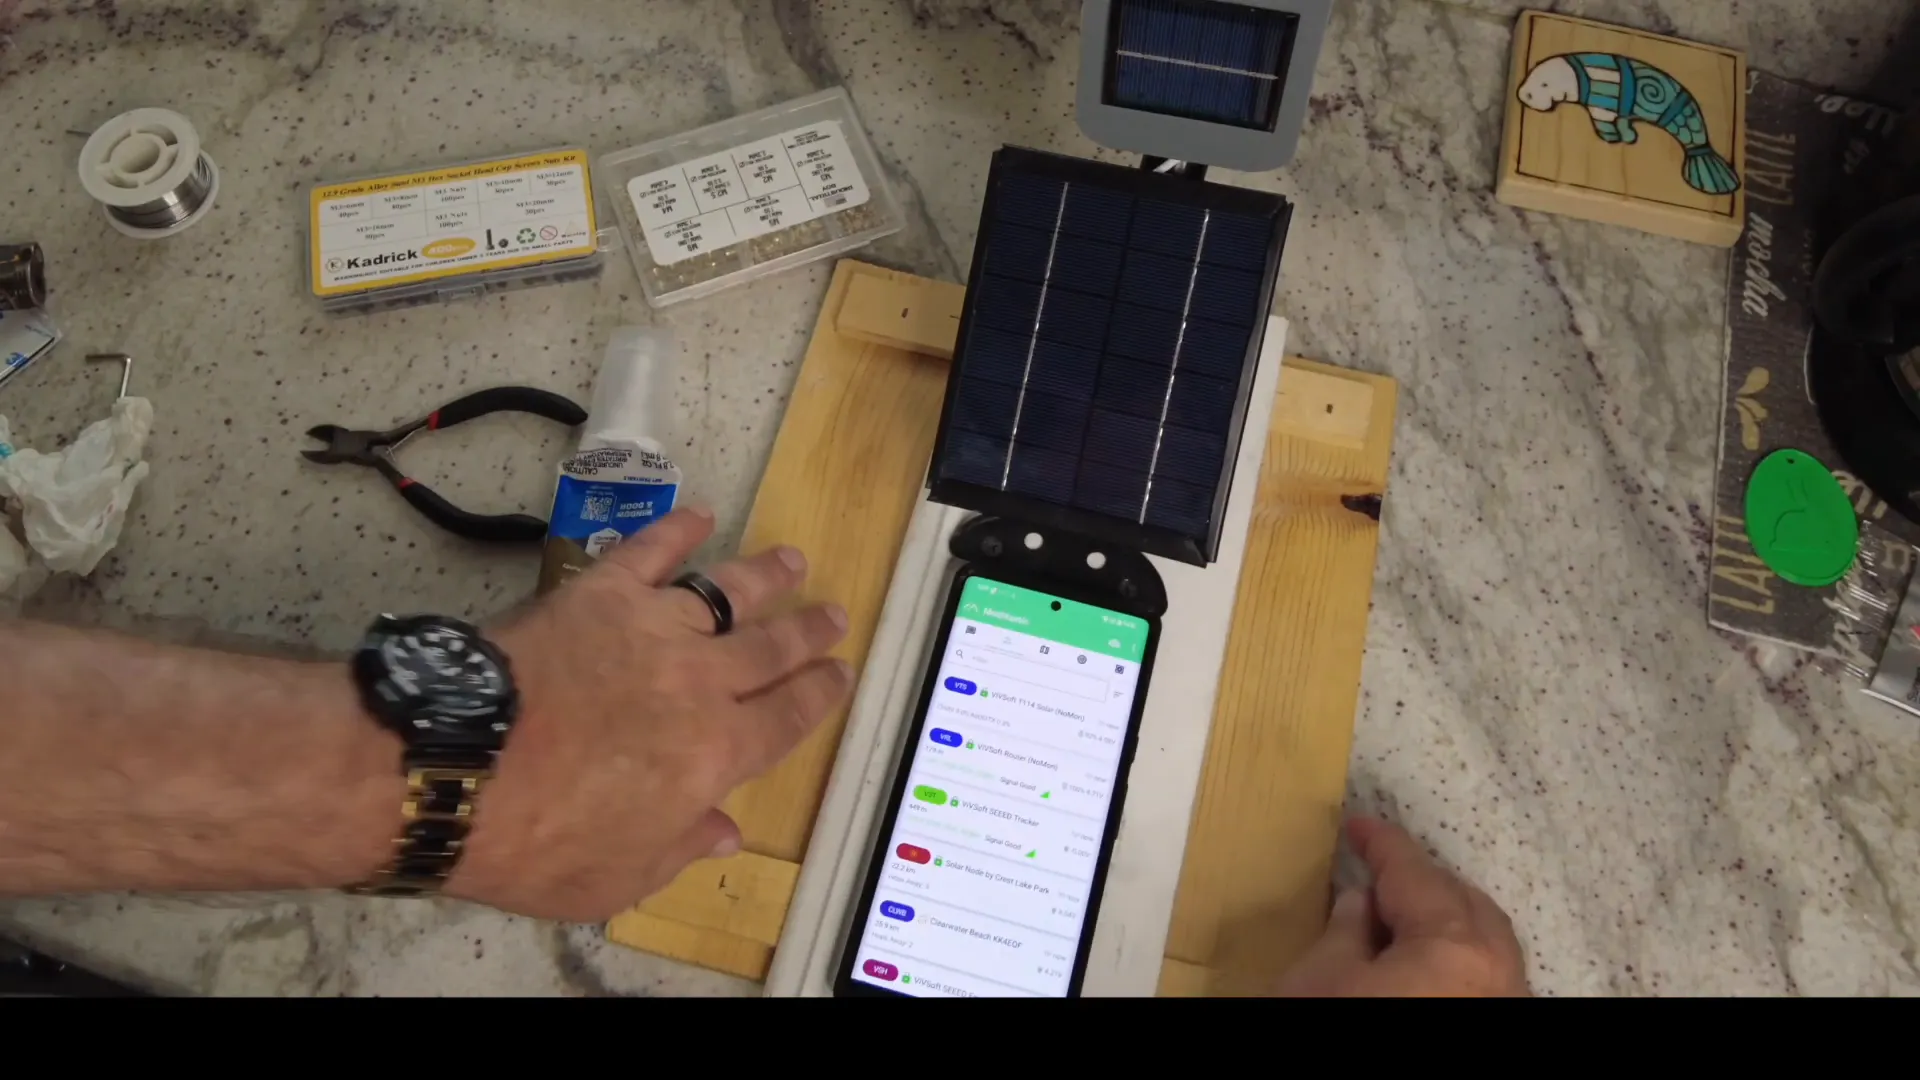
After securing the case, a quick test can be performed to ensure connectivity. Use a device to ping the Solar Node, verifying that it communicates effectively with other nodes in the network.
Conclusion and Real-World Application
The Solar Node represents a significant advancement in sustainable IoT technology. By harnessing solar energy and utilizing efficient components like the Heltec T114, this device is capable of operating for extended periods without the need for frequent recharges.
In real-world applications, such as remote monitoring or environmental sensing, the Solar Node excels. Its ability to function autonomously makes it a valuable tool for various projects, from agriculture to wildlife tracking. As more devices adopt similar technologies, we move closer to a more sustainable future.
FAQs
How long can the Solar Node operate on a full charge?
With the Heltec T114, the Solar Node can operate for nearly 200 hours on a 3500 mAh battery, significantly outlasting alternatives like the ESP32 S3.
What is the purpose of the INA219 in the setup?
The INA219 measures voltage and current, providing critical data for monitoring power consumption and battery status.
Can the Solar Node function in low-light conditions?
While it performs best in direct sunlight, the Solar Node can still operate in low-light conditions, although power generation will be reduced.
What materials are recommended for the case?
A durable, lightweight material, such as PLA or ABS plastic, is ideal for 3D printing the case to ensure both protection and heat dissipation.
