
Heltec V4 Unboxed and Set Up: What’s New and Is It Worth the Upgrade?
Published by Vivian van Zyl in Meshtastic the 11/26/2025 at 04:57 pm

Heltec V4 arrives with a handful of practical upgrades that matter for Meshtastic and mesh-core projects: improved memory, a dedicated GPS connector, a solar input, and a refreshed case layout. This write-up walks through the hardware quirks, assembly tips, initial firmware flashing, and first-time configuration so you can get a working node quickly and avoid the little pitfalls that always come with new boards.
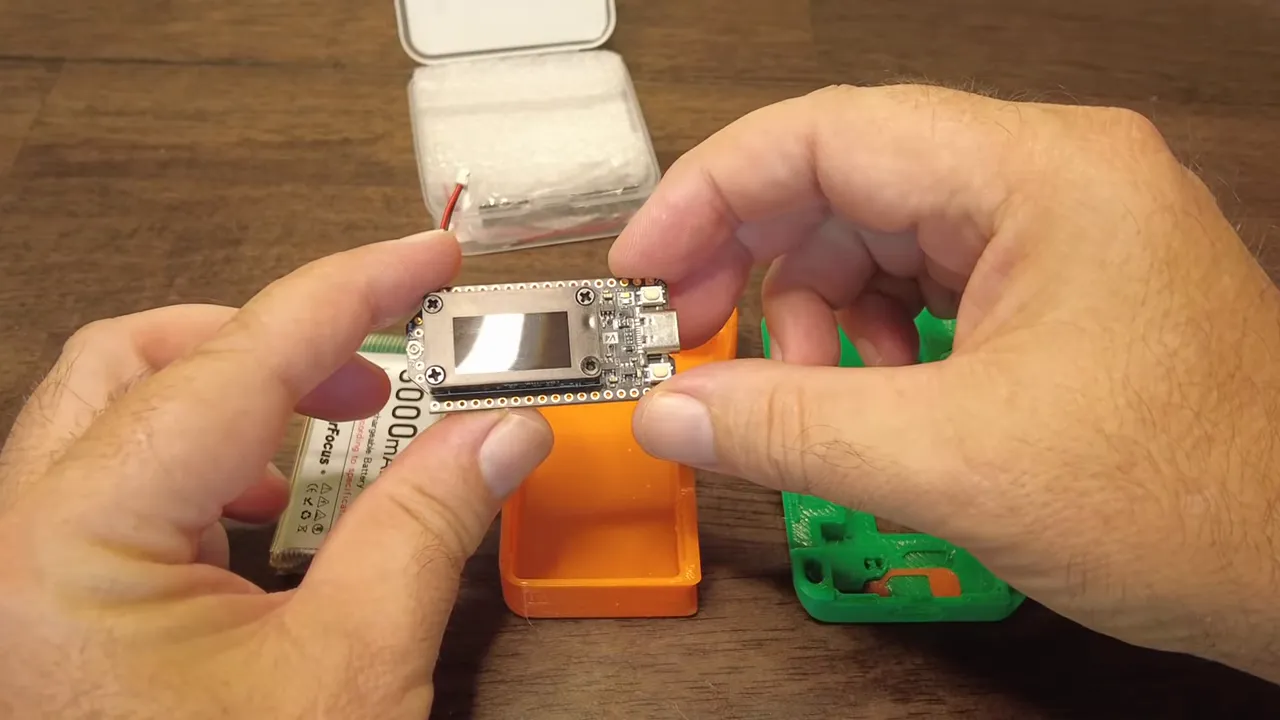
Table of Contents
- First impressions: hardware and design
- Antennas and battery: a quick checklist
- Flashing Meshtastic: tips and troubleshooting
- Configuring region and app pairing
- What PS RAM enables
- Practical setup checklist
- Small annoyances and realistic expectations
- Final thoughts
- FAQ
First impressions: hardware and design
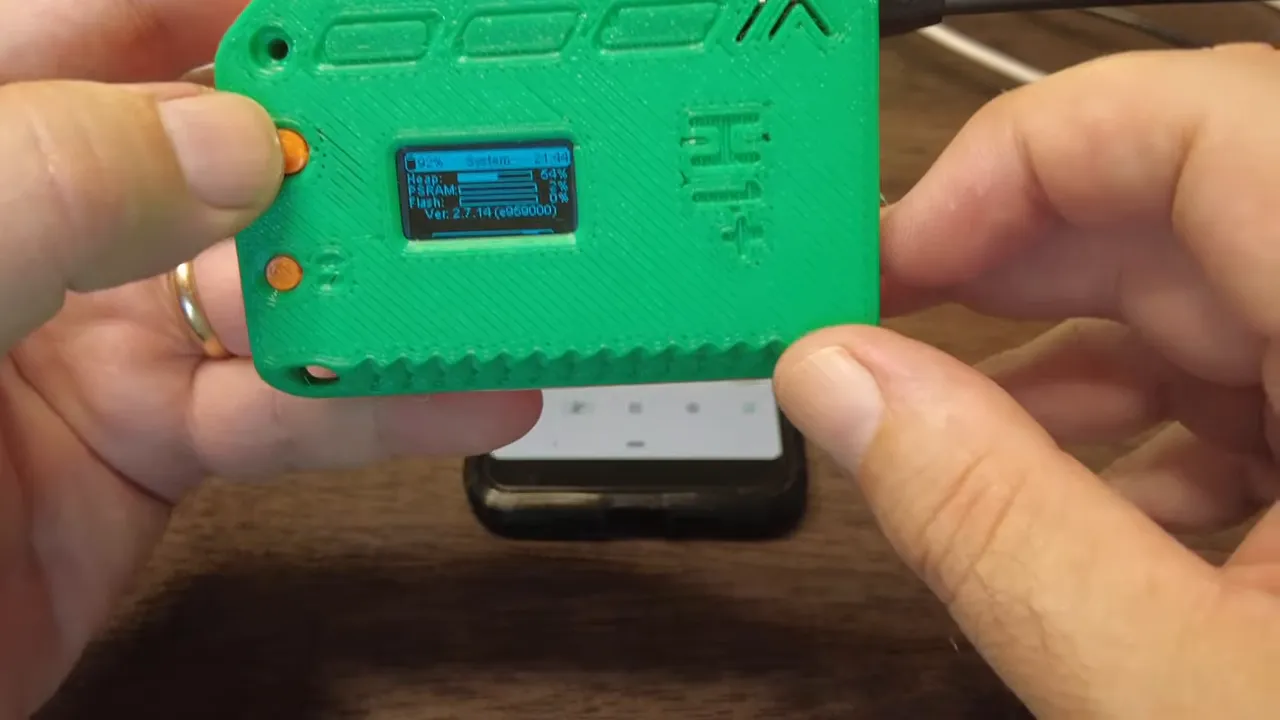
The Heltec V4 keeps the familiar ESP32 foundation, so expect Wi-Fi and Bluetooth out of the box. The visible changes are geared toward usability: a protective bezel around the screen, a dedicated GPS connector, a solar input header, and improved PS RAM on the board.
Two practical notes about the case and connectors:
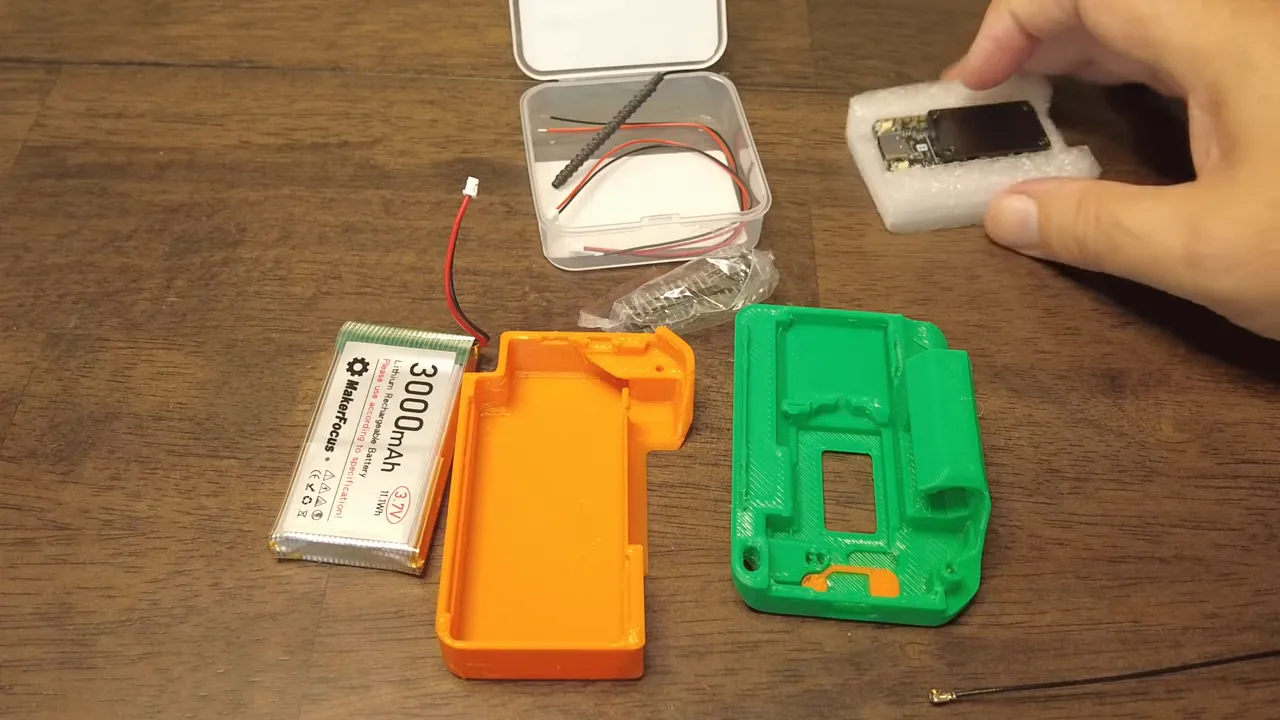
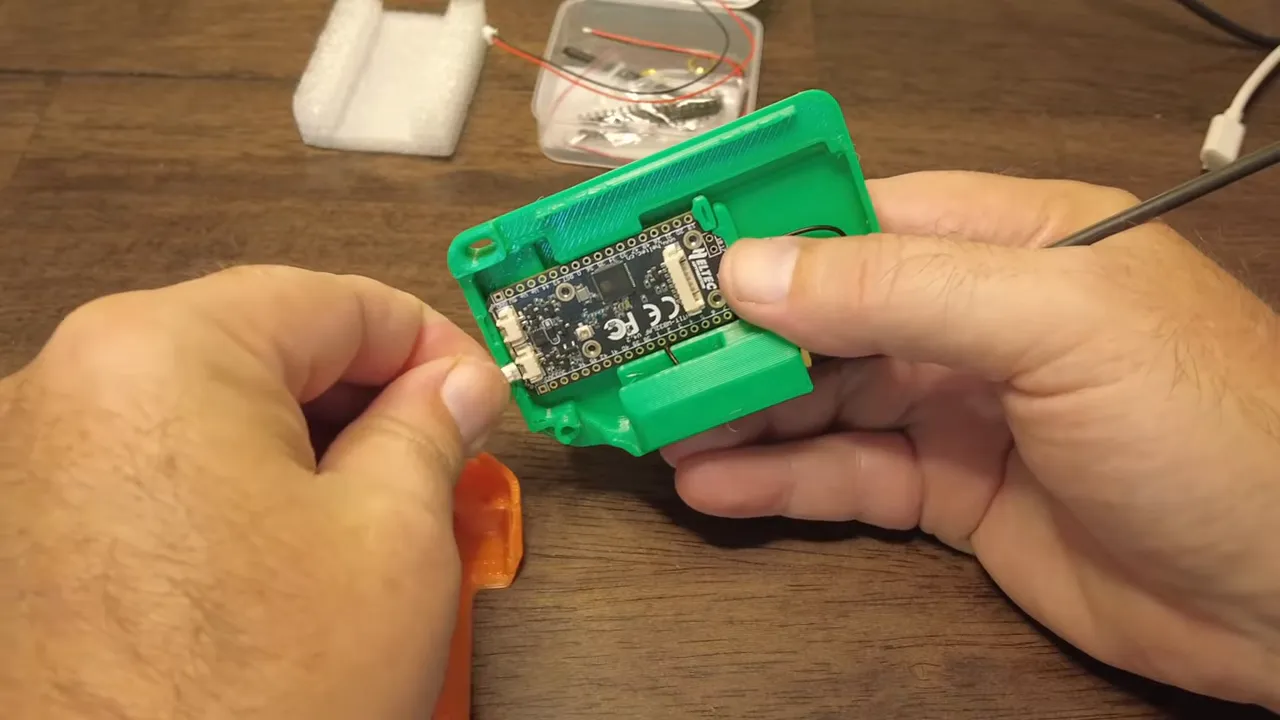
- Case fit can be tight. Some light trimming of plastic seams may be required for cables and the USB port to seat cleanly.
- Antenna routing matters. The LoRa SMA connector and internal routing can put pressure on the antenna cable when assembled, so position the pigtail before final closing.
Antennas and battery: a quick checklist
Always attach an antenna before powering the radio. The V4 exposes the LoRa connector and appears to have a second spot reserved for an external Wi‑Fi antenna, though that may need a hardware mod to use. For most nodes, a single good LoRa antenna is sufficient.
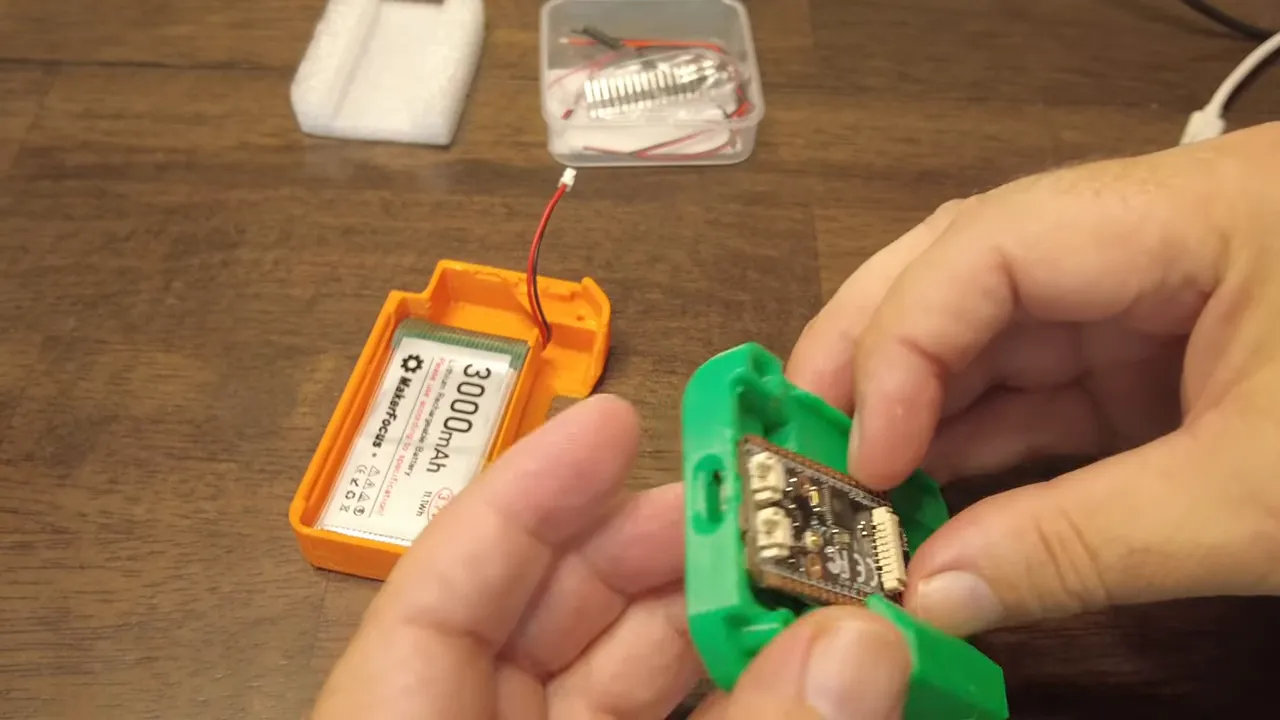
Battery placement is straightforward but physical layout can be awkward: the solar input header sits close to the USB port and battery connector, so your wiring will likely bend when installed. Verify battery polarity before plugging in the pack — the provided wiring should match the board, but always double-check to avoid unpleasant surprises.
Flashing Meshtastic: tips and troubleshooting
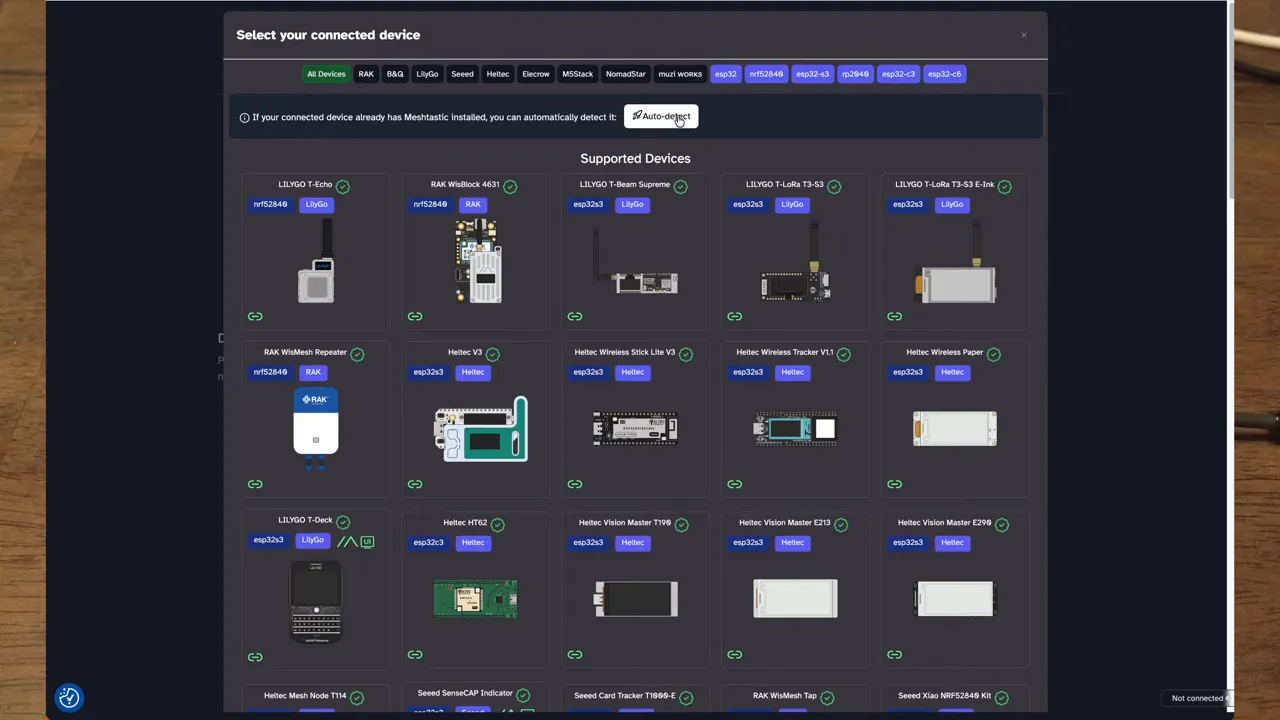
The simplest route to get a Meshtastic node running is the Meshtastic Flasher web tool. Key steps that worked reliably:
- Connect the Heltec V4 via USB and open flasher.meshtastic.org.
- Use auto-detect or pick the Haltec/ESP32V4 option from the device list.
- When flashing for the first time, choose full erase and then flash the firmware image.
If the flasher cannot open the serial port, try pressing the board reset button and retrying. A manual reset often forces the device into the correct mode and allows the flasher to connect. After a successful flash the screen will restart and the welcome prompt appears.
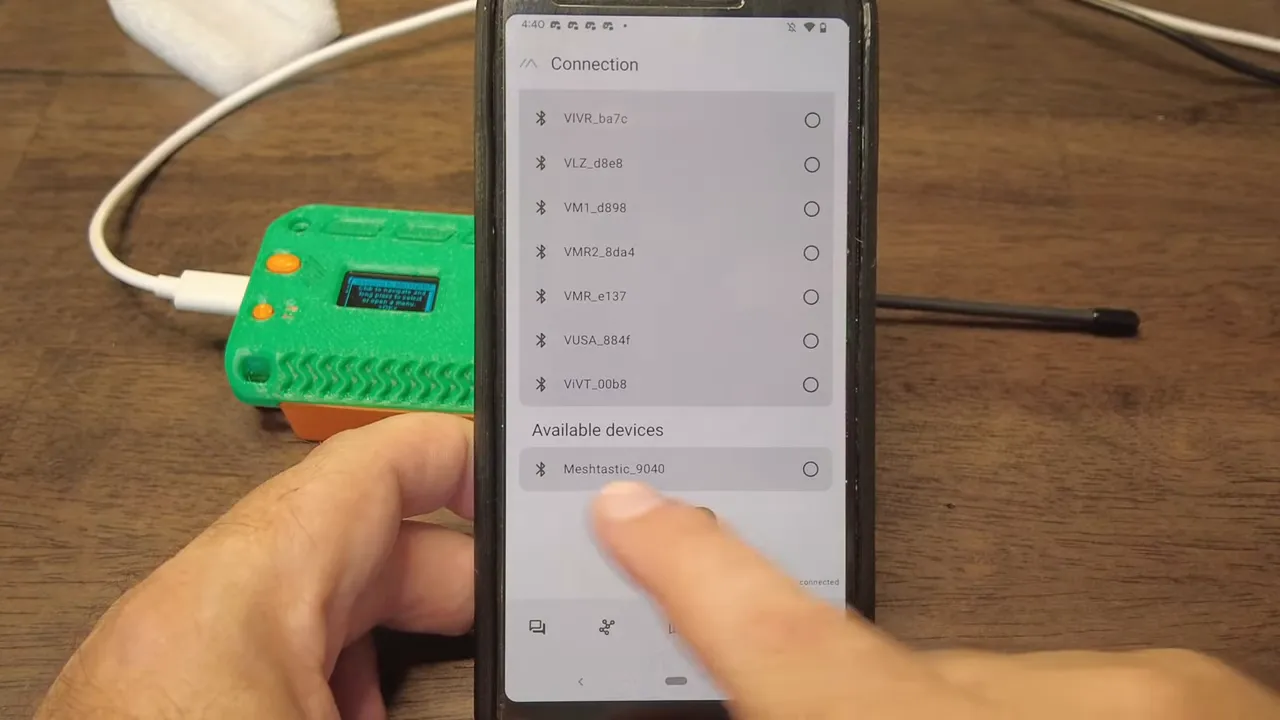
Configuring region and app pairing
Pair the node with a Meshtastic-compatible app over Bluetooth and set the LoRa region immediately. Region selection adjusts the default frequency (for example, the United States frequency near 906.875 MHz). Changes to region typically trigger a reboot. If pairing seems slow or the device temporarily shows the wrong region, reconnect and refresh — the device may need a cycle to apply settings properly.
What PS RAM enables
The addition of PS RAM on the Heltec V4 is one of the most practical upgrades. With that extra memory the board can be configured as a store-and-forward node, buffering messages and improving reliability for larger or busier networks. It also gives more headroom for additional features or custom firmware builds that need RAM.
Practical setup checklist
- Confirm antenna is attached before powering the radio.
- Trim case seams if cables or USB do not seat cleanly.
- Verify battery polarity, then tape or secure the battery inside the case.
- Use Meshtastic Flasher, choose full erase on first flash, and reset the board if the serial port fails to open.
- Set LoRa region in the app and allow the node to reboot to apply settings.
- Enable store-and-forward if you want message buffering and you have PS RAM.
Small annoyances and realistic expectations
Despite the clear improvements, the Heltec V4 is still an ESP32-based board, so running it off solar is not ideal unless you design a proper power management system. The solar input is a nice-to-have header, but the board is best suited for mobile nodes, plugged-in home nodes, or dedicated mesh infrastructure where mains or large batteries handle power needs.
Also expect to tweak the 3D case or its mounting points: printed enclosures from the community are great, but minor adjustments often make the difference between a snug fit and a cable pinched against the USB port.
Final thoughts
For anyone building Meshtastic or mesh-core nodes, the Heltec V4 is a meaningful step forward. The extra PS RAM and the cleaner hardware offerings like a GPS connector and solar input expand real-world options. There are a few mechanical hiccups to iron out when installing antennas and batteries, but those are manageable with a modest amount of fiddling. If you already have V3 nodes, the decision to upgrade depends on whether you need the additional memory and hardware conveniences. For new builds, the Heltec V4 is a solid, modern starting point.
FAQ
What are the main upgrades of the Heltec V4 compared to V3?
The Heltec V4 adds PS RAM for more memory, a dedicated GPS connector, a solar input header, and a slightly redesigned case with screen protection. The board still uses an ESP32 core, so connectivity features like Wi-Fi and Bluetooth remain the same.
Can the Heltec V4 run reliably off a small solar panel?
The board is still ESP32-based and not optimized for low-power solar operation out of the box. The solar input is handy for power management setups, but reliable solar operation requires careful battery sizing and power regulation.
How do I flash Meshtastic firmware onto the Heltec V4?
Use the Meshtastic Flasher web tool, select the Haltec or ESP32V4 device profile, choose full erase for the first flash, and flash the selected firmware. If the flasher cannot open the serial port, press the board reset button and retry.
Is the second antenna slot on the board usable for Wi-Fi?
There appears to be a location for a second antenna which likely maps to Wi-Fi, but some hardware modification may be required to enable it. By default the internal antenna may be used for Wi‑Fi without modifications.