
Meshnology N37: Assemble the Ultimate LoRa Kit!
Published by Vivian van Zyl in Meshtastic the 09/10/2025 at 12:15 am

Hi — I'm Vivian Van Zyl from LoraMeshDevices.com. In this walkthrough I assemble and test the Meshnology N37 kit, a compact LoRa tracker built around the Seed WIO Tracker L1 (CWIO) and an NRF52840-based board. I’ll take you through unboxing, step-by-step assembly, flashing Meshtastic firmware, performance checks, and my final impressions of this Meshnology package.
Table of Contents
- What’s in the box
- Why the NRF52840 matters
- Assembling the Meshnology N37
- Powering up and first boot
- Flashing Meshtastic — quick guide
- Testing performance and GPS
- Final thoughts on the Meshnology N37
- FAQ
- Wrapping up
What’s in the box
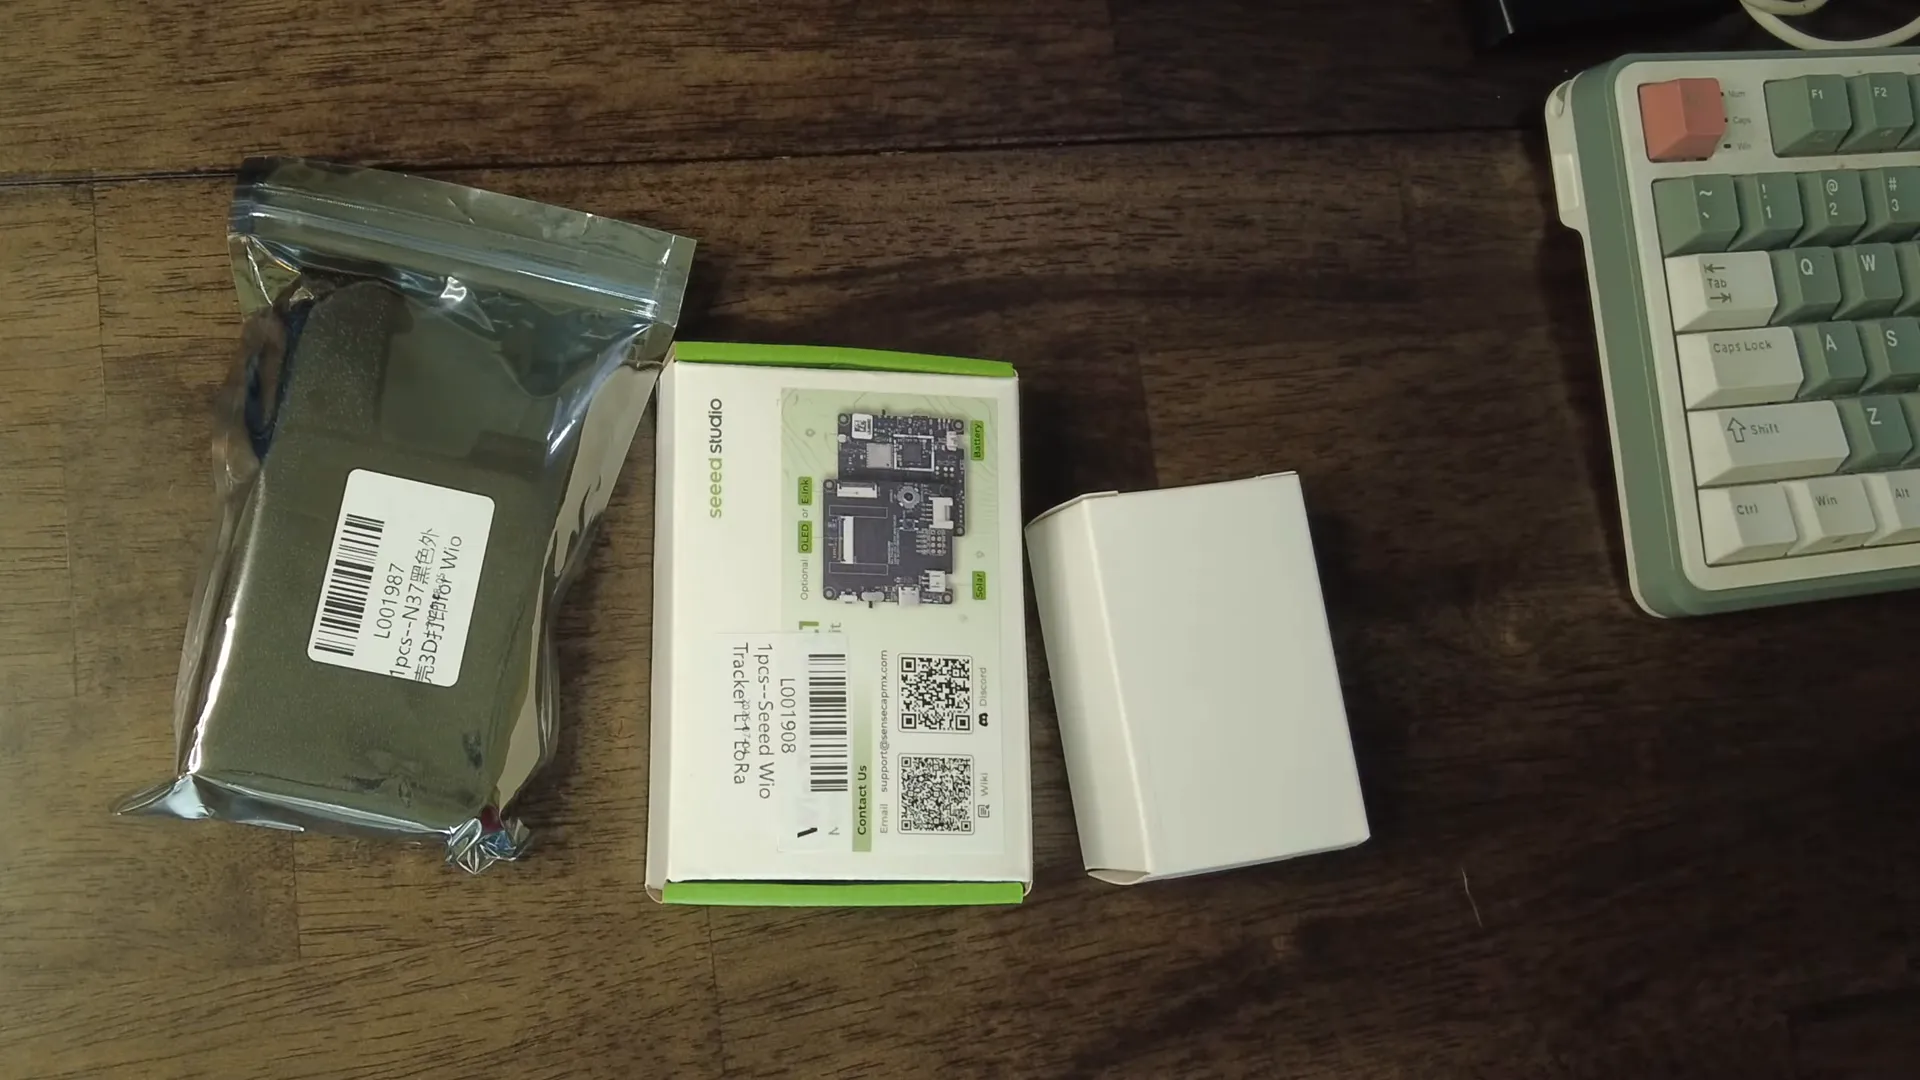
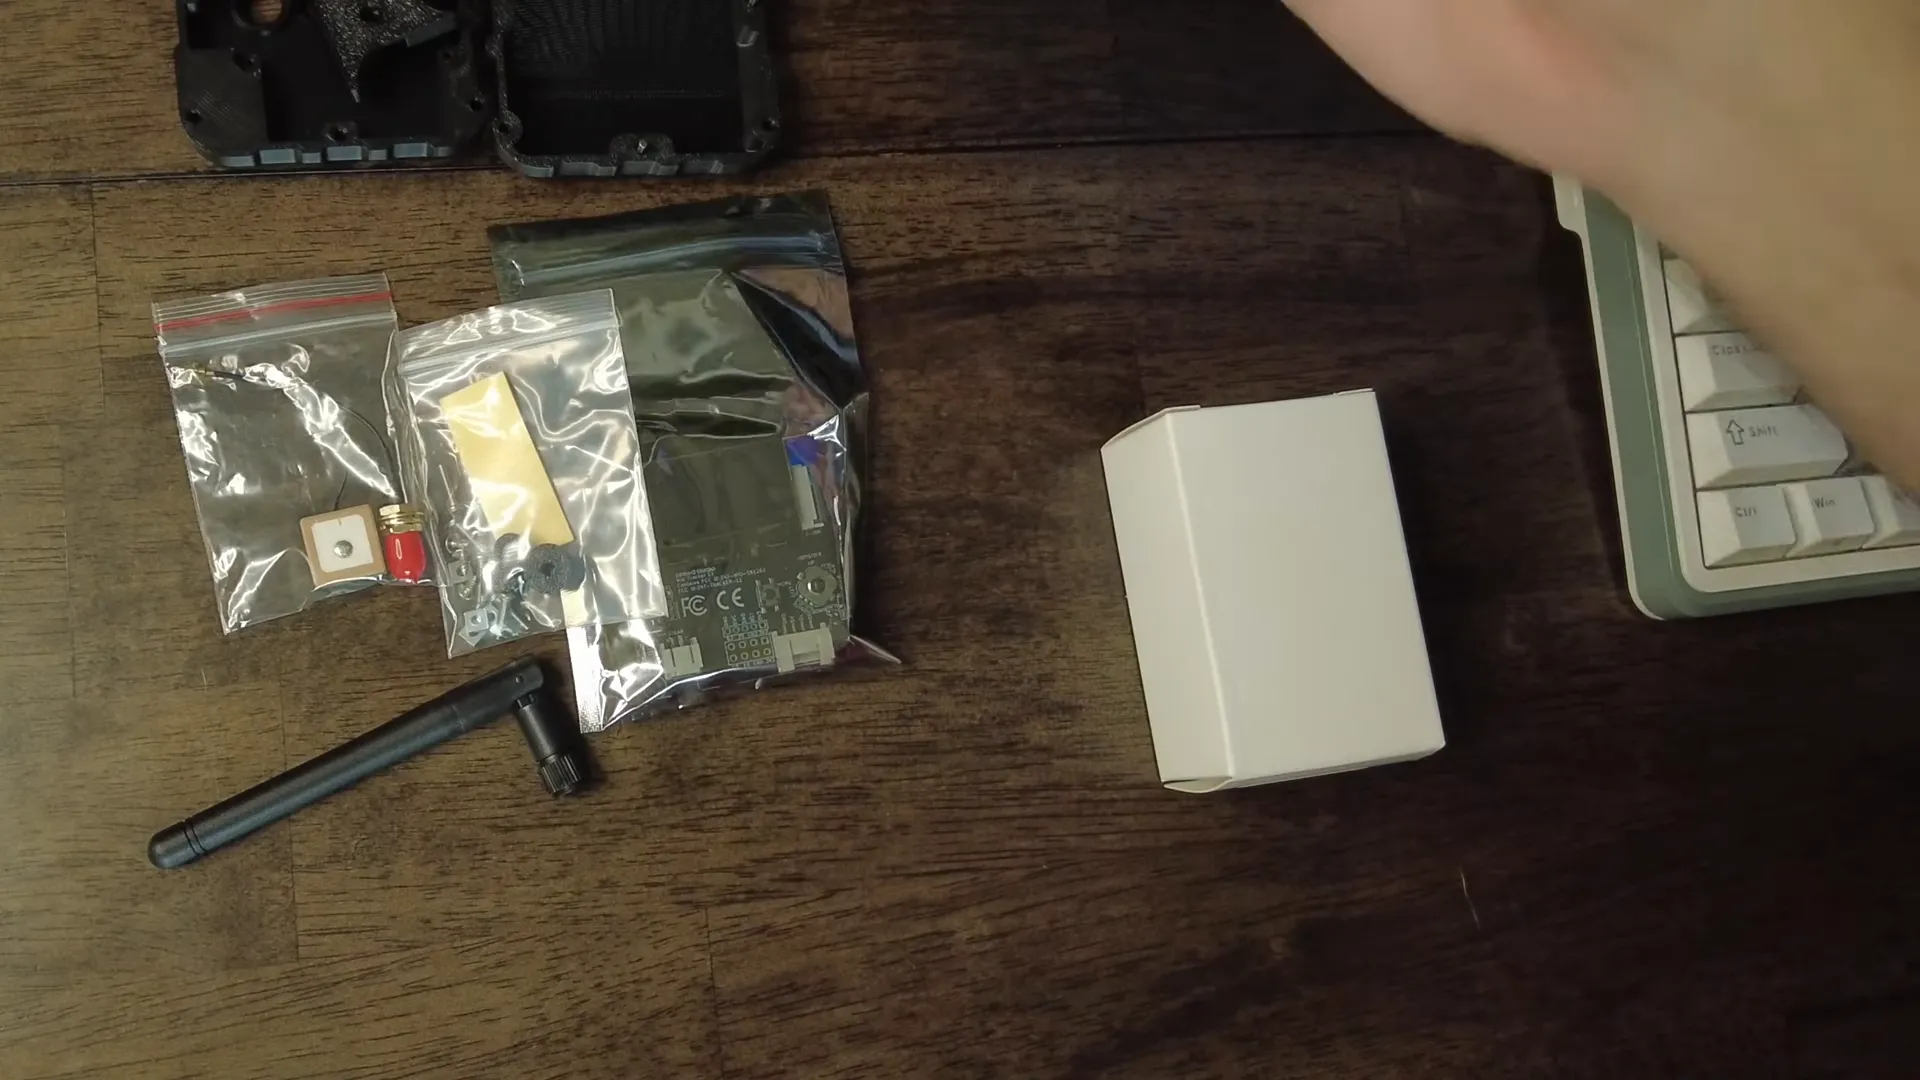
The Meshnology N37 ships as a tidy kit: a purpose-built case, the Seed WIO Tracker L1 board (with an SX1262 LoRa radio and NRF52840 MCU), a GNSS/GPS puck and pigtail, a LoRa antenna and IPX cable, buttons and joystick cap, and a beefy 3000 mAh Meshnology-branded battery. The combination of the NRF52840 processor and a large battery is what immediately sold me on this kit — ultra-low power compared to typical ESP32-based trackers like the Helltec V3.
Why the NRF52840 matters
One of the strongest selling points of this Meshnology N37 kit is the use of the NRF52840. In practice that means much lower idle and active power consumption compared to many ESP32-based trackers. With a 3000 mAh battery included, the real-world runtime is excellent — I expect around a week on a typical Meshtastic configuration, especially if you turn off or dim the display.
Assembling the Meshnology N37
Assembly is straightforward and approachable even if you don’t follow a tutorial. Key steps I followed:
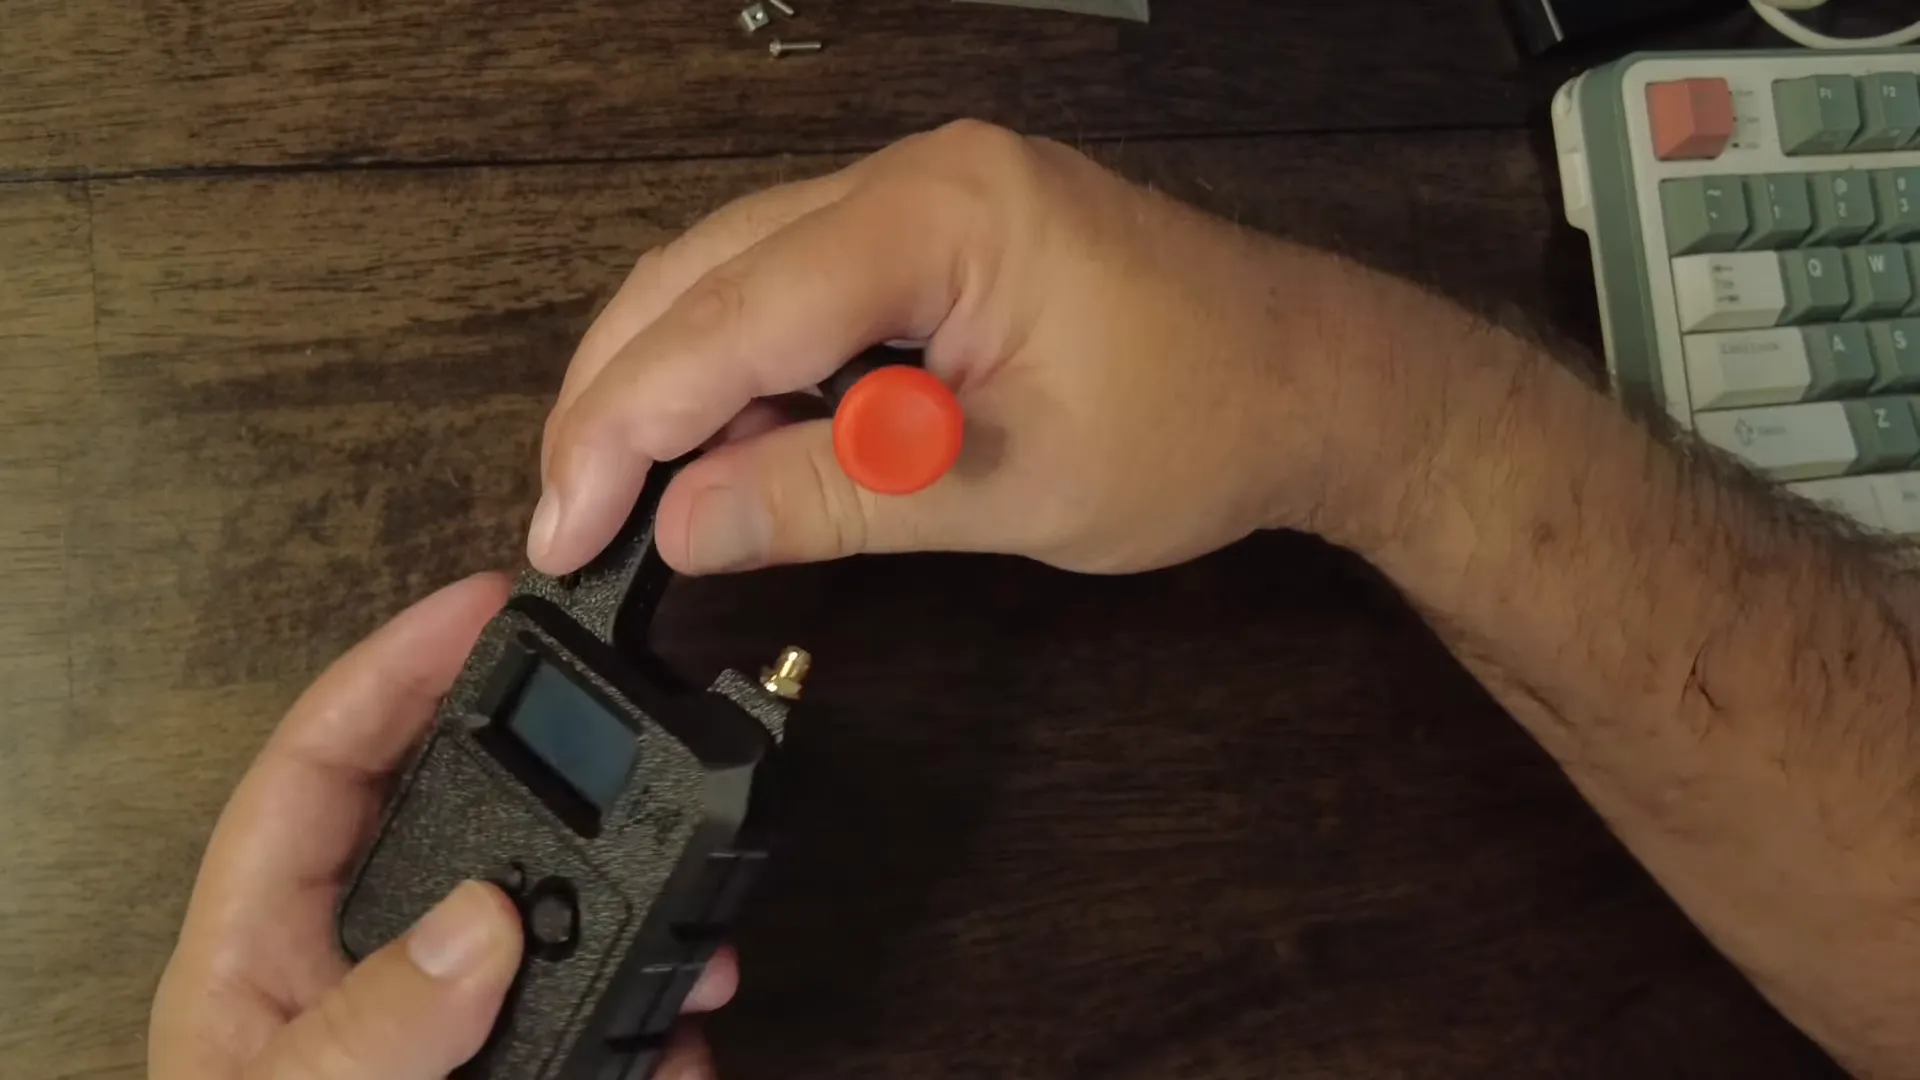
- Remove the protective film on the display and seat the board into the case, lining up the joystick and button openings.
- Screw the board into the case using the supplied screws and Meshnology’s clever square metal nuts that slide into the case channel — a small but excellent design touch that makes assembly rock-solid.
- Install the LoRa antenna mount and the GNSS puck; tighten the bulkhead nuts and attach the IPX pigtail to the board’s connector.
- Place the 3000 mAh battery in the cavity, secure with the supplied double-sided tape, and plug it into the onboard connector (the battery includes a basic BMS).
- Close the case, route the GNSS cable and top cover over the GPS antenna, and screw the housing together.
Small tip: the IPX connectors can be fiddly — clip them carefully in before final tight-down. Also note the SMA on this unit is reversed in orientation compared to many trackers (the device has the centre pin), so be aware if you want to swap antennas or use a whip that expects the opposite gender.
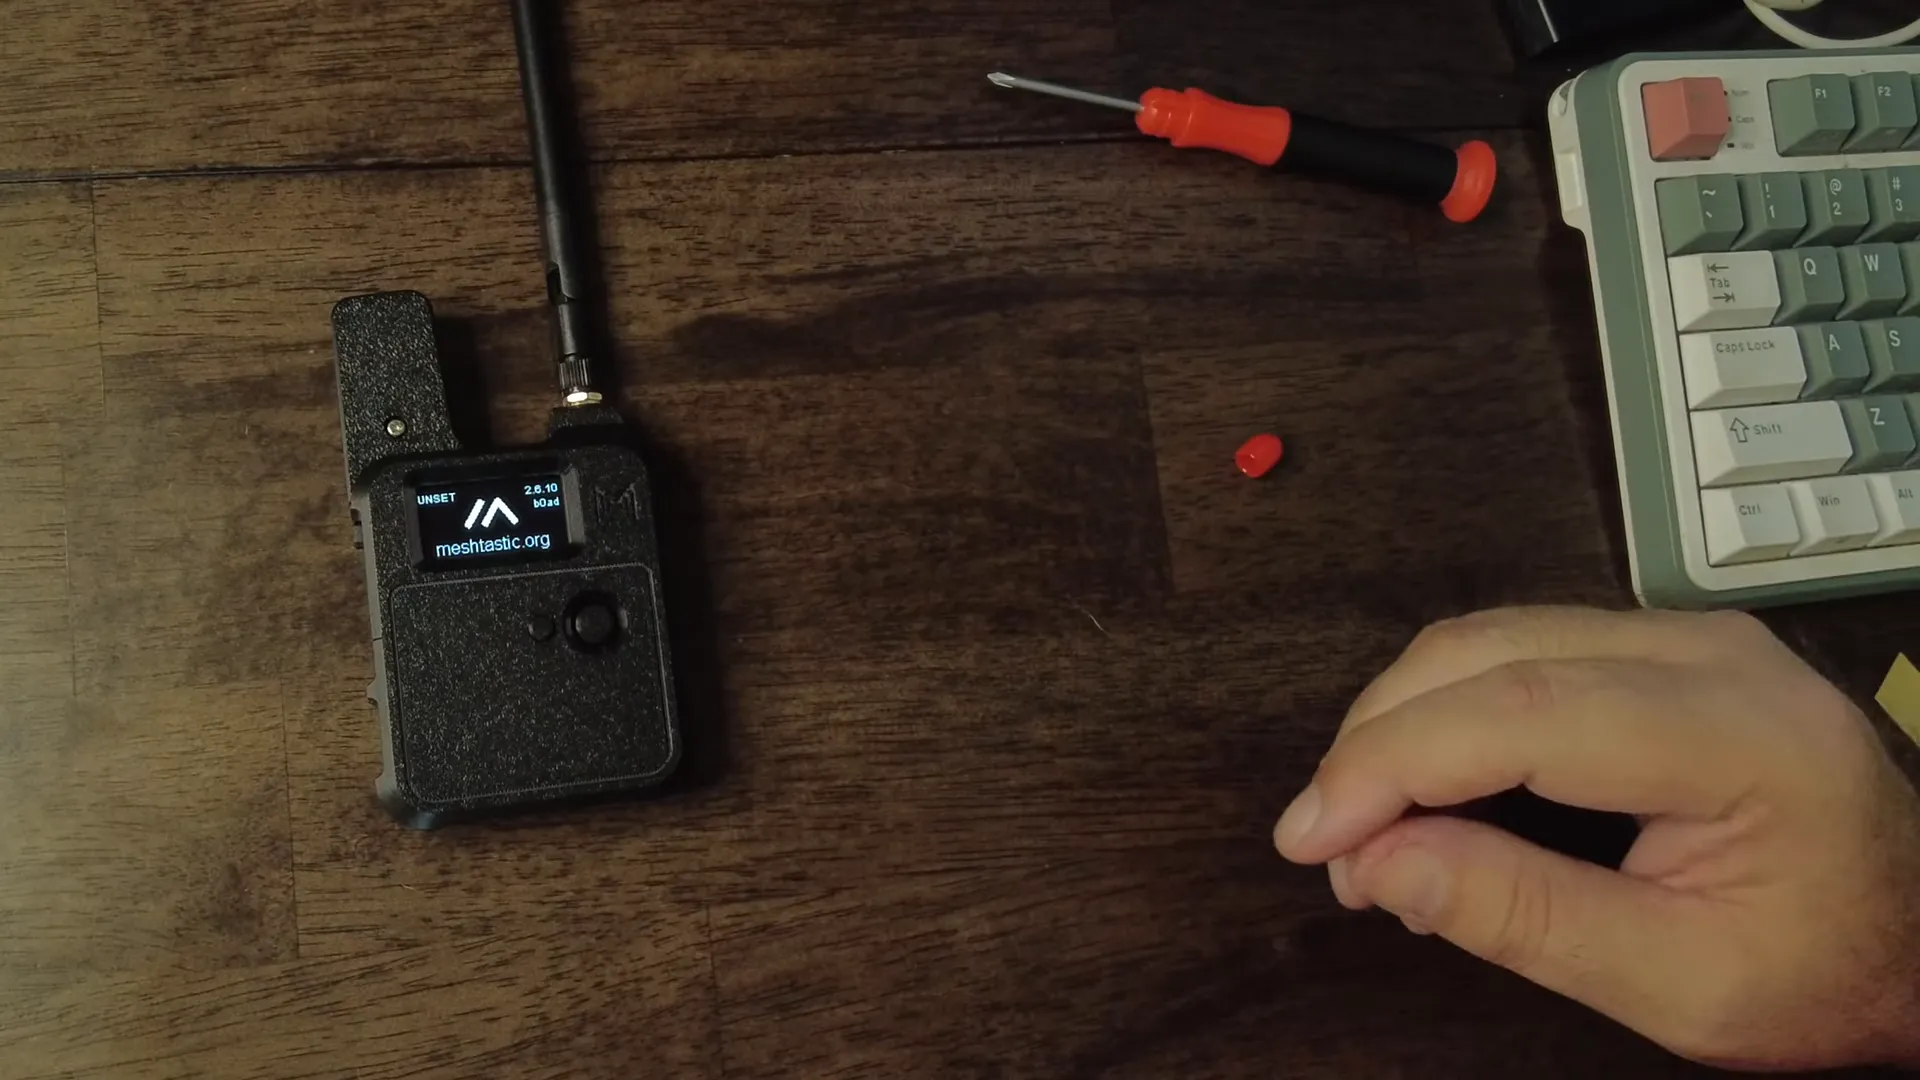
Powering up and first boot
Once assembled I powered the unit on. Out of the box the board came with Meshtastic preinstalled (older build). The N37 gives you a tactile joystick, a menu-select button, on/off switch, and a USB-C port. The onboard UI responds to the joystick (which works as an up/down menu rocker) and the select button — very handy for on-device configuration without a phone.
Flashing Meshtastic — quick guide
I prefer running a modern Meshtastic release on these devices, so I flashed version 2.7 (or later). The Seed WIO Tracker L1 supports DFU mode which makes flashing easy on a Mac or PC:
- Connect USB-C and launch the Meshtastic firmware flasher.
- Select the Seed WIO (CWIO / Tracker L1) target and choose the Meshtastic build you want.
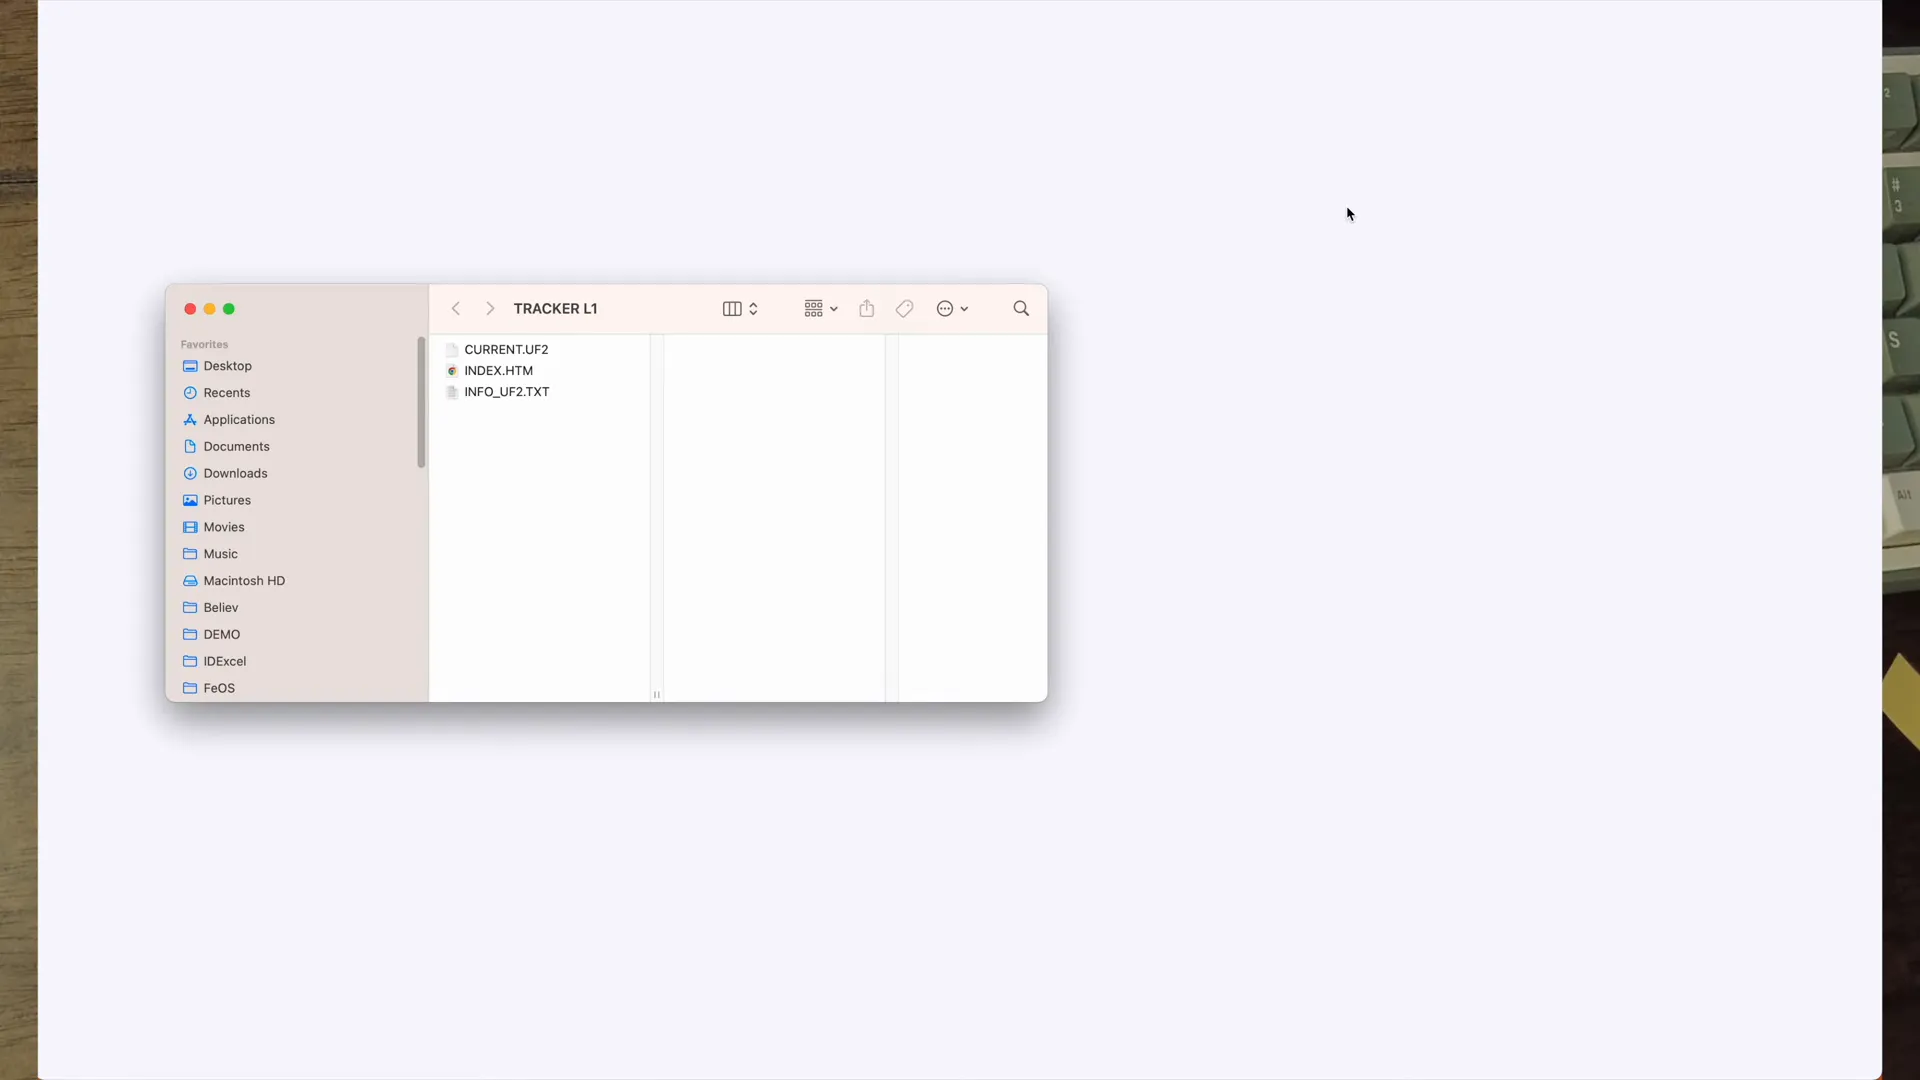
- Put the board in DFU mode. On macOS this briefly mounts the device as a tiny removable drive.
- Drag the firmware file onto the tracker volume; it will auto-upload and eject when complete.
- Power cycle — the device boots into the new firmware and your menus will reflect the updated build.
On-device flashing via DFU is fast and painless. Once flashed, I checked frequency (906.875 in my region), GPS enablement, and menu behavior. The NRF-based UI is snappy and the joystick makes local navigation a breeze.
Testing performance and GPS
After flashing I tested network discovery and GPS locks. Meshtastic picked up nearby nodes quickly during the indoor test — you can see neighboring nodes appearing in the menu. GPS requires a clear sky view, but the GNSS puck sits neatly under the top cover and should get a fix outdoors.
Battery status was encouraging: after assembly the device showed about 93% charge. With a 3000 mAh cell and the NRF52840’s efficient sleep modes, real-world standby times of about a week are realistic, depending on transmit interval and display usage.
Final thoughts on the Meshnology N37
Overall, the Meshnology N37 is a polished, pro-level kit that stands out from the typical Helltec V3 / T114 offerings. Highlights:
- Build quality: solid case design, useful metal nuts for secure assembly, and a neat top-mounted GPS housing.
- Power: NRF52840 + 3000 mAh battery = excellent efficiency and long runtime.
- Usability: on-board joystick and button make it easy to use without a phone app; USB-C DFU flashing is convenient.
- Complete package: antenna, GPS, battery and case all included — minimal buying extras required.
Minor quirks: the reverse-pin SMA orientation may require an adapter for some antennas, and IPX connectors are small and slightly fiddly during assembly. Neither is a deal-breaker.
FAQ
How long will the Meshnology N37 battery last?
With the NRF52840 and the included 3000 mAh battery, expect around a week of typical Meshtastic use (standard beaconing intervals and occasional screen use). You can extend runtime by disabling the display or increasing sleep intervals.
Is flashing Meshtastic difficult?
No — the Seed WIO Tracker L1 supports DFU. On macOS/Windows you can copy the firmware file to the mounted DFU volume or use the Meshtastic flasher tool. The on-device joystick makes testing configuration simple.
Can I use third-party antennas?
Yes, but note this unit’s SMA orientation is reversed compared to some other devices. If your antenna won’t connect directly, use a short SMA pigtail adapter or source an antenna with the matching gender connector.
Is the Meshnology N37 suitable for beginners?
Yes — assembly is straightforward and the kit includes everything you need. Basic familiarity with Meshtastic and flashing firmware helps, but the user interface and included components make it accessible to newcomers.
What makes Meshnology different?
Meshnology focuses on well-designed kits with quality cases and sensible component choices. The N37 emphasizes battery life, build quality, and an integrated user experience — making it an attractive option for both hobbyists and more serious deployments.
Wrapping up
The Meshnology N37 impressed me: solid hardware, excellent battery choice, and a thoughtful case design make it a strong contender for anyone building a portable Meshtastic node or LoRa tracker. Assembly is quick, flashing is simple, and the NRF52840 backbone gives you exceptional power efficiency. I’ll keep testing and post more notes on real-world runtime and antenna options — but as a first look, this feels like a pro-level, ready-to-deploy kit.
Thanks for reading — I’ll share more experiments and field tests soon.