
Meshtastic Elecrow Crow Panel Review: Hands-On Setup Guide ????
Published by Vivian van Zyl in Meshtastic the 08/28/2025 at 09:22 pm

Hi — I’m Vivian Van Zyl, and in this post I walk you through the Elecrow Meshtastic Crow Panel 2.8: unboxing, flashing Meshtastic firmware, and getting maps and packet logging working. If you’re curious about a compact touchscreen node for your mesh network, this Elecrow Meshtastic setup guide shows what works, what needs tweaking, and practical tips from my bench.
Table of Contents
- What’s in the box and first impressions
- Preparing the panel: antenna, case and ports
- Flashing Meshtastic firmware
- First boot and configuration tips
- Maps and SD card tiles
- Packet logger: my favorite tool
- Hardware expansion: adding GPS
- Pros, cons and final thoughts
- FAQ
- Thanks for reading
What’s in the box and first impressions
The Crow Panel Advance 2.8 arrives with the panel itself and a pack of interchangeable modules: ESP32 variants (including ESP32-C6), an ESP32-H2, an nRF24 wireless module, and a dedicated Meshtastic wireless module with a LoRa antenna and reset button. The clever part: the modules slot into the back so you can swap radios quickly.
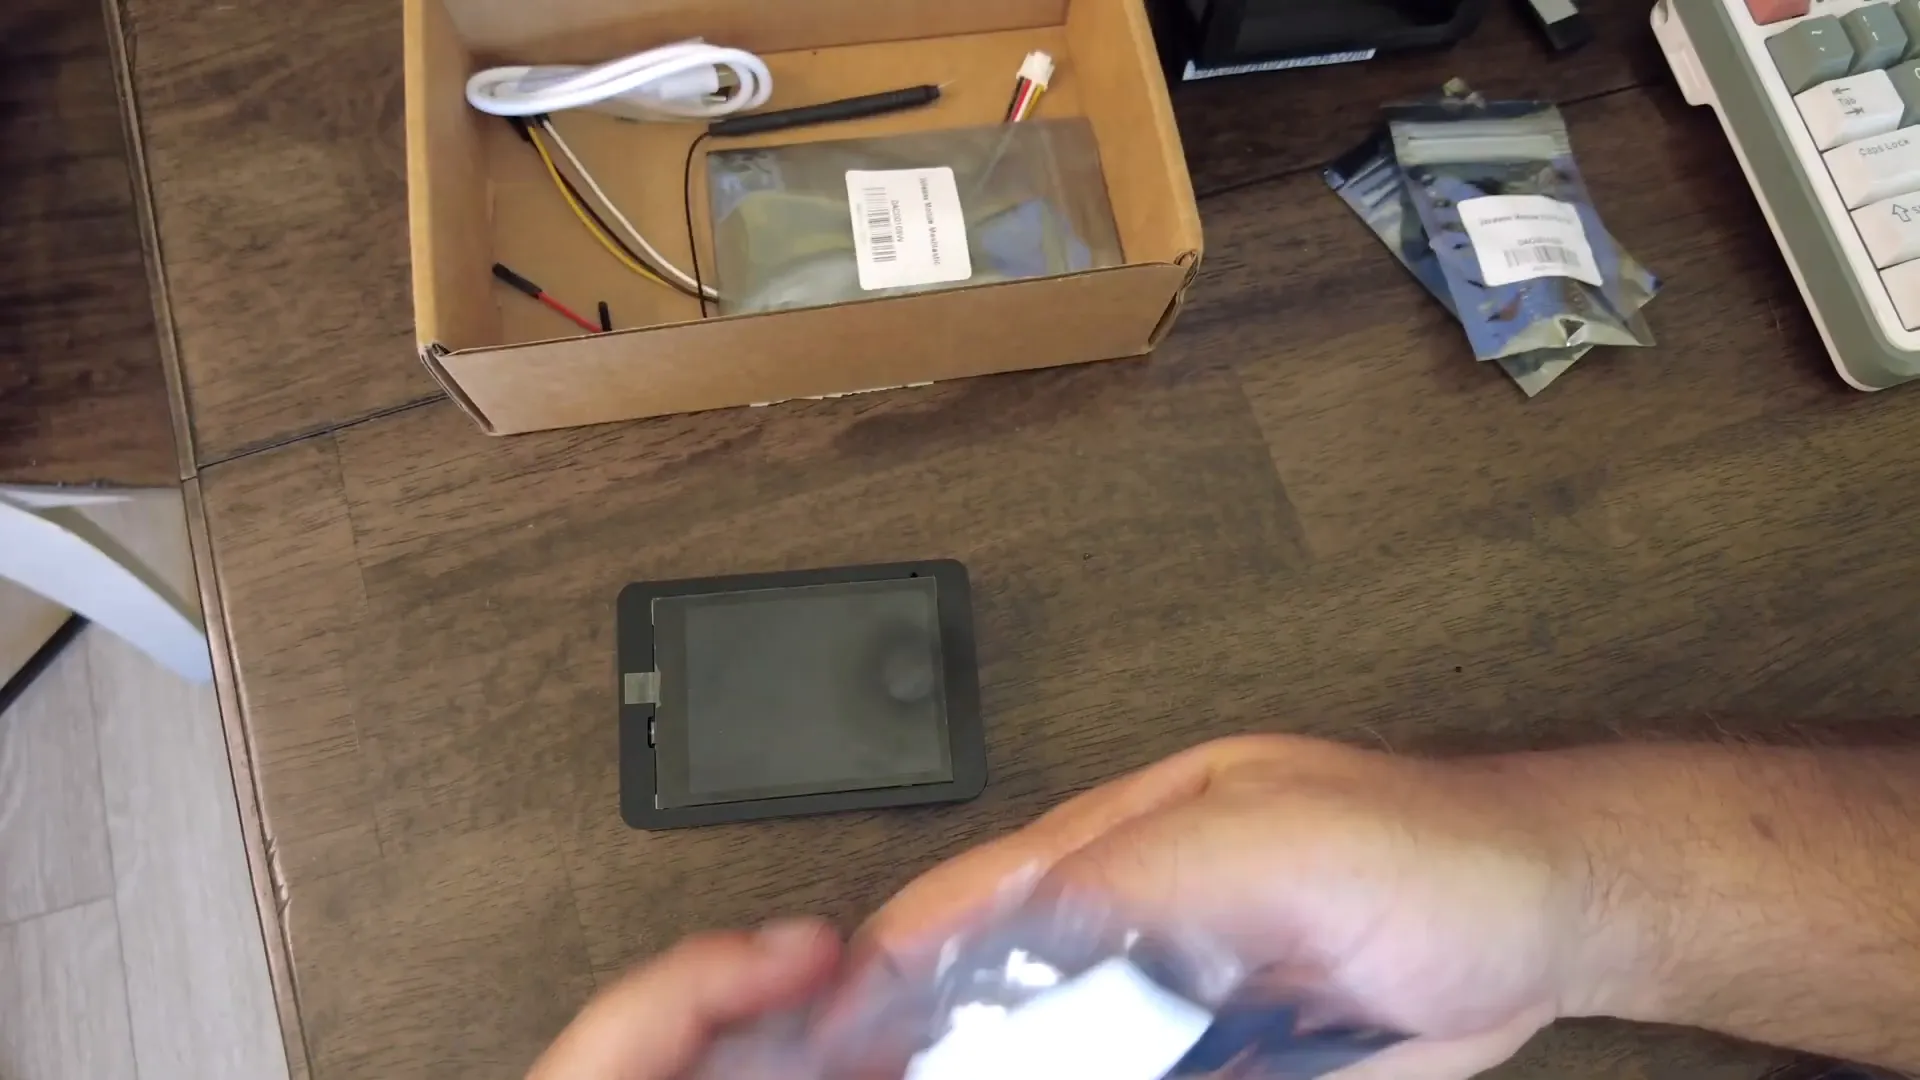
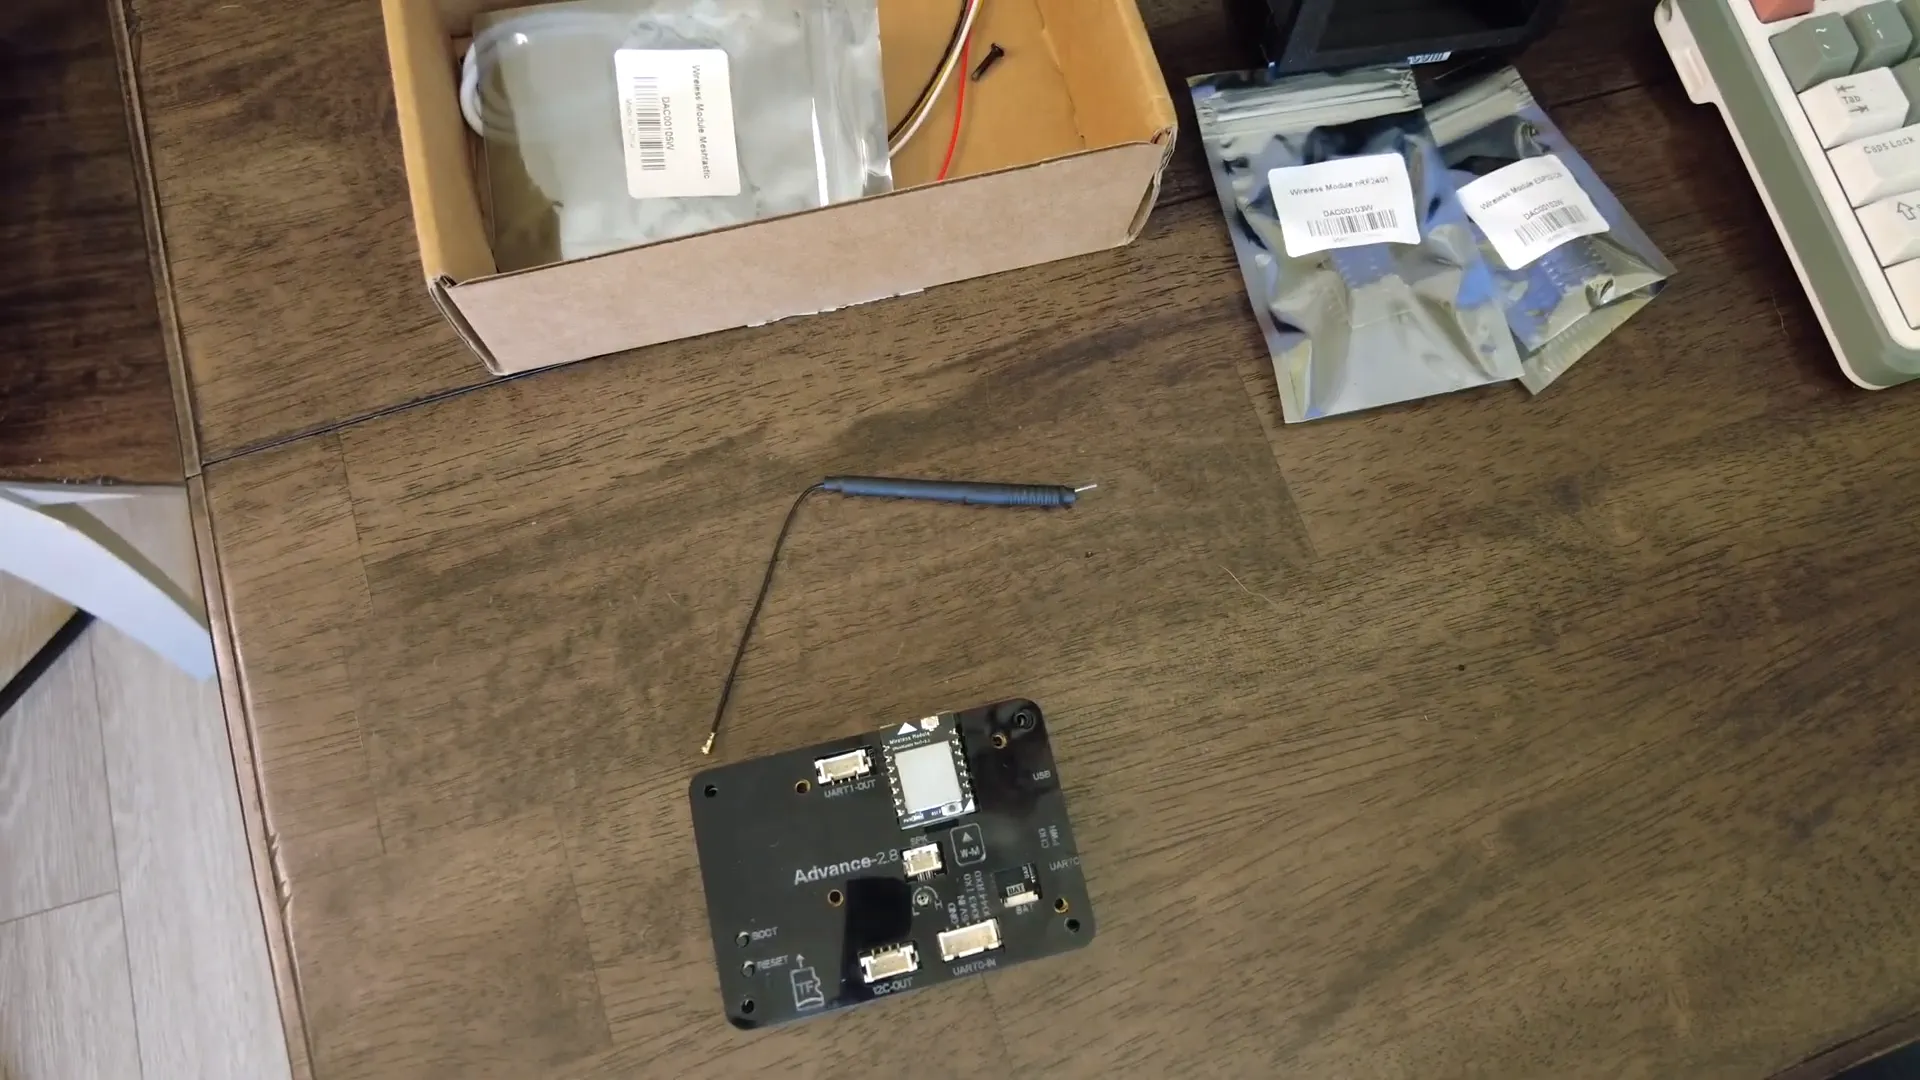
The panel is indeed about 2.8 inches across, and on the back you’ll find an ESP-WROOM/ESP-S3 style board, an SD card slot, a mic, a reset and function button, UART/I2C headers, and two USB-C ports (one for data, one for charging/power). I designed a small 3D-printed case for mine — more on that next.
Preparing the panel: antenna, case and ports
I clipped the supplied Velora (LoRa) antenna onto the IPX connector, inserted the Meshtastic module, and fitted the unit into my custom case. The top USB-C port is the data/flash port; the bottom one is power/charge. There are UART and I/O pins on the back that make it easy to add a GPS later (TX/RX, power and ground pins are exposed).
Flashing Meshtastic firmware
I used flasher.meshtastic.org to flash the device. The Elecrow option is listed there — select the Crow Panel 2.8 and use the "fully erase" + "flash and install" flow. The device shows as a serial port while flashing; the whole process went surprisingly fast for me.
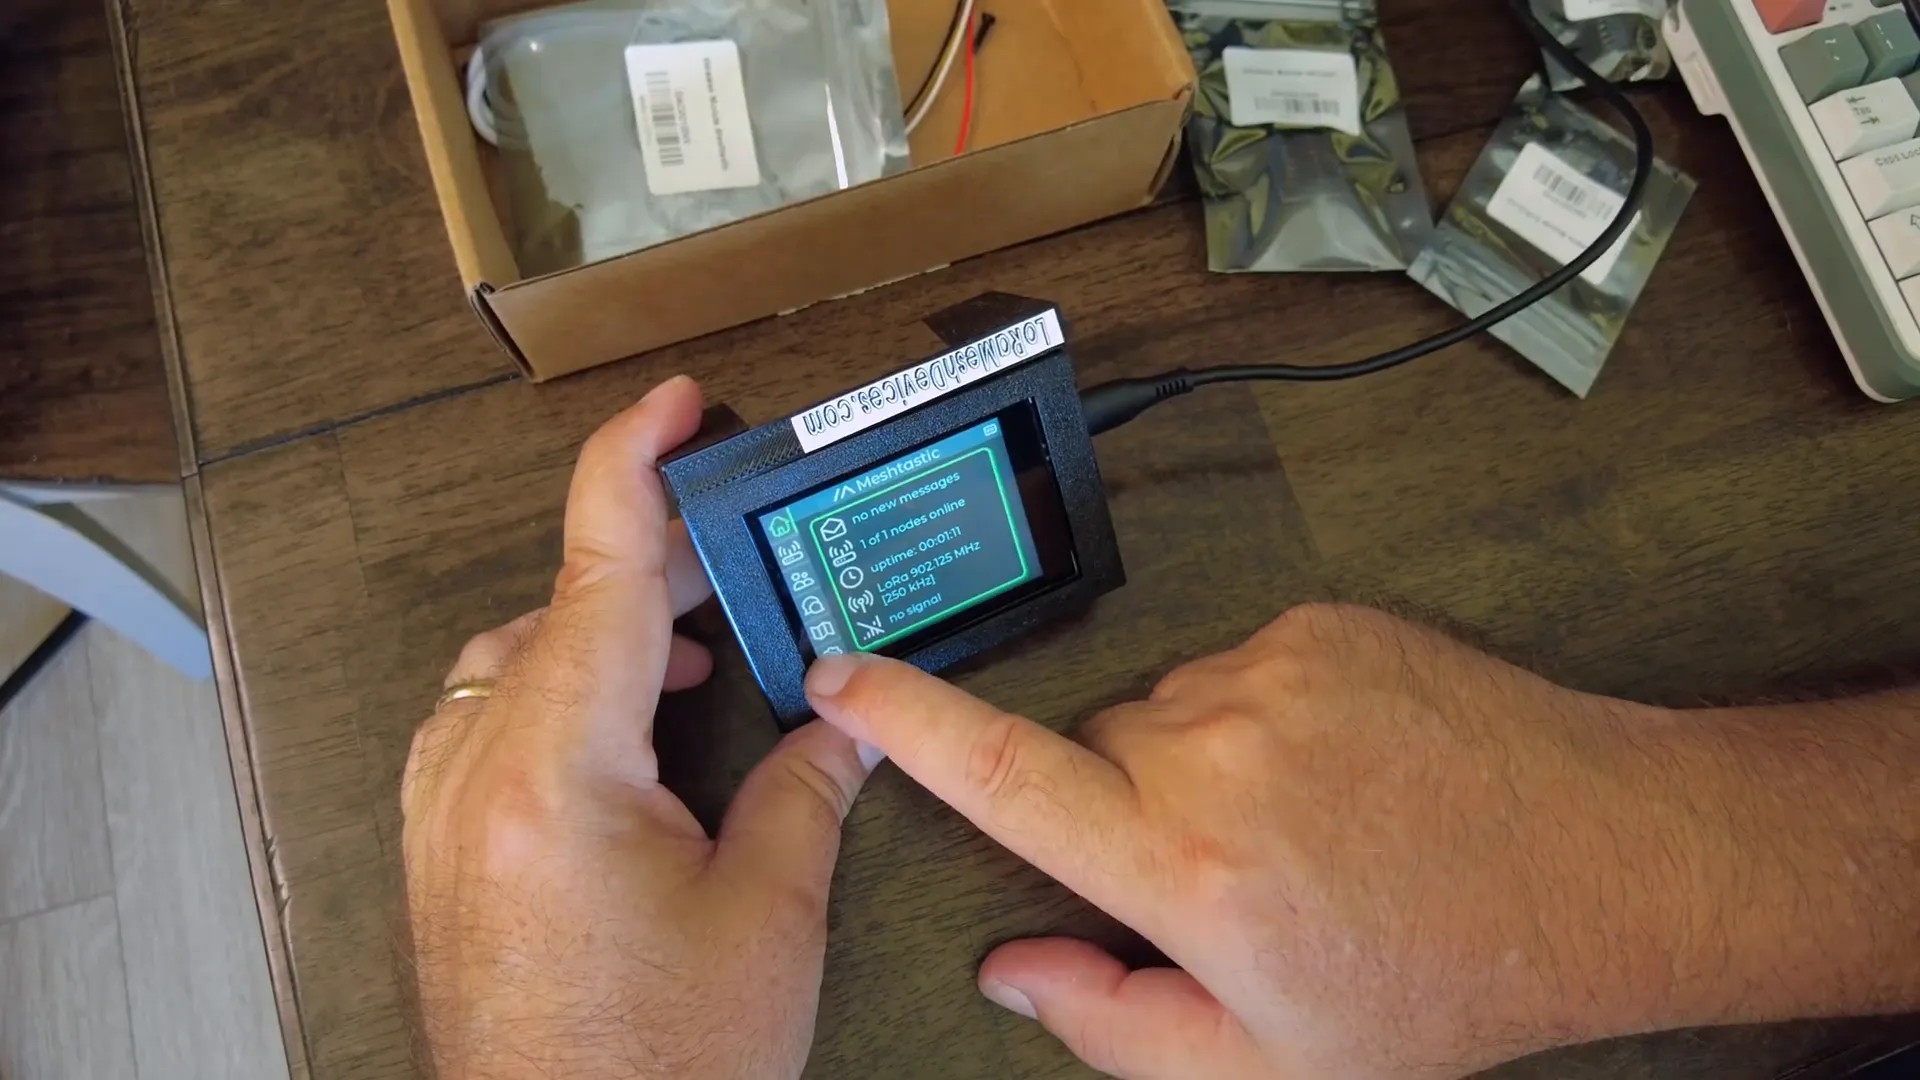
First boot and configuration tips
After flashing, Meshtastic boots with the new UI. A couple of things I ran into:
- The screen came up upside down because I printed my case the wrong way. The UI doesn’t reliably flip the screen, so either reprint your case or use the little feet on the panel to stand it upside-down — I ended up liking it that way.
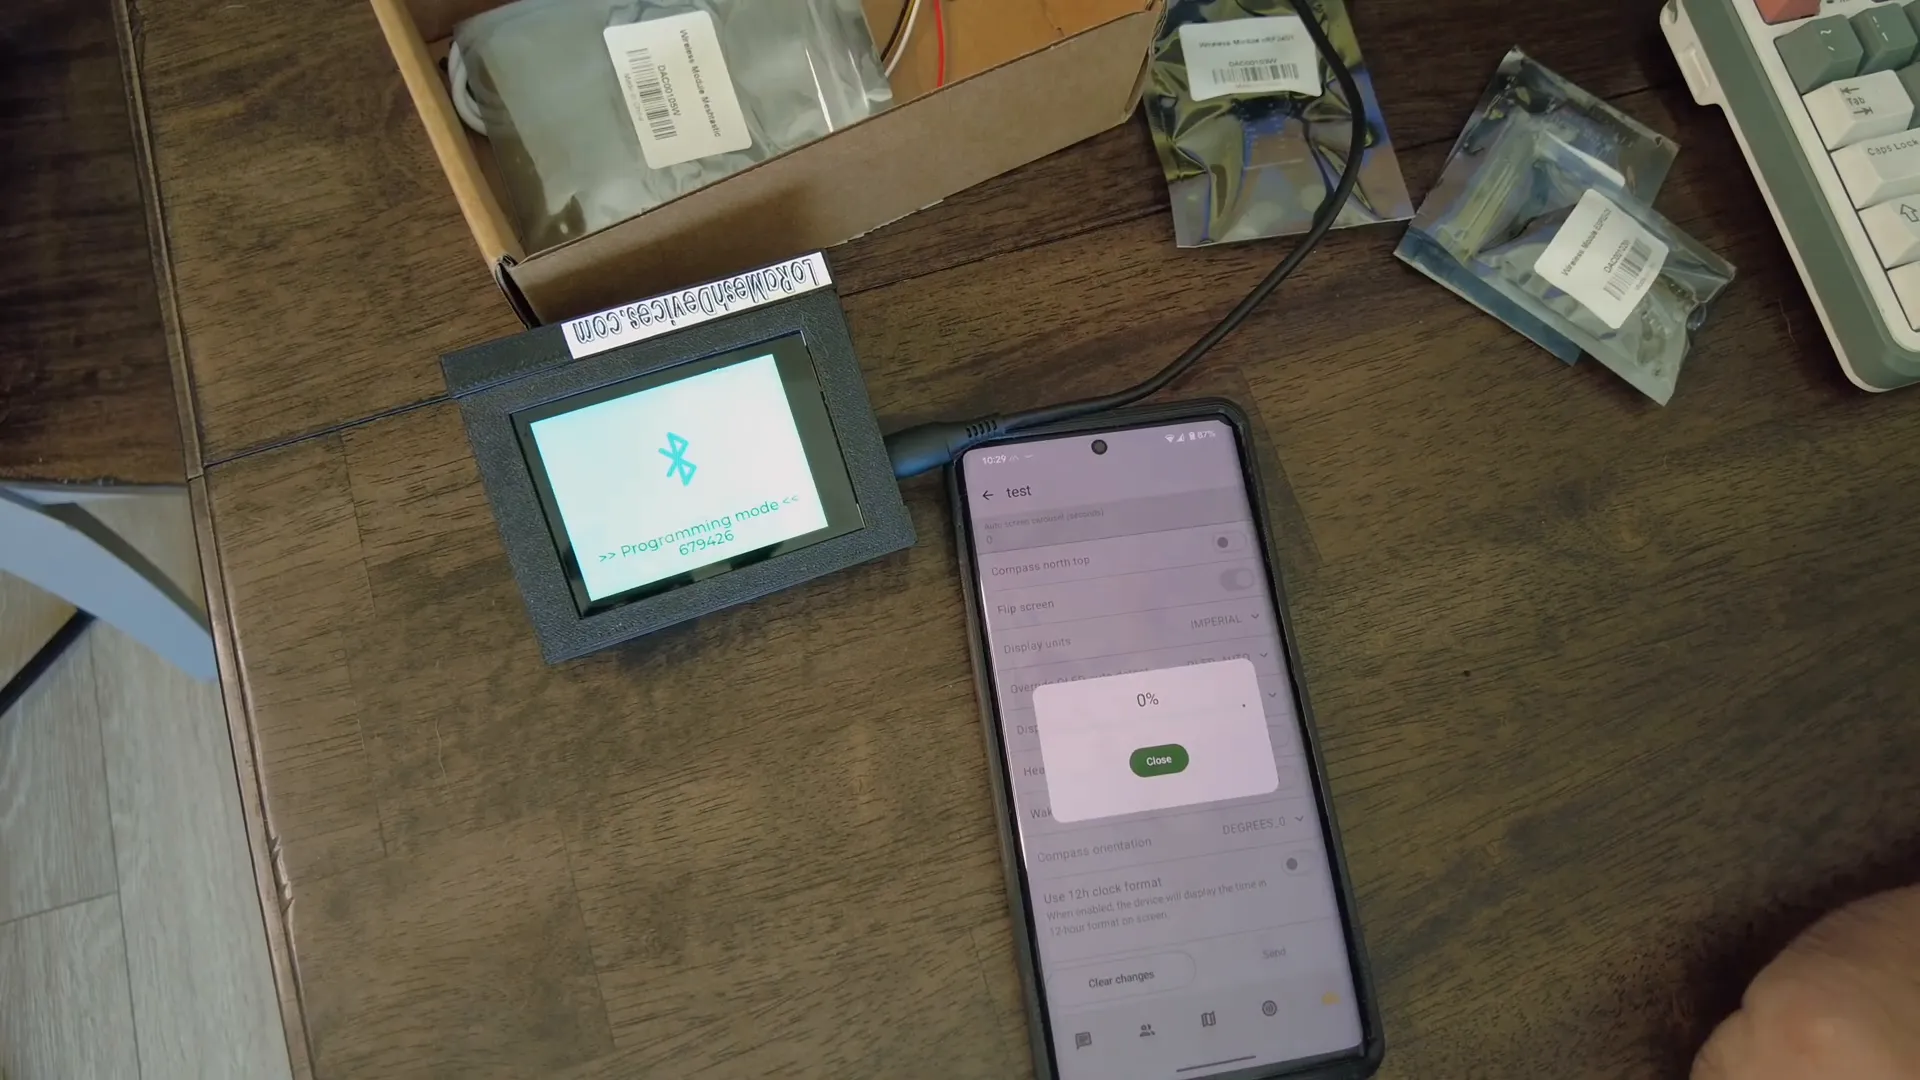
- Bluetooth pairing requires putting the fancy UI into Bluetooth mode via Settings → Shutdown, then restarting into Bluetooth pairing mode. The mobile app pairs with the PIN shown on the panel.
- Radio frequency slot: the panel may default to the wrong frequency slot for the US. In the mobile app’s radio configuration change the slot to 20 (or 0 for auto-select) to match US channels.
Maps and SD card tiles
Maps live on a microSD card in a folder called "map" with tiles. Insert the SD card before powering up and the UI will read tiles and show map imagery locally (the panel itself doesn’t include a GPS). If you want position readouts you'll need to add an external GPS to the I/O pins or use a mobile link.
Packet logger: my favorite tool
One of the standout features in this UI is the packet log. Tools → Packet Log displays live LoRa packets as nodes broadcast telemetry, node info, and position packets. Watching nodes announce position and telemetry in real time is invaluable when you’re testing range, topology, or debugging nodes while driving.
Hardware expansion: adding GPS
There’s no onboard GPS, but the panel exposes TX/RX/power/GND on the back connector. Plug in a small GPS module (logic-level UART) and you’ll have location capability for local map centering and proper time sync in packets.
Pros, cons and final thoughts
- Pros: Compact touchscreen, modular radio options, microSD map support, excellent packet log UI.
- Cons: Screen orientation can be awkward (UI flip unreliable), initial frequency slot quirk, no onboard GPS.
Overall: if you want a small, flexible Meshtastic node with a great UI and local maps, the Elecrow Meshtastic Crow Panel 2.8 is a great choice — especially if you pair it with a custom case and optional GPS. I’ll keep using mine as a desktop node and tester.
FAQ
Q: Does the Elecrow Crow Panel have built-in GPS?
No. It has no onboard GPS, but you can connect an external GPS to the back I/O pins (TX/RX, power, GND).
Q: Which USB-C port is for flashing?
The top USB-C port is the data/communication port used for flashing. The bottom port is power/charging.
Q: How do I fix the LoRa frequency if it’s wrong?
Use the Meshtastic mobile app to change the radio configuration. For the US set the frequency slot to 20 or 0 (auto) — the panel sometimes defaults to slot 1.
Q: Can I flip the screen orientation in software?
The UI’s flip option is unreliable on this panel. The practical workaround is to reprint your case or use the panel’s small feet to stand it upside-down.
Thanks for reading
"One of the tools that I really, really... love is the packet log." — Vivian Van Zyl
If you want to try this setup yourself, the Elecrow Meshtastic hardware is a solid platform for building a compact mesh node. Happy tinkering — speak again soon.