
Meshtastic MQTT: A Comprehensive Guide to Enabling and Managing Your Network
Published by Vivian van Zyl in Meshtastic the 11/01/2024 at 05:43 pm

Original Video on YouTube by Simon Phillips: HERE
In this guide, we will explore the ins and outs of Meshtastic MQTT, a protocol that connects your Meshtastic devices to the internet, enabling communication across various nodes. We'll go through the steps to enable it, discuss potential pitfalls, and share tips to optimize your setup. Whether you're a novice or an experienced user, this guide aims to provide a thorough understanding of how to make the most of Meshtastic MQTT.
Table of Contents
- Step 1: Understanding MQTT and Its Purpose
- Step 2: Setting Up Your MQTT Configuration
- Step 3: Enabling Proxy Settings
- Step 4: Adjusting Radio Configuration
- Step 5: Enabling Uplink and Downlink Settings
- Step 6: Testing Your Configuration
- Step 7: Managing Traffic and Network Load
- Step 8: Troubleshooting Common Issues
- FAQ: Frequently Asked Questions
- Step 9: Conclusion and Final Thoughts
Step 1: Understanding MQTT and Its Purpose
MQTT stands for Message Queuing Telemetry Transport. It’s a lightweight messaging protocol ideal for connecting devices, especially in scenarios where network bandwidth is limited. In the context of Meshtastic, MQTT facilitates the communication between your nodes and the internet.
For instance, if you're in a remote location without access to cellular signals, enabling MQTT allows your nodes to send and receive data over an internet connection. This is particularly useful for relaying messages from one node to another, even when they are not directly within radio range.
Step 2: Setting Up Your MQTT Configuration
To get started, you’ll need to access the MQTT configuration page on your Meshtastic device. Here’s how:
- Connect your Meshtastic device to your computer via USB.
- Open the configuration interface, which is usually accessed through a local URL like
client.mesh.org. - Locate the MQTT module settings, which are typically found under the module configuration section.
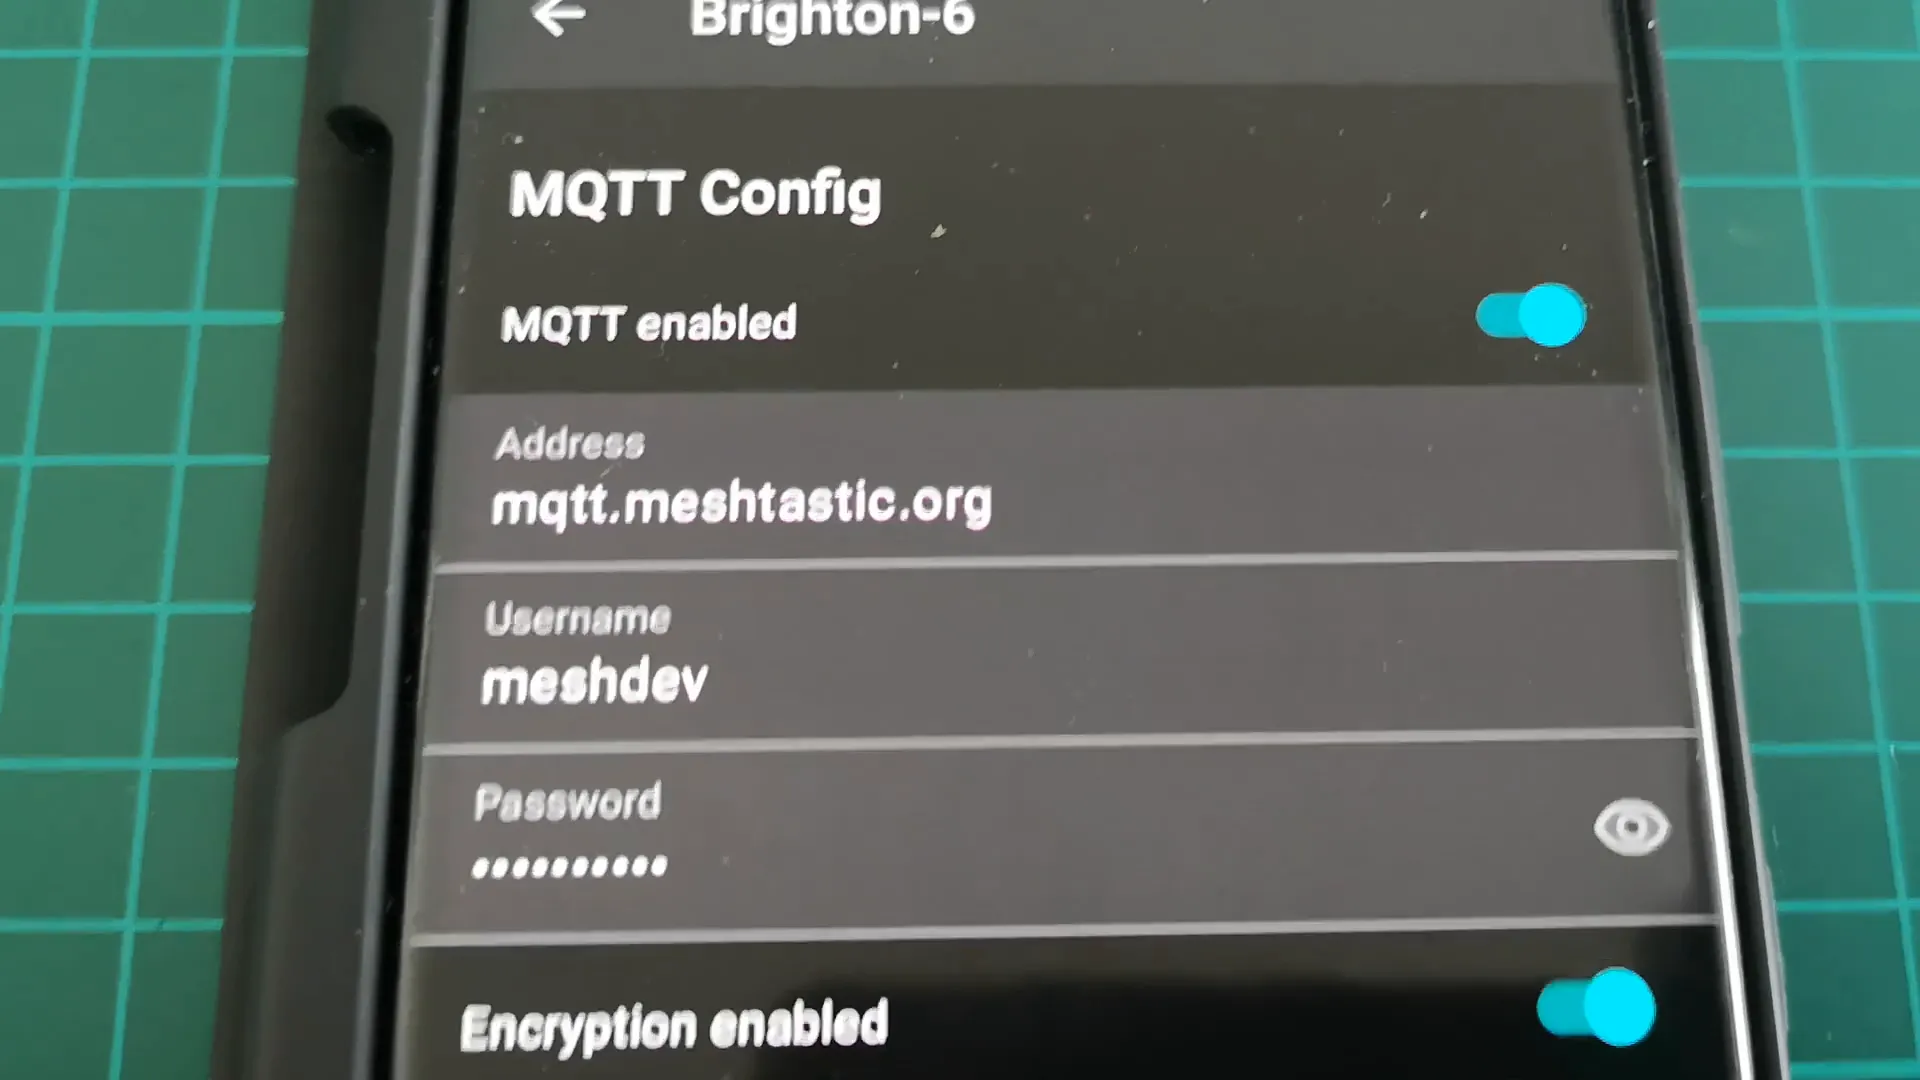
In this section, you will need to enable the MQTT module. The default setting is usually disabled, so make sure to toggle it on. You'll also need to input the address of the MQTT server, which is generally mqtt.meshtastic.org.
Additionally, configure your username and password. By default, these may be set to a generic value, so it's advisable to change them for security reasons. Ensure that encryption is enabled for secure data transmission.
Step 3: Enabling Proxy Settings
Next, you’ll need to enable the proxy settings that allow your device to communicate with the internet. This is crucial for connecting your mobile phone or laptop as a client to the MQTT server:
- Enable the "Proxy to Client" option. This setting allows the device to send and receive data from your mobile device.
These configurations should allow your node to start communicating with the MQTT server. However, there are additional settings that might hinder communication if not adjusted correctly.
Step 4: Adjusting Radio Configuration
After configuring MQTT, you need to ensure that the radio settings are also optimized:
- Navigate to the radio configuration settings.
- Check that the LoRa settings are enabled and that the transmit power is appropriately set. For instance, a setting of 27 dBm is typical, but your device may have limitations.
- Locate the "Ignore MQTT" option. If this is enabled, your device will not receive any MQTT data. Make sure to disable it.
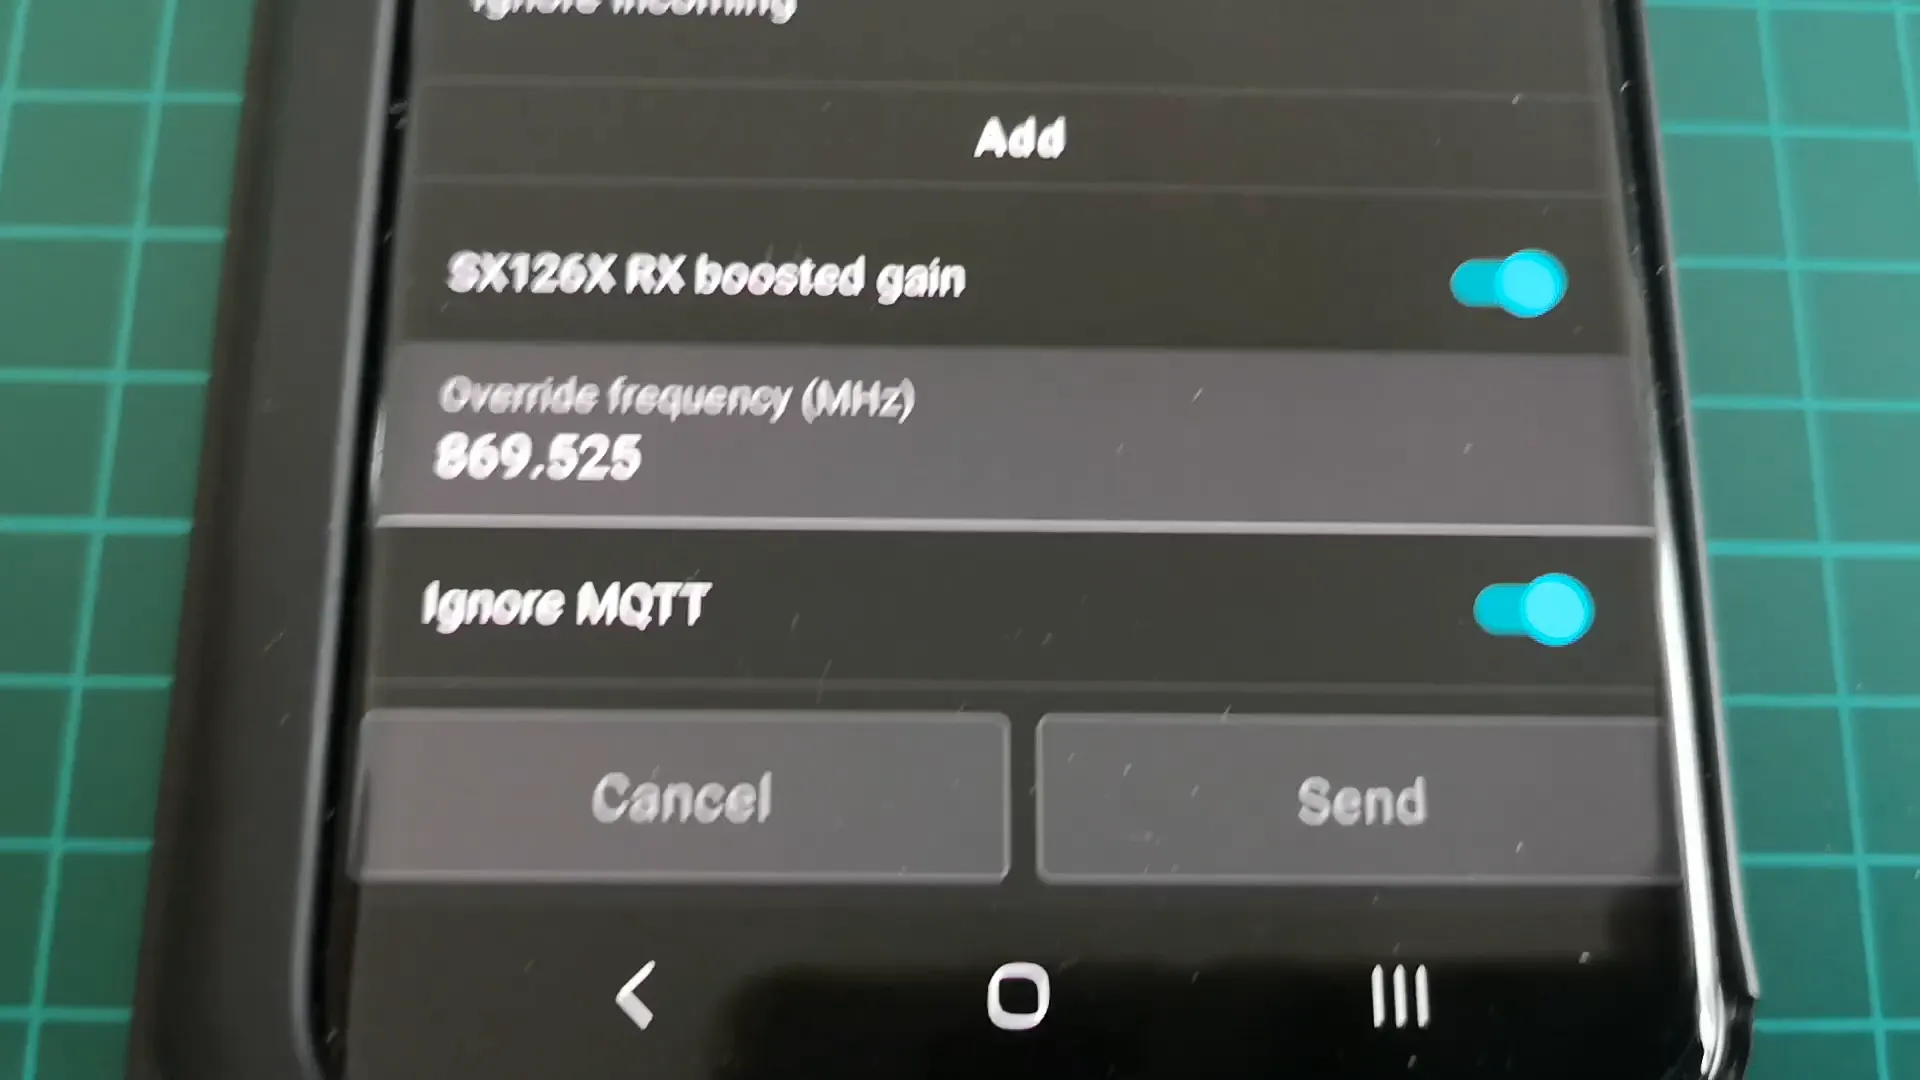
Once these adjustments are made, remember to save your settings. This is critical because unsaved changes will not take effect.
Step 5: Enabling Uplink and Downlink Settings
For the MQTT communication to function correctly, you need to enable both uplink and downlink settings:
- Go to the channels configuration.
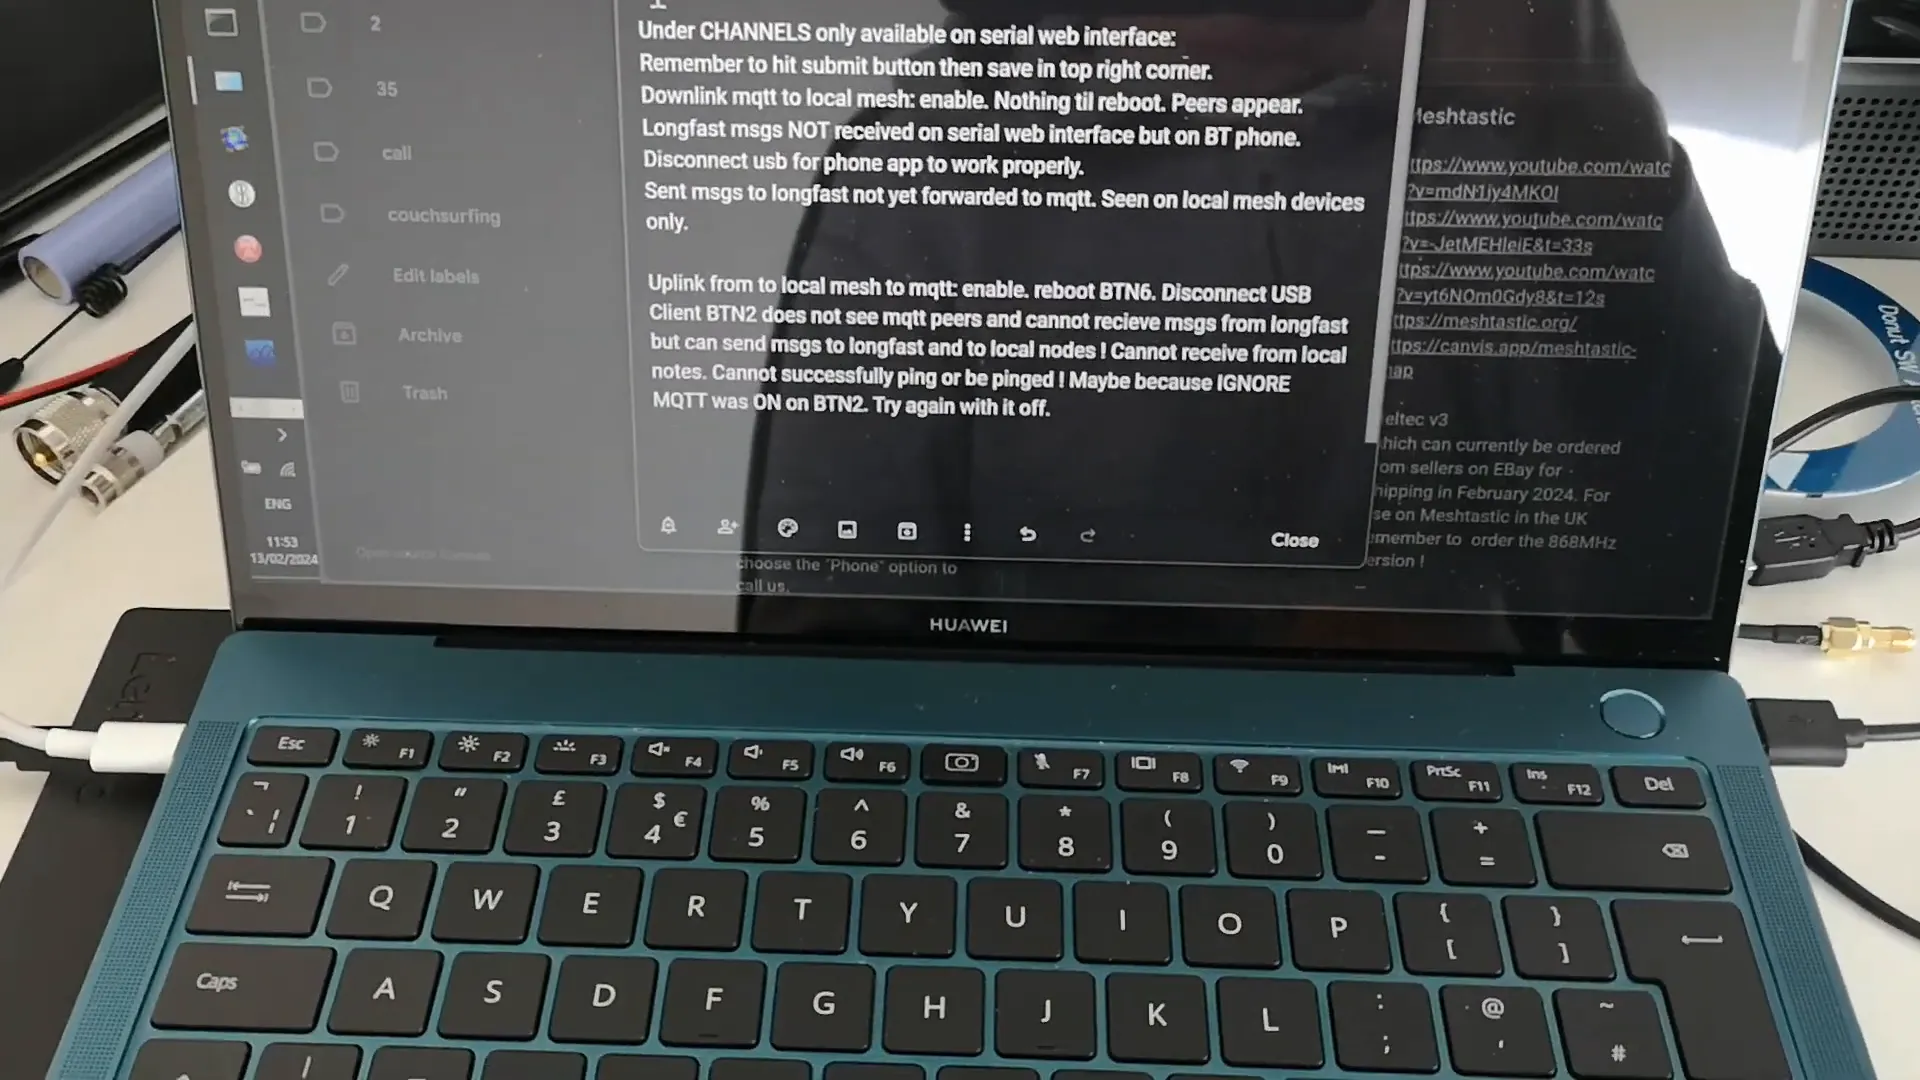
- Enable the "MQTT Uplink" and "MQTT Downlink" options. These settings allow messages to be sent from your local mesh to the MQTT server and vice versa.

Without these settings enabled, you may not see any peers or traffic appearing in your MQTT interface, even if everything else is configured correctly.
Step 6: Testing Your Configuration
After completing the configuration, it's time to test it out:
- Monitor the peer list on your MQTT interface to see if new nodes are appearing.
- Check the messages section to verify that MQTT messages are being sent and received.
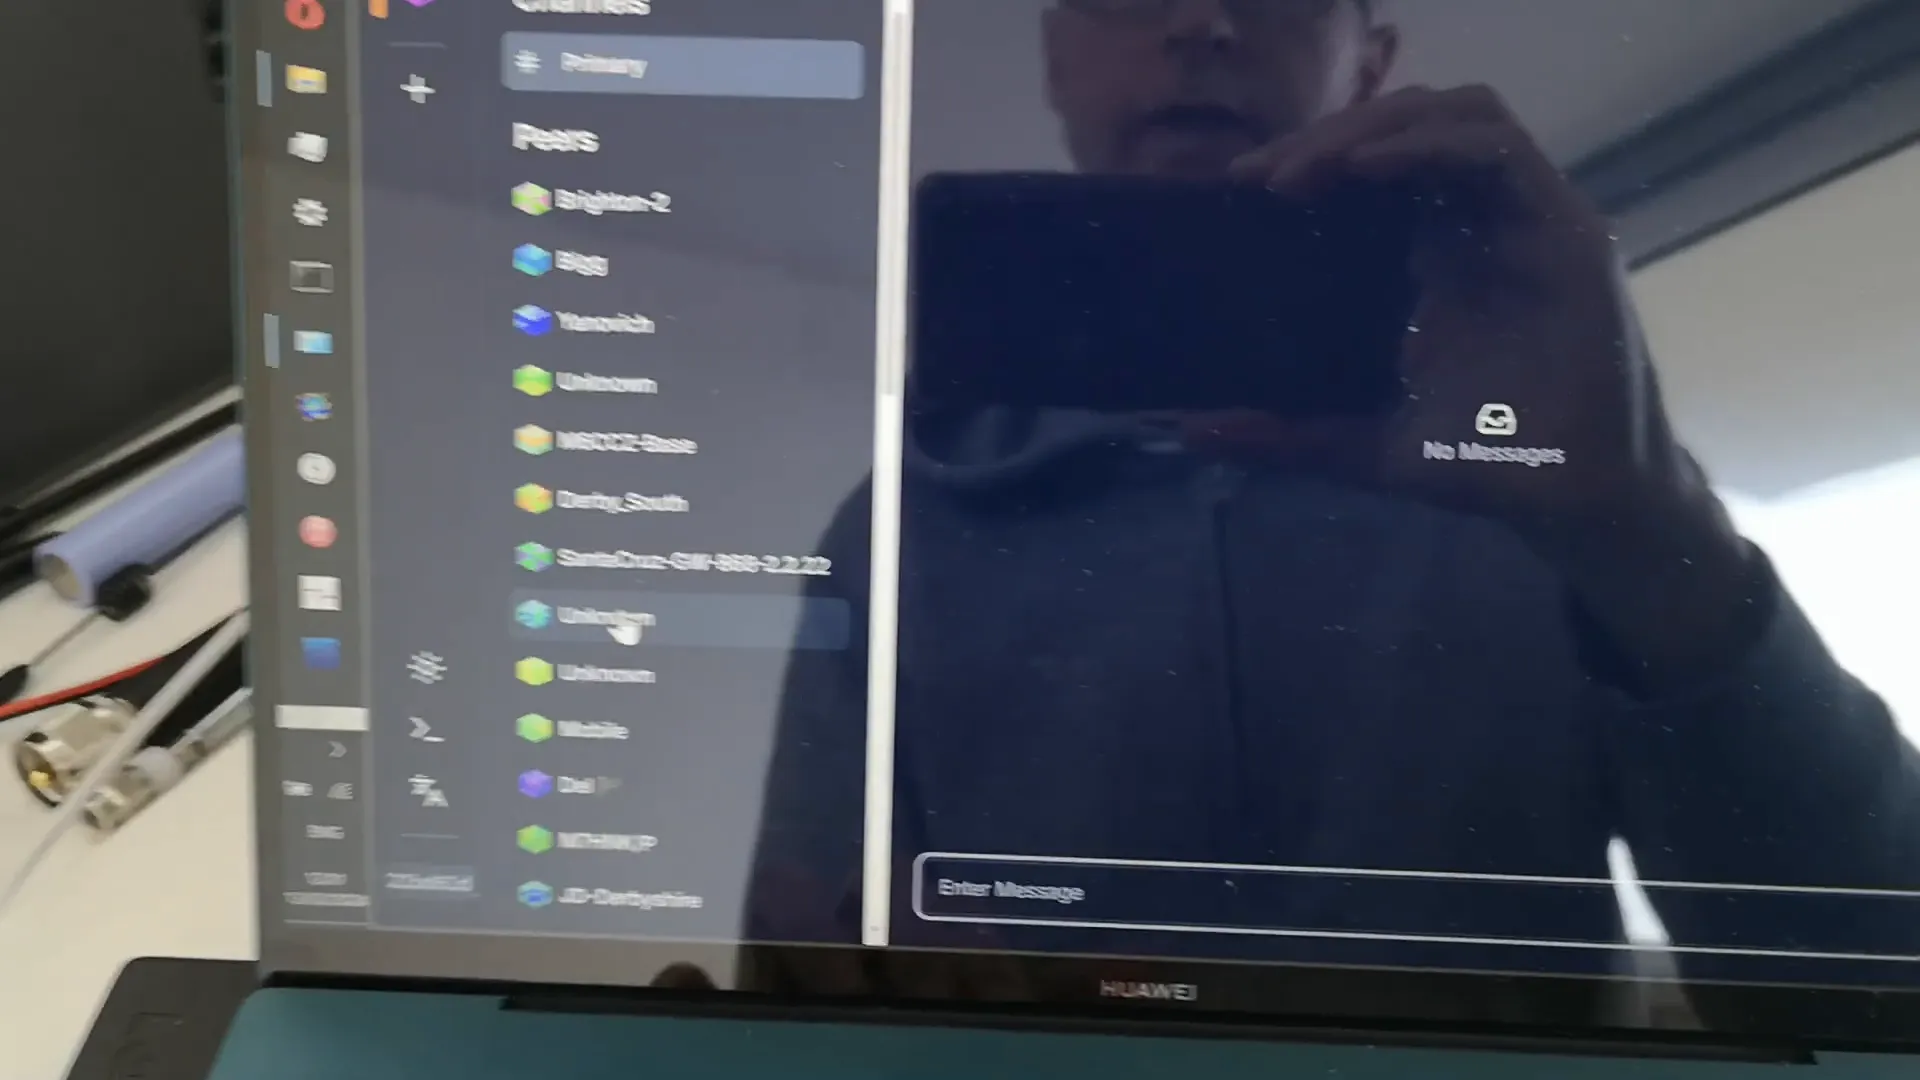
If everything is set up correctly, you should start seeing messages flow through the network. If not, review your settings to ensure everything has been configured as outlined.
Step 7: Managing Traffic and Network Load
One of the critical aspects of using Meshtastic MQTT is managing the traffic to avoid saturating the network:
- Be conscious of the number of messages being sent. If too many messages are transmitted simultaneously, it can overwhelm the network.
- Consider turning off MQTT when not in use to reduce unnecessary traffic.
- Use a dummy load to prevent radiating signals while testing in isolated environments.
Step 8: Troubleshooting Common Issues
If you're encountering issues with your MQTT configuration, here are some common troubleshooting tips:
- Ensure all settings are saved and that the device has rebooted after changes.
- Verify that the MQTT server address is correct and that the device has internet access.
- Check for any conflicting settings within the radio configuration that may prevent data from being received.
FAQ: Frequently Asked Questions
What should I do if I don't see any peers in the MQTT interface?
Make sure the "MQTT Uplink" and "MQTT Downlink" settings are enabled. Additionally, check that the device is connected to the MQTT server and that all settings are saved correctly.
How can I prevent my network from becoming saturated with MQTT traffic?
Limit the frequency and amount of messages sent through MQTT. Consider disabling the protocol when it's not in use to reduce unnecessary load on the network.
Is it safe to use the default username and password for MQTT?
No, it's recommended to change the default credentials to enhance security. Generic credentials can make your device vulnerable to unauthorized access.
Can I use MQTT without a direct internet connection?
No, MQTT requires an internet connection to relay messages between nodes effectively. Without it, the nodes can only communicate locally.
Step 9: Conclusion and Final Thoughts
Enabling and managing Meshtastic MQTT can significantly enhance the functionality of your mesh network. By following the steps outlined in this guide, you should be able to set up and optimize your MQTT configuration effectively. Remember to monitor your network traffic and adjust settings as necessary to maintain optimal performance.
For further assistance and community support, consider joining forums or groups dedicated to Meshtastic users. Happy meshing!