
SenseCAP P1 Pro Solar Node: Meshtastic Solar Setup Guide
Published by Vivian van Zyl in Meshtastic the 01/11/2026 at 09:56 pm


If you want a compact, low-hassle way to extend a LoRa mesh without soldering or a Raspberry Pi, the SenseCAP P1 Pro is a strong option. This guide walks through unboxing, assembly, Meshtastic Solar app setup, firmware upgrade, mounting tips, and quick troubleshooting. Expect a hands-on, practical approach that gets you a Meshtastic Solar node up and running in an hour or less.
Table of Contents
- What the P1 Pro ships with
- Quick assembly: what to do first
- Connecting to Meshtastic Solar (app)
- Configuring GPS and Location sharing
- Flashing firmware: simple DFU method
- Mounting tips and field notes
- Troubleshooting quick wins
- Why choose a Meshtastic Solar node like the SenseCAP P1 Pro?
- Next steps
- FAQ
- Final thoughts
What the P1 Pro ships with
Out of the box you get a ready-built solar node with a 5 W panel, four 18650 cells already installed on the P1 Pro model, a GPS module, a USB-C cable, a 2 dBi antenna, pole-mount hardware and a short extension cable. The radio chip is the SX1262 and the main chip is an nRF-based MCU. That combination makes it ideal for Meshtastic Solar deployments where small, long-lived remote nodes matter.
Quick assembly: what to do first
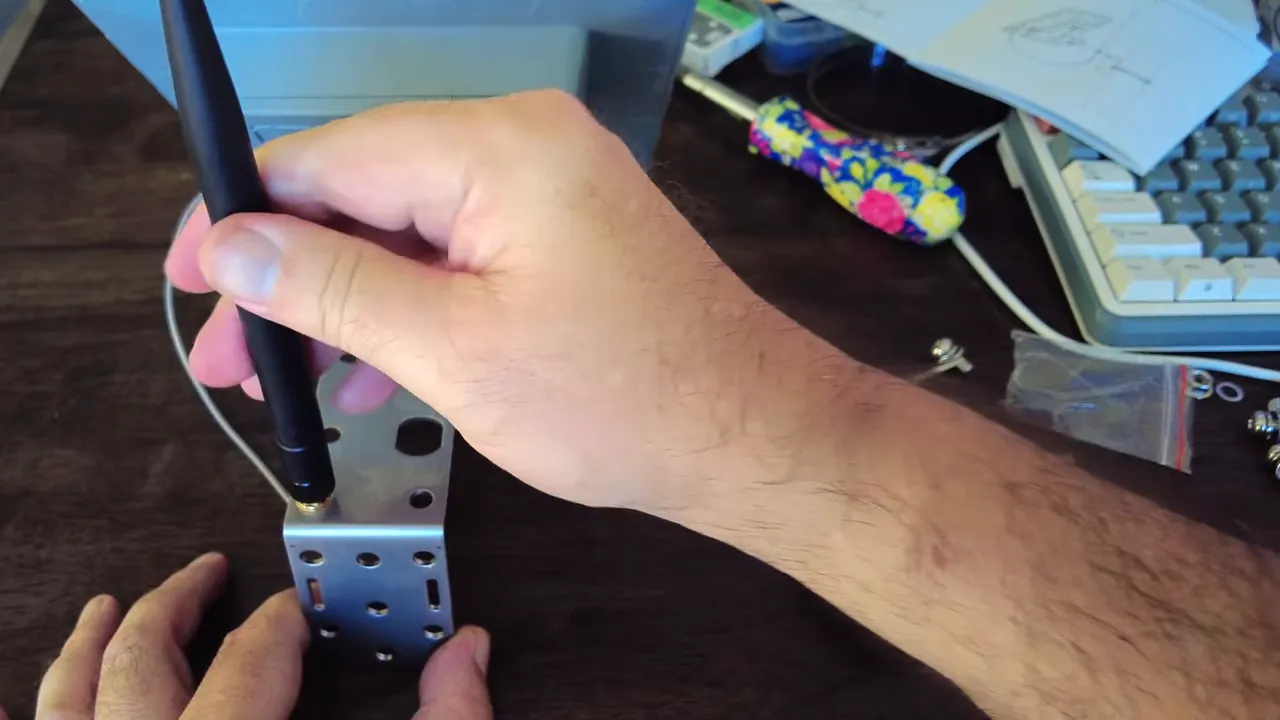
Assembly is intentionally simple. The important practical steps:
- Attach the antenna before powering on. Turning on the radio without an antenna risks damage.
- Mount the antenna and screw the pole-bracket onto the back plate. Test fit the mounting straps to your pole diameter — sometimes a bracket must be removed for thin poles.
- Clean the solar panel face before final positioning so the node charges efficiently.
Connecting to Meshtastic Solar (app)
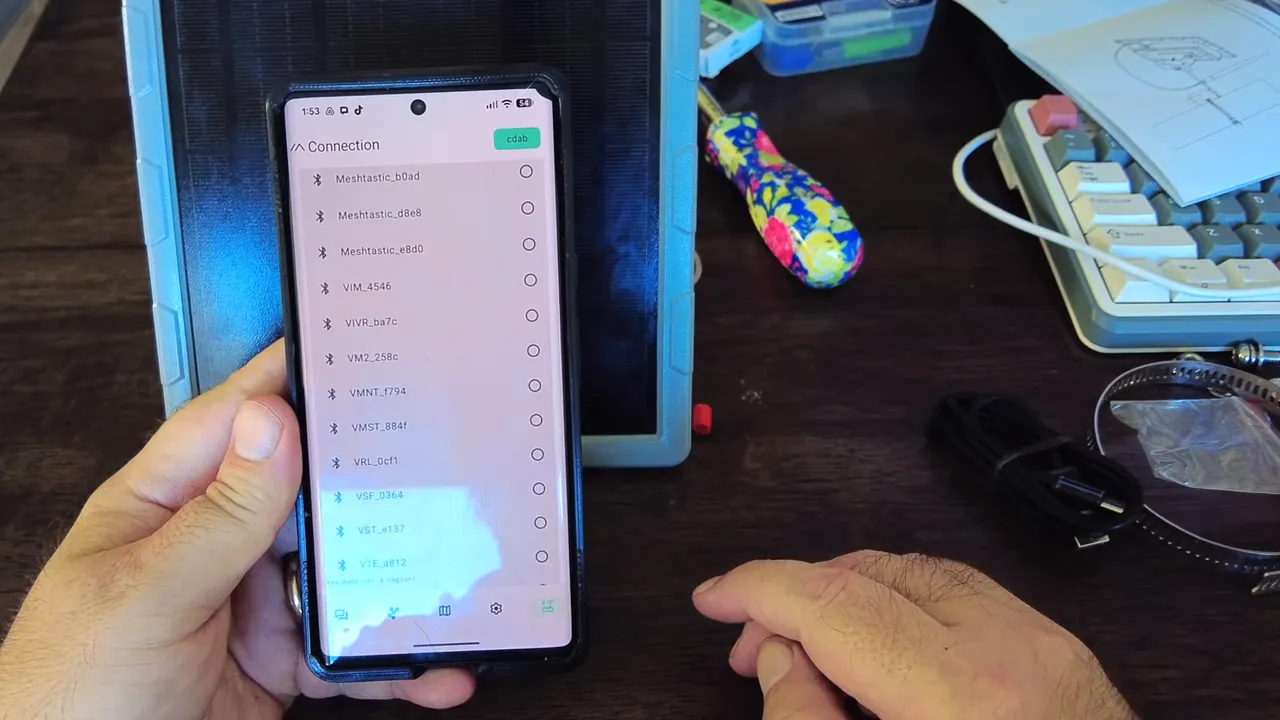
The device exposes a Bluetooth setup flow compatible with Meshtastic. The core steps I use:
- Power the node via USB first if the batteries are low. It often needs that initial connection to boot the radio and Bluetooth stack.
- Open the Meshtastic app and hit Scan. New devices should appear quickly.
- Pair with the default PIN (commonly 123456), then configure region and channel.
For US deployments choose the United States region and set the channel to the appropriate frequency slot (for many devices frequency slot 20 shows ~906.875 MHz). Leave the modulation on long, fast unless you have specific needs.
Configuring GPS and Location sharing
The P1 Pro includes a GPS that will soon report position. Meshtastic Solar has a location-sharing slider under channel settings — set the radius you want the node to disclose. I set mine to roughly 1.8 miles for a balance of privacy and usefulness. You can tighten or disable the position circle if you prefer exact or no broadcast.
Flashing firmware: simple DFU method
Keep firmware up to date. I upgraded a freshly unboxed unit from v2.6.9 to v2.7.15 using Meshtastic’s flasher tool. The most reliable method I found:
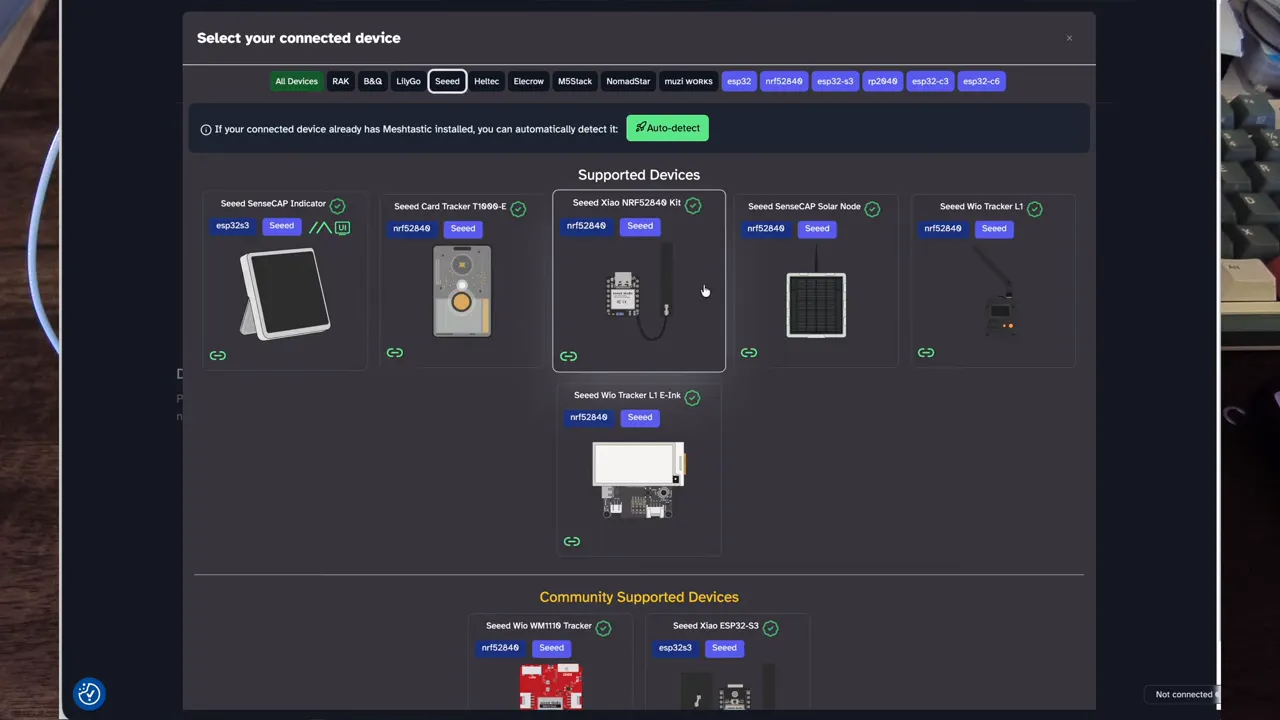
- Plug the node into your PC via USB-C and open flasher.meshtastic.org.
- Select SenseCAP P1, choose the firmware build (eg v2.7.15), and request DFU mode.
- The device will mount as a small drive (ZHOOBoot or similar); drag the downloaded firmware file onto that drive.
- Wait for the copy and auto-eject, then reset the node. Confirm the firmware version in the Meshtastic Solar app.
Mounting tips and field notes
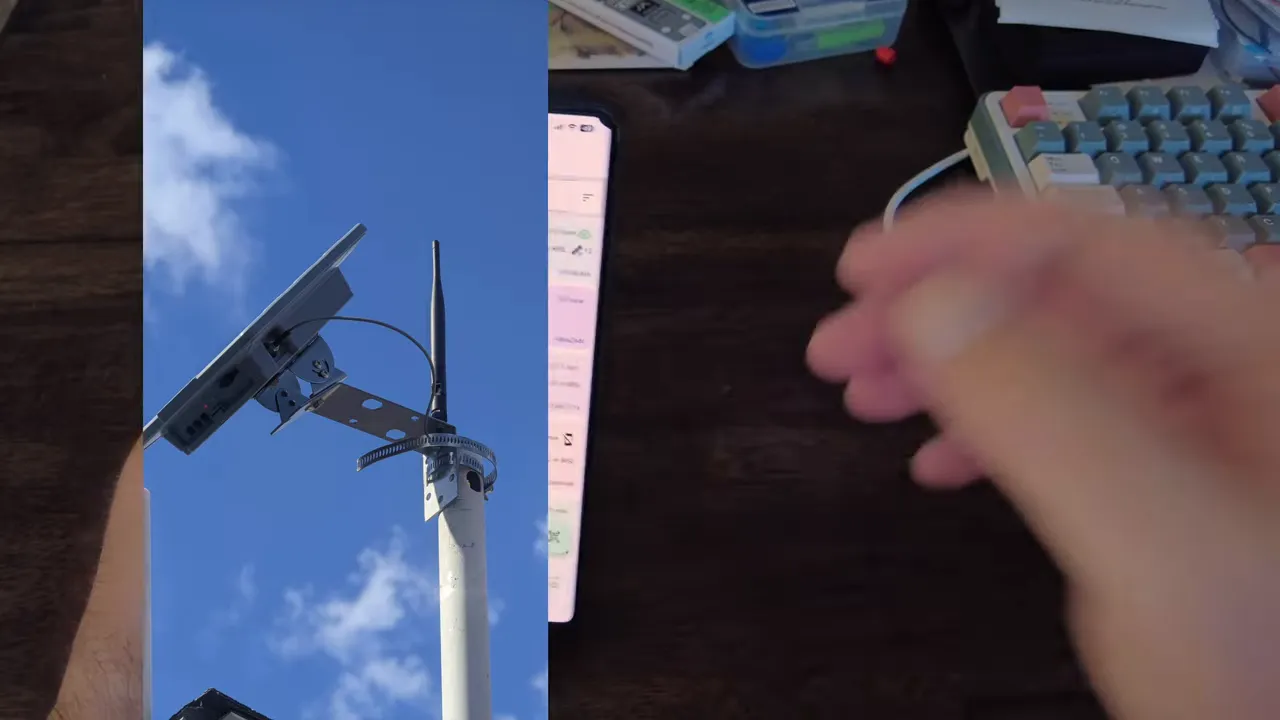
I mounted the unit on a pole on a windy roof. A few quick lessons:
- Use robust stainless straps and check the fit before final tightening.
- If the pole is thin, remove or reconfigure one bracket piece so the clamp sits snugly.
- Orient the solar panel to maximize sun exposure for your latitude and season.
- After installation monitor charging percentage and GPS satellites — the P1 Pro will indicate satellites locked and battery percentage in the Meshtastic Solar app.
Troubleshooting quick wins
- No Bluetooth discovery: Power via USB and retry. Low battery may prevent the radio from starting.
- No GPS lock: Give it a few minutes outdoors with a clear sky; satellites can take time to fix position.
- Firmware flash fails: Ensure the device entered DFU and that you copied the exact firmware file to the mounted drive.
Why choose a Meshtastic Solar node like the SenseCAP P1 Pro?
It removes the hardware-build step. Instead of sourcing cells, radios, enclosures and solar panels yourself, you get a tested, weather-ready package with GPS and battery management preinstalled. For rapid deployment of a Meshtastic Solar network — especially where maintenance windows are limited — a P1 Pro is worth the modest premium over a DIY build.
Next steps
Monitor the node for a few days to verify charging behavior and the number of nodes discovered. The Meshtastic Solar interface will fill in discovered node details over time as exchanges complete. Plan the next steps: add more nodes for coverage, tweak channel parameters, or add trackers for more mobile assets.
FAQ
How long do the 18650 batteries last in typical Meshtastic Solar use?
Battery life depends on transmit frequency, reporting interval and solar exposure. With a healthy solar panel and moderate reporting intervals, the P1 Pro will stay charged indefinitely in sunny conditions. In low-sun situations expect days to weeks depending on usage.
Do I need to flash firmware right away?
It is recommended. New firmware often includes radio and power-management fixes. Flashing is straightforward via flasher.meshtastic.org and the DFU file copy method.
What antenna should I use for the best range?
The included 2 dBi antenna is fine for many installs. For extended range, a higher-gain tuned 915 MHz (or your local band) antenna mounted higher will improve line-of-sight and effective range.
What if the node does not discover nearby devices?
Confirm channel and region settings match nearby nodes, check antenna and power, and allow time for Meshtastic Solar to exchange node details. If nodes are on different frequency slots, they will not see each other.
Is the SenseCAP P1 Pro weatherproof?
The enclosure and hardware are designed for outdoor use, but place the unit under an angle for the panel, ensure gasket seals are intact, and mount securely to prevent water ingress or wind damage.
Final thoughts
A prebuilt Meshtastic Solar node like the SenseCAP P1 Pro removes a lot of friction for hobbyists and field deployments. With simple assembly, clear Meshtastic Solar app setup, and an easy DFU update path, you can go from box to live in under an hour. If you need a reliable, solar-powered LoRa mesh presence that’s low maintenance, this is a practical choice.