
BJORN Raspberry Pi: Your Complete Guide to a Tamagotchi-Like Security Tool
Published by Vivian van Zyl in Raspberry PI and LoRaWAN the 12/02/2024 at 07:07 pm

In the world of cybersecurity, innovative tools are always emerging to help users maintain their network security. One such tool is the BJORN Raspberry Pi, a sophisticated, autonomous network scanning and vulnerability assessment device. Designed to run on a Raspberry Pi equipped with a 2.3-inch e-paper hat, BJORN is a blend of technology and fun, reminiscent of the classic Tamagotchi toys. In this blog post, we will dive deep into how to set up BJORN, its functionalities, and what makes it a valuable addition to your security toolkit.
Table of Contents
- What is BJORN Raspberry Pi?
- Understanding BJORN's Display Features
- Accessing BJORN Remotely
- The Value of BJORN in Your Security Toolkit
- Frequently Asked Questions (FAQ)
What is BJORN Raspberry Pi?
BJORN is described as a sophisticated autonomous network scanning tool that goes beyond simple monitoring. It not only assesses vulnerabilities but also offers offensive security features. The device operates on a Raspberry Pi, a small and affordable computer, making it accessible for many users. The integration of an e-paper display adds a unique touch, allowing real-time updates on the device's activity.
Getting Started with BJORN
Setting up your BJORN Raspberry Pi is straightforward. Here are the steps to get your device up and running:
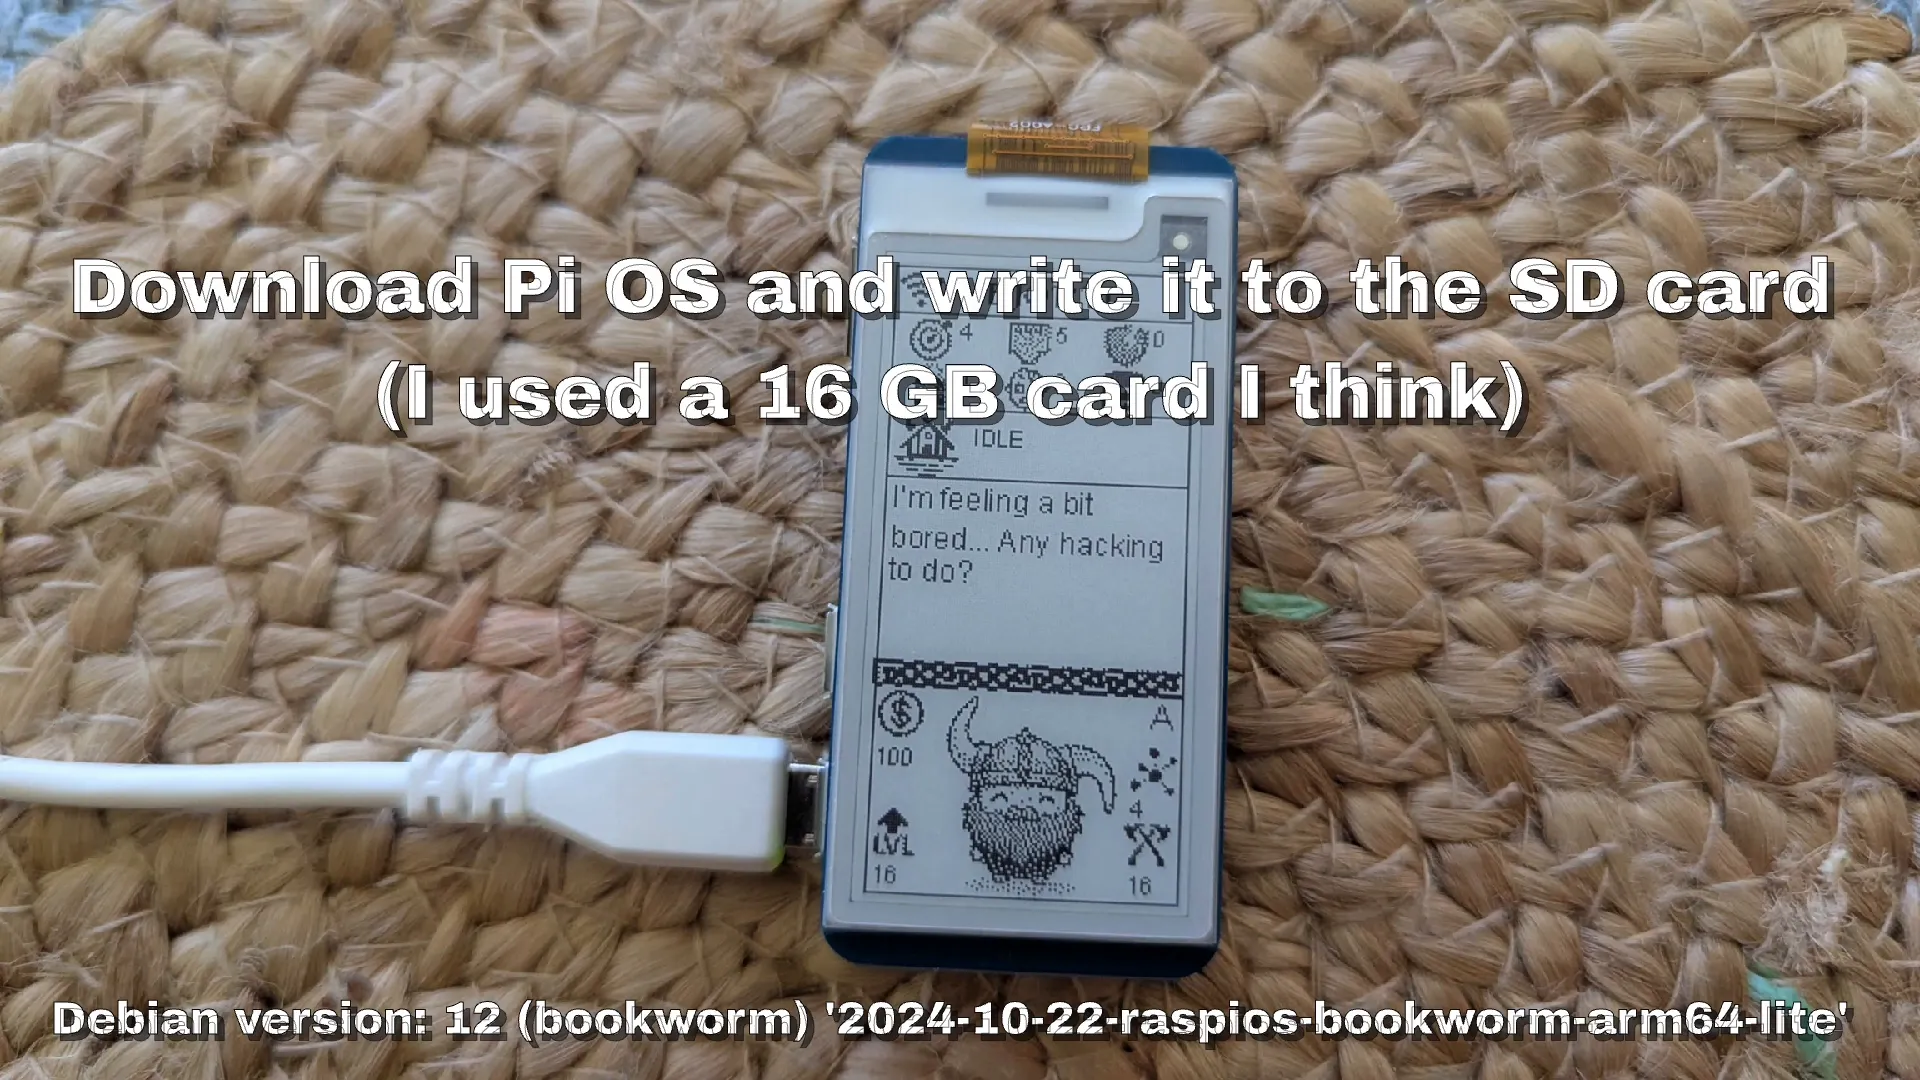
- Download the Operating System: First, you need to download the appropriate operating system (OS) for your Raspberry Pi. The author used a 64-bit version suitable for the Raspberry Pi 2W.
- Burn the OS onto an SD Card: Use a tool to write the downloaded OS onto an SD card. This card will serve as the main storage for your BJORN device.
- Boot Your Raspberry Pi: Insert the SD card into your Raspberry Pi and power it on. You should see a neat interface appear on the screen.
- Change the Username: The default username is “bjorn” Make sure to change it to this for easy access.
- Update Host Name: Change the host name to “bjorn” using the host control and update the host files accordingly.
- Connect to Wi-Fi: Utilize NM-CI to connect your device to Wi-Fi.
- Download and Execute the Script: Download the necessary script, change it to executable, and execute it. This will complete the installation process.
- Reboot: Finally, reboot the system to apply all changes.
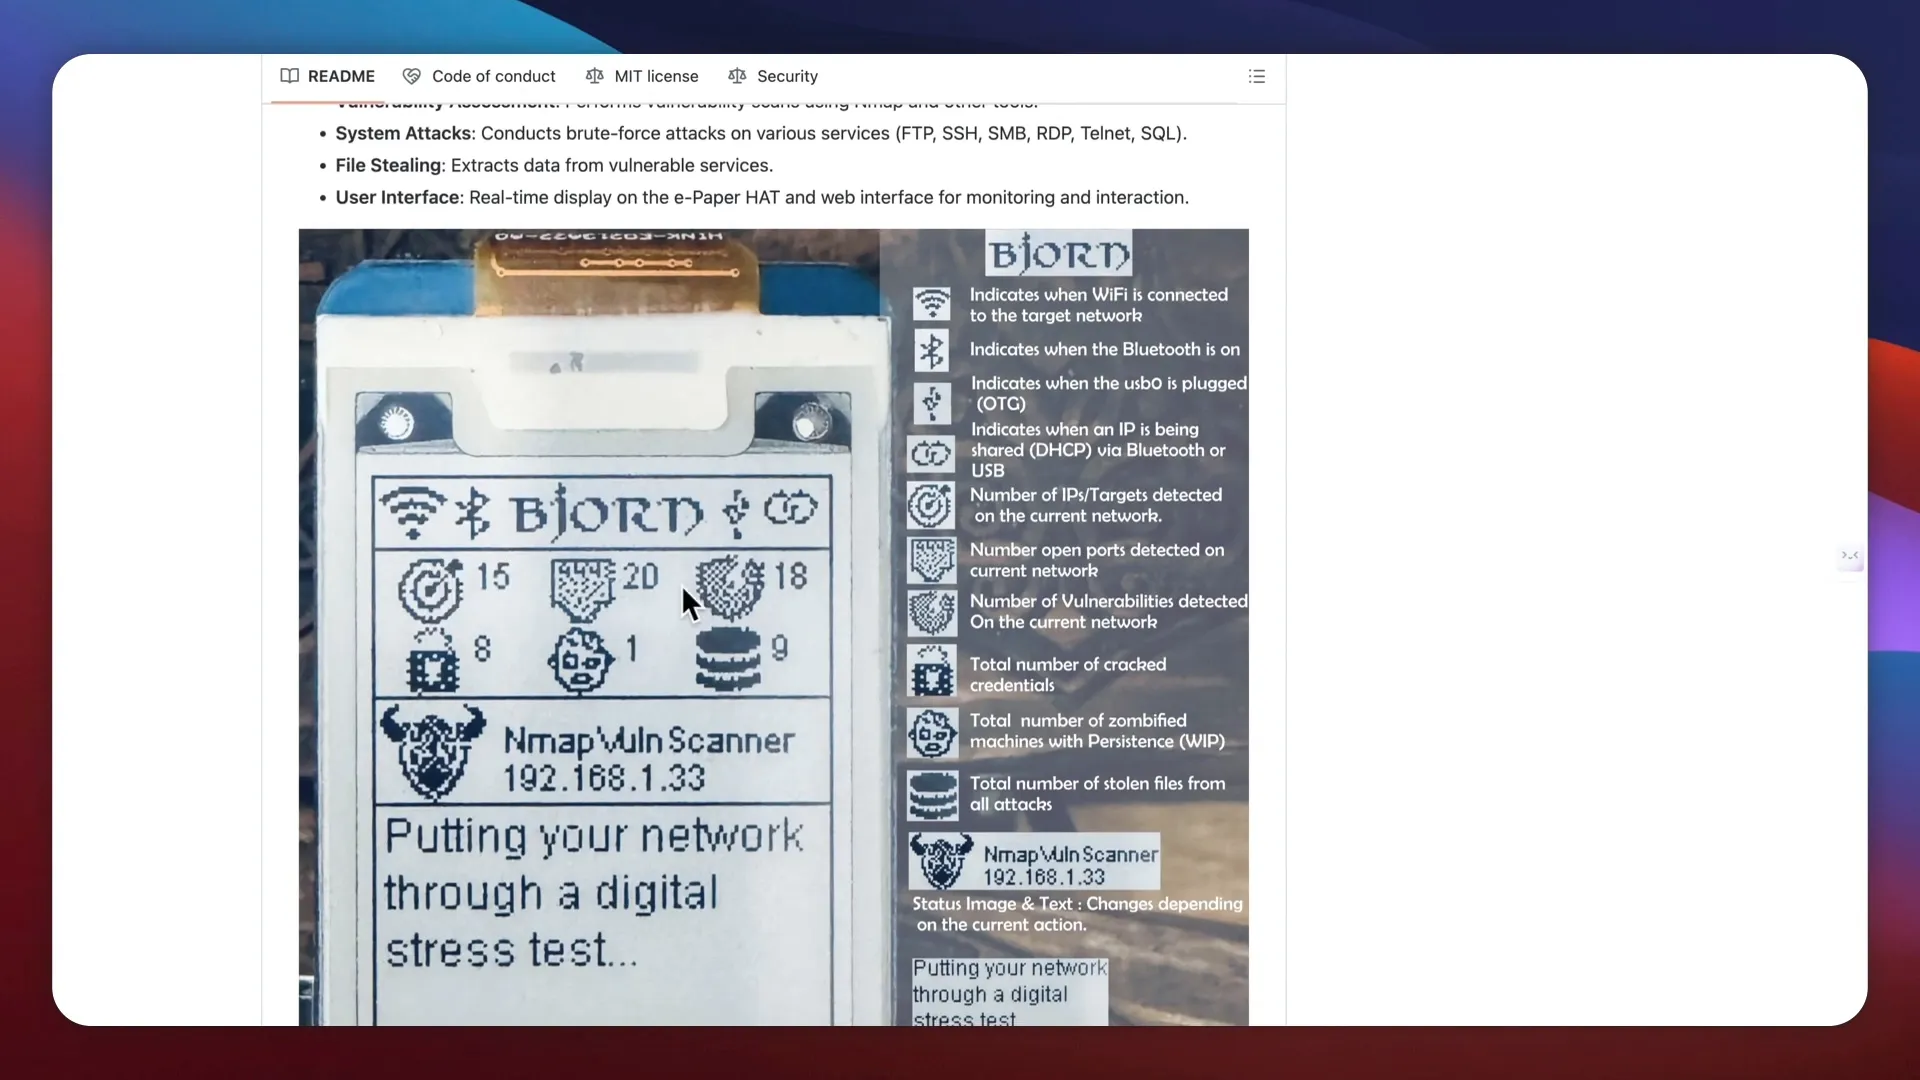
Understanding BJORN's Display Features
Once set up, BJORN offers an array of information through its e-paper display. Here’s a breakdown of what you can expect:
- Wi-Fi and Bluetooth Status: The display indicates whether Wi-Fi and Bluetooth are connected.
- OTG Plugin and DHCP Status: It shows whether you are using an OTG plugin or DHCP.
- Network Scanning: The number of IPs detected on the network is displayed, along with any vulnerabilities found.
- Vulnerabilities Detected: For example, the device might report finding 18 vulnerabilities, which it continuously monitors.
- Cracked Credentials: You can see the total number of credentials cracked by the system.
How BJORN Functions
BJORN operates much like a Tamagotchi. You leave it on, and it earns levels and points by performing tasks. This gamification element makes it engaging and fun to use. Additionally, you can manually trigger scans and other functions, giving you control over your network monitoring.
Accessing BJORN Remotely
For convenience, BJORN can be accessed remotely through a web interface. By connecting to its IP address followed by port 8000, you can manage the device from your web browser. This feature eliminates the need to always check the physical display.
Web Interface Features
The web interface offers several options:
- Manual Functions: You can turn the device off, reboot it, or clear files from this interface.
- Configuration Settings: Access the configuration settings to turn features on or off as needed.
- Monitoring Logs: View logs of actions executed against the device and the open ports.
- Stolen Credentials: There’s a dedicated section that shows any credentials that BJORN has managed to capture.

The Value of BJORN in Your Security Toolkit
So why should you consider adding BJORN Raspberry Pi to your security toolkit? Here are several compelling reasons:
- Cost-Effective: Using a Raspberry Pi is a budget-friendly way to enhance your network security without breaking the bank.
- Engaging Interface: The Tamagotchi-like aspect makes monitoring your network more enjoyable.
- Real-Time Monitoring: BJORN provides real-time updates, allowing you to quickly respond to potential security threats.
- Educational Tool: It serves as an excellent resource for learning about network security and vulnerability assessments.
Conclusion
BJORN Raspberry Pi is not just a tool; it's an experience that combines functionality with a playful interface. Whether you're a cybersecurity enthusiast or simply someone looking to protect your network, BJORN offers a unique solution that is both effective and fun. With its straightforward setup and engaging features, it's worth considering for anyone serious about security.
Frequently Asked Questions (FAQ)
What is BJORN Raspberry Pi used for?
BJORN is used for network scanning, vulnerability assessment, and offensive security tasks. It helps users monitor their network and detect potential vulnerabilities.
How do I set up BJORN?
To set up BJORN, download the OS, burn it onto an SD card, boot the Raspberry Pi, change the username and host name, connect to Wi-Fi, and execute the necessary scripts.
Can I access BJORN remotely?
Yes, you can access BJORN remotely through its web interface by connecting to its IP address followed by port 8000.
Is BJORN user-friendly?
Absolutely! BJORN is designed to be user-friendly, with a straightforward setup process and an intuitive interface for monitoring and configuration.
Does BJORN require advanced technical skills to operate?
While some basic technical knowledge is helpful, BJORN is designed to be accessible to anyone interested in network security.